
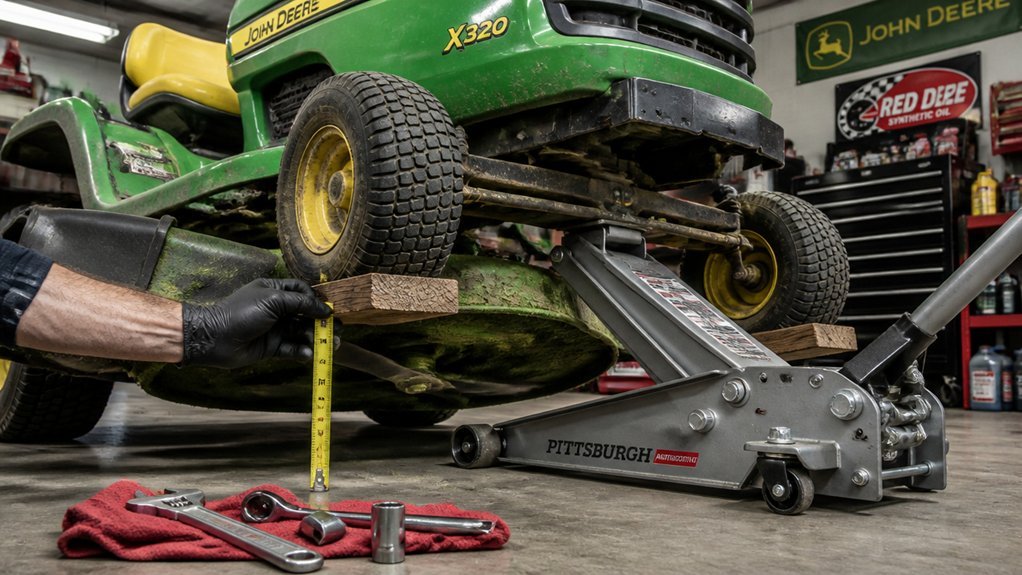
You’ll start on hard, level ground with your parking brake engaged and the key removed. After verifying equal tire pressures and clearing debris, you’ll set the deck to mid-height and measure side-to-side clearances at identical points. But what happens when those measurements don’t match, and how do you know you’ve achieved the proper front-to-back pitch before testing your cut?
Start on Hard, Level Ground for Accurate Measurements
Park your mower on a hard, level surface—concrete or asphalt works best—and engage the parking brake immediately after removing the ignition key. You’ll eliminate variables that compromise deck balance by establishing stable positioning on level ground.
Before measuring, clear accumulated debris from the deck underside and allow the engine to cool completely. Residual heat causes metal expansion, distorting your readings. Position the wheels straight ahead and set the cutting height to mid-range for measurement consistency throughout this procedure.
Grab a straightedge or ruler and measure vertically from the ground plane to the top of the deck shell. Take readings at identical points on both sides. Record these measurements precisely and verify they’re within manufacturer tolerance specifications. Only proceed with adjustments once you’ve confirmed accurate measurements establish true deck balance.
Recommended Products

Oregon Replacement Deck Leveling Gauge


Part Number:AM130907 TY15272
Check Tire Pressure Before Leveling the Mower Deck
Why would you measure a deck’s level with tires that aren’t right? You can’t.
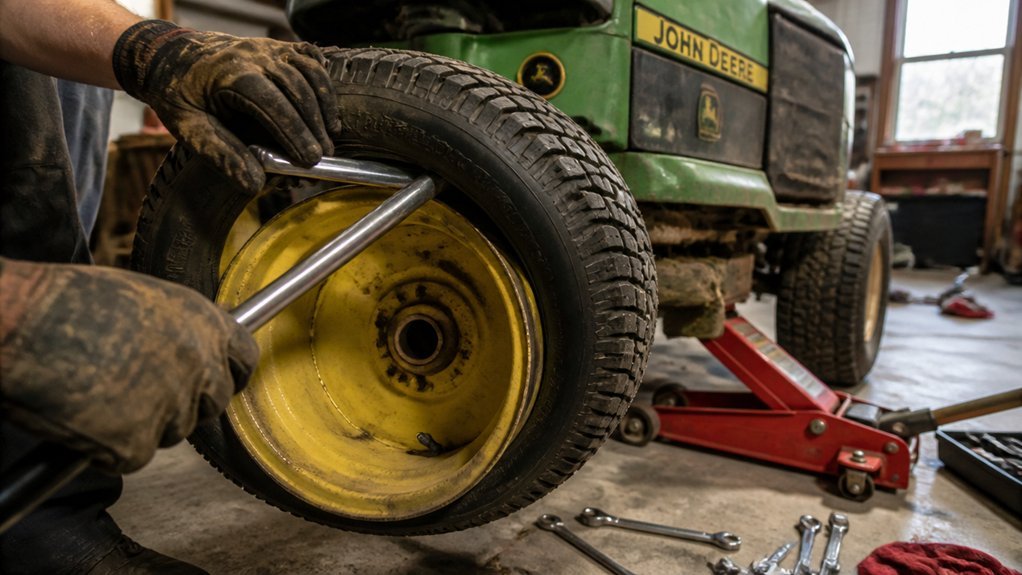
Begin by checking the rear tire pressure cold—use a reliable tire gauge to verify each tire matches the PSI stamped on its sidewall.
Unequal tire pressure throws off deck height measurements before you even start mower deck adjustment.
Even a few PSI difference tilts the deck frame, corrupting deck leveling results.
You must inflate or deflate to manufacturer specifications, then re-check both tires.
Only proceed with measuring side-to-side deck level after confirming equal, correct tire pressure.
This foundational step ensures your subsequent adjustments actually deliver a parallel cutting plane.
Skip it, and you’ll chase leveling problems created by your own oversight.
Precision demands proper inflation first.
Recommended Products
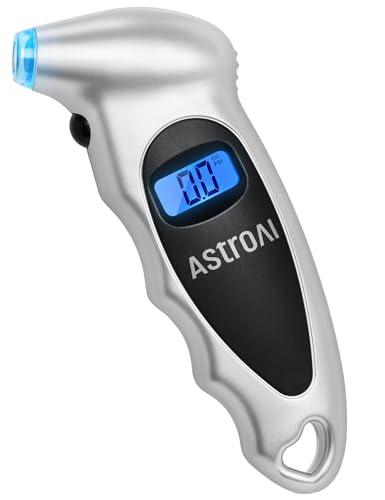
Accurate, Dependable Readings: Factory‑calibrated to ±1 PSI, so you can confidently match your vehicle’s recommended PSI (check the door jamb sticker). Ideal for monthly checks and road trips — consistent results every time, cold or warm.

1.1-20 PSI LOW PRESSURE: Accurately measure from 1-20 PSI with 1.5 PSI precision—essential for RO tank, Golf Carts, ATV, UTV Lawn Mower. Standard gauges (starting at 20 PSI) cannot achieve this, preventing underinflation damage and poor handling.

PROCESS LEVEL ACCURACY: Each ETENWOLF’s digital tire pressure gauge is calibrated manually to ANSI B40.7 Grade 2A(plus-minus 1 PSI).Presta valve adapter not included, if used for bicycles, it must be purchased separately
Remove the Side-Discharge Shield and Set Deck Height
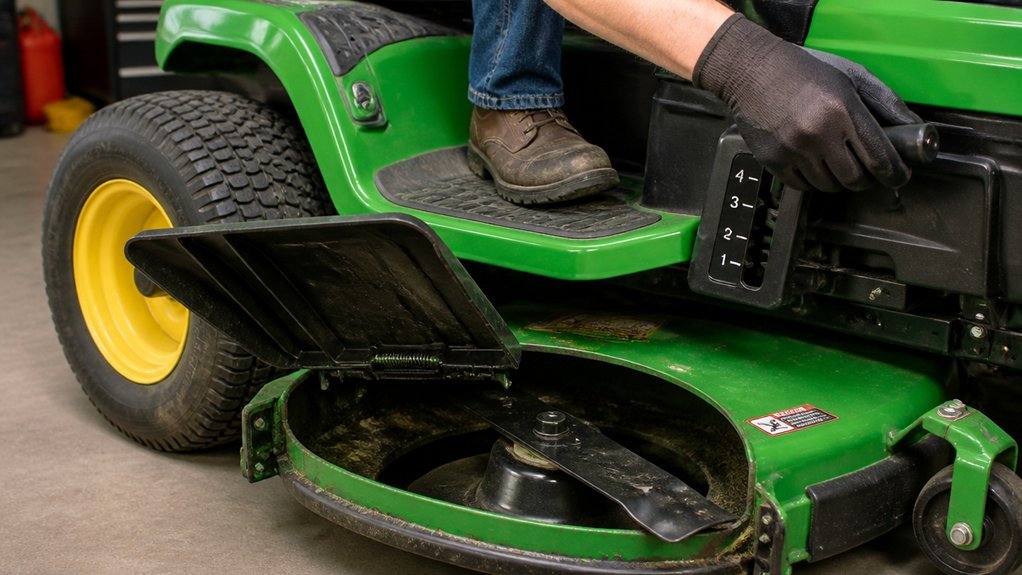
Before you’ll move a single adjustment bolt, you’ve got to strip away the side-discharge shield. Removing this guard eliminates interference with deck movement and grants unobstructed access to adjustment components so you can perform leveling safely. Park your mower on a hard, level surface, engage the parking brake, and remove the ignition key to prevent accidental deck movement during this phase.
Set your deck height to the mid-range cutting position. This establishes a representative baseline so subsequent measurements reflect typical operating conditions. Verify that the side-discharge shield is completely removed and that no hardware remains protruding into the adjustment zone. Confirm the deck sits at mid-range height before proceeding. Double-check that all components near the former shield mounting points are secure to prevent snagging during leveling adjustments.
Recommended Products

Carburetor Ajdustment Tool Kit fits many brands including: Sears, Craftsman, Poulan, Weedeater, Echo, Toro, Ryobi, Homelite, and anything else that utilizes the splined.Also call Husgvarna Carburetor Adjustment Tool,Carburetor Adjustment Tool,Weedeater Carburetor Adjustment Tool,2cycle Carburetor Adjustment Tool,Walbro Carburetor Adjustment Tool,Poulan Chainsaw Carburetor Adjustment Tool,Carburetor Adjustment Tool Set,Craftsman Screwdrivers Set.

Hipa pack of 14 carburetor adjustment tool compatible with ZAMA, Walbro, STHIL, Husq-varna, Craftsman, Poulan, Weedeater, Echo, Homelite, Ryobi, MTD, Troy-Bilt, Toro, Sears, Ruixing, Huayi; string trimmer, chainsaw, leaf blower, hedge trimmer, edger, pole pruner and anything else that utilizes the carburetor adjustment tools.

Measure Side-to-Side Mower Deck Height
Where exactly is your deck sitting? You’ll need to verify this before making any corrections. Park your mower on a hard, level surface and set the parking brake. Grab your tape measure and record the distance from the ground to the top of the deck shell on both the left and right sides. Write down each measurement and compare them directly. If they’re unequal, your deck level is off side-to-side, and you’ll need to locate the adjustment rods on each side. These rods attach at the front to the wheel lift channel and control height independently. You won’t adjust them yet—just identify their position. After any future adjustments, you’ll re-measure both sides to confirm equal heights and verify the deck is level side-to-side.
Recommended Products
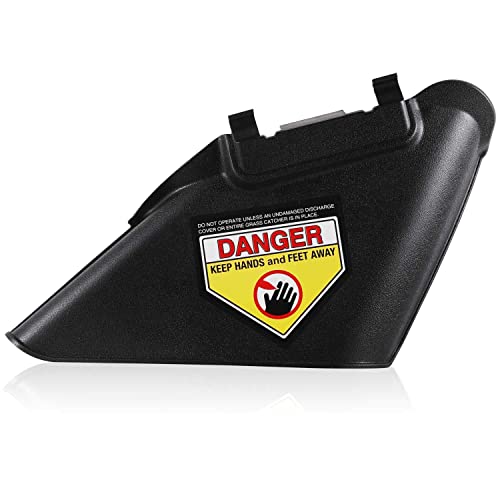
Replacement Part: 731-07486. The product does not come with the screw, please recycle the screws from the old part and reuse it with our new replacement. Size: Lawn Mower Side Discharge The length of the hypotenuse of the Chute is 11 inches and the height is 3.4 inches. See Figures 2

We are located locally and will deliver the product to you as quickly as possible(Among them, 43 State)The product warranty period is one year!

COMPATIBILITY INFO: Flexible side discharge shield for Grasshopper mower decks. For 48" - 72" MidMount, and 44" - 72" FrontMount mower decks. Fits manual and electric lift Edge-EZE edger. Protect your investment and ensure peak performance by trusting only genuine OEM replacement parts and supplies to maintain your machine.
Adjust the Heim Joint to Raise or Lower Each Side
Once you’ve identified the height difference between sides, you’ll correct it by adjusting the heim joints.
Locate the heim joint on each side—the connection attaching the deck to the wheel lift channel. Loosen the front jam nut, then remove the cotter pin and nylon washer, sliding both off the pin. Rotate the heim joint clockwise or counterclockwise to raise or lower that side, modifying the adjustment angle until you’ve achieved the desired deck level. Reinsert the nylon washer and cotter pin to secure the heim joint, then re-measure both sides. Repeat rotation as needed to balance. Once you’ve confirmed deck level parity, retighten the jam nut and perform a final measurement to verify both sides match precisely.
Recommended Products


Universal Deck Leveling Gauge: Designed as a reliable lawn mower tool, this deck leveling gauge helps ensure precise blade height adjustment for a perfect cut every time.

【Replace Part Number】Compatible with part#: Hustler 604219 126123, Rotary 15211. Before making a purchase, please confirm with your original part number.
Tighten Everything Down and Double-Check
Why risk losing your precise adjustments? Tighten the jam nut immediately after setting deck height to lock your position and prevent drift during operation. You’re securing the mechanical integrity of your entire deck leveling system, so don’t skip this step.
Reinsert the cotter pin and nylon washer, ensuring they’re fully seated—you’re creating redundant retention against vibration-induced loosening. Now begin verification: re-measure both sides to confirm side-to-side level hasn’t shifted during your fastener operations. Any rotation of the heim joints demands immediate correction.
You must also verify front-to-back pitch, confirming the front edge sits 1/8″ to 1/4″ lower than the rear using attachment points closest to 8-1/4″ specification. For model-specific confirmation, watch the demonstration video before completing your verification sequence.
Recommended Products

Part Number: MOK30-0015 AM130907 TY15272 750-442 490-900-0041

Specs: Description: Deck Leveling Gauge, Plastic, Used to accurately level and measure mower decks on all riding and walk behind mowers, Mower blade cutting height gauge range is 1 1/2" to 5", Measure tip to tip cutting edge (side to side and front to back), - Measure one side cutting edge. Check height on gauge., - Measure other side cutting edge. Check height on gauge., - Deck is level if heights are the same. If not, deck adjustments will need to be made., USE GLOVES TO AVOID INJURY
Adjust Front-to-Back Deck Pitch
With your side-to-side level locked down, you’re ready to tackle the front-to-back pitch that controls how grass discharges and prevents uneven wear on your blades.
For proper deck pitch, position the front of your deck 1/8″ to 1/4″ lower than the rear at your chosen cutting height.
Begin this front-to-back adjustment by identifying deck attachment points and corresponding holes on the brackets.
Measure from ground level to these holes to select proper positioning.
At 3″ cutting height or above, use the attachment hole closest to 8-1/4″.
For lower heights, drop deck-attaching brackets one hole and relocate axle bolts to the top hole.
After completing this mower deck leveling step, remeasure front-to-back alignment.
Verify your achieved pitch by checking deck-to-ground measurements, confirming you’ve established the intended differential for optimal (or ideal) cutting performance.
Recommended Products
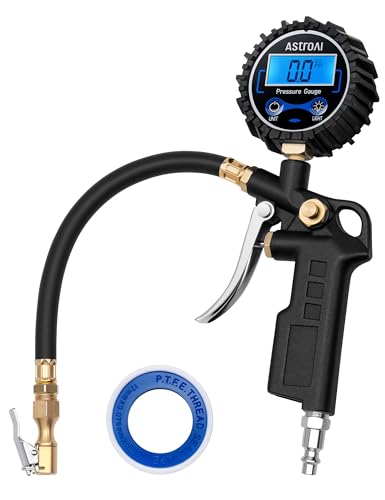
TRUSTED BY OVER 3 MILLION USERS: Based in Garden Grove, California, AstroAI serves customers in more than 15 countries worldwide. Known for professional-grade accuracy and durable construction, this digital tire inflator with gauge is a trusted choice for drivers, mechanics, and DIYers who rely on dependable tools.

Performance tested & calibrated accurate to ANSI standards (±1.5%), ensuring precise low PSI tire pressure readings without relying on batteries; designed for the low pressure tires on your ATV, UTV, dirt bike, tractor, or off-road vehicle

The WYNNsky tire gauge is designed specifically to provide precision measurements for low pressure readings that higher PSI gauges are unable to provide
Position Brackets for Your Cutting Height
Where exactly should your brackets sit? You’ll identify the correct deck attachment points by matching your chosen deck height to the specific mounting holes on your mower’s brackets, using your manual or model guide for reference. For higher cutting heights, position the brackets in holes closer to the top to achieve greater deck lift. For lower heights, shift down to lower mounting holes. If you’re lowering considerably, adjust the axle bolts to the top hole as needed. After selecting your position, measure from ground level to each attachment hole to ensure the brackets align the deck at your target height. Re-measure both sides and confirm consistency. This precision prevents uneven blade positioning and establishes your foundation before final leveling steps.
Recommended Products
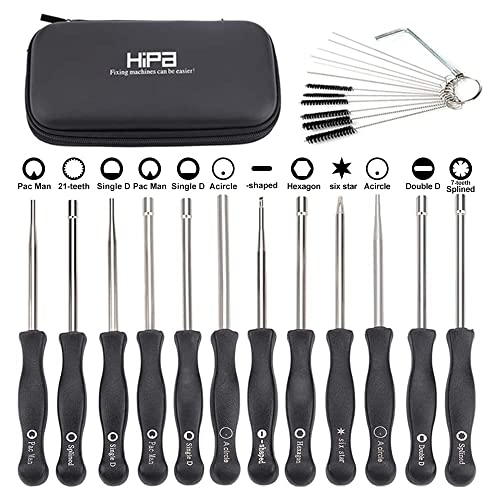
Carburetor adjustment tool kit, fits for ZAMA, STHIL, Husqvarna, Poulan, Weedeater, Echo, Homelite, Ryobi, MTD, Troy-Bilt,Toro, Sears, Ruixing, Huayi; string trimmer, chainsaw, leaf blower, hedge trimmer, edger, pole pruner and anything else that utilizes the carburetor adjustment tool.

▶ Used on most 2 cycle engines; Fits many brands of equipment, including Sears, Craftsman, Poulan, Husqvarna, Weedeater, Echo, Toro, Ryobi, Homelite, and anything else that utilizes the pac-man stytle adjustment screws.Equipped with 10 different carburetor adjusting tool screwdrivers including: 21 Teeth Splined + 7 Teeth Splined + Single D + Small Head Single D + Double D + Pac Man + Small Head Pac Man + Hexagon + Shapde + Six Star and carburetor cleaning tools.

Convertible Design: The removable wheeled deck allows quick transformation into a small lawn mower for versatile yard care
Verify Level and Test the Cut
How will you know your adjustments actually worked? You’ll take a second measurement on each side to verify the side-to-side level persists; repeat adjustments if imbalance remains. You’ll check that the front-to-back pitch holds at 1/8″ to 1/4″ lower than the rear at your target deck level. When cutting at 3″ or higher, you’ll confirm you’ve selected the hole nearest to 8-1/4″ on the brackets. At lower heights, you’ll verify you’ve lowered the deck-attaching brackets by one hole and moved axle bolts to the top hole. Recheck both the front-to-back pitch and side-to-side level after any correction. You’ll maintain precision by consulting the demonstration video for step-by-step guidance throughout verification. Test the cut on a level surface to confirm even clipping distribution across the swath.
Recommended Products

Compatible with Craftsman 22" Mower Deck Models: 917254391,917255500, 917254380, 917254381, 917254390, 917254540, 917254541, 917254542, 917254570, 917254571, 917254572, 917254590, 917254591, 917290800, 917364250, 917370610, 917374358, 917374356, 917376391, 917.374551, 917374545, 917374541, 917370441, 917370920, 917376531
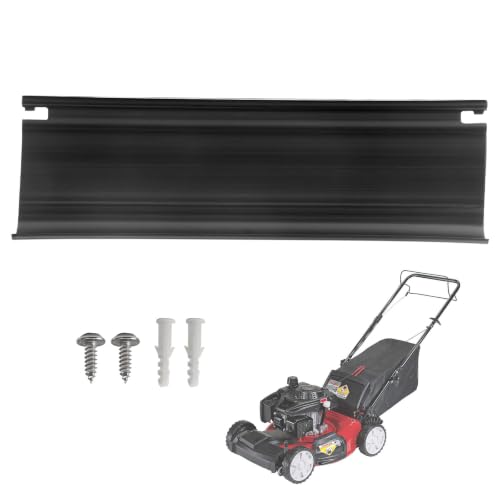

Replacement Part Number: 731-07486
Conclusion
You’ve leveled your mower deck by establishing equal side-to-side measurements and proper front-to-back pitch. You’ll maintain optimal cutting performance by rechecking level seasonally, after impacts, and whenever you observe uneven cut patterns. You’re ensuring clean, consistent cuts and minimizing turf damage through precise deck geometry.
Recommended Products
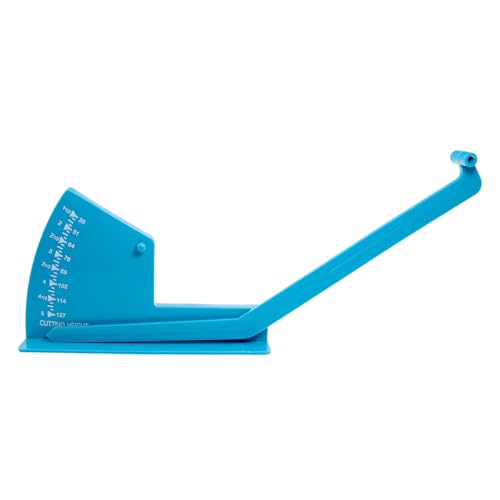
Practical material: High-quality blue plastic, resistant to seawater corrosion and outdoor environmental wear, suitable for long-term use in damp environments such as ships and docks, steady and long-lasting.

Part Number: MOK30-0015 AM130907 TY15272 750-442 490-900-0041

SCISSOR-LIKE CUT: No ripping or tearing of grass blades for a better and healthier lawn