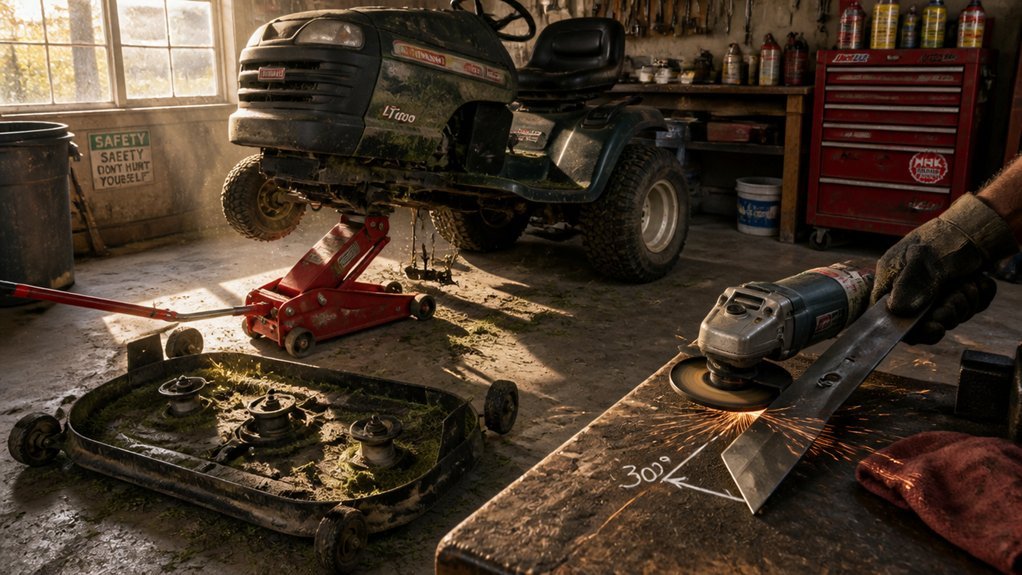
You’ll start by completely disabling the mower—no shortcuts, no assumptions. After you’ve chocked wheels, disconnected the spark plug, and dropped the deck, you’ll face a choice that determines your blade’s lifespan: file or grinder. But here’s the catch: sharpen unevenly, and you’ll vibrate your spindles to death. The method that saves your equipment isn’t the obvious one.
How Often Should Riding Mower Blades Be Sharpened?
How frequently must you sharpen your riding mower blades? You’ll sharpen them at least once annually, or immediately when you observe degraded cut quality, tearing, or ragged edges rather than clean shearing.
Twin-blade decks demand stricter attention—you’ll sharpen both blades as a matched pair to maintain precise tolerances, ensuring uniform lift and blade-to-blade alignment. You’ll consult your operator’s manual for model-specific guidance, as blade geometry and metallurgy vary across designs.
Troy-Bilt and comparable manufacturers specify balanced, even sharpening on both cutting edges to sustain aerodynamic consistency. You’ll inspect blades critically: over-sharpening beyond factory tip-to-edge specifications or visible damage necessitates installation of replacement blades rather than continued maintenance. You’ll prioritize safety by recognizing when metal fatigue compromises structural integrity.
Sharpening Prep: Lock Out the Mower Before You Start
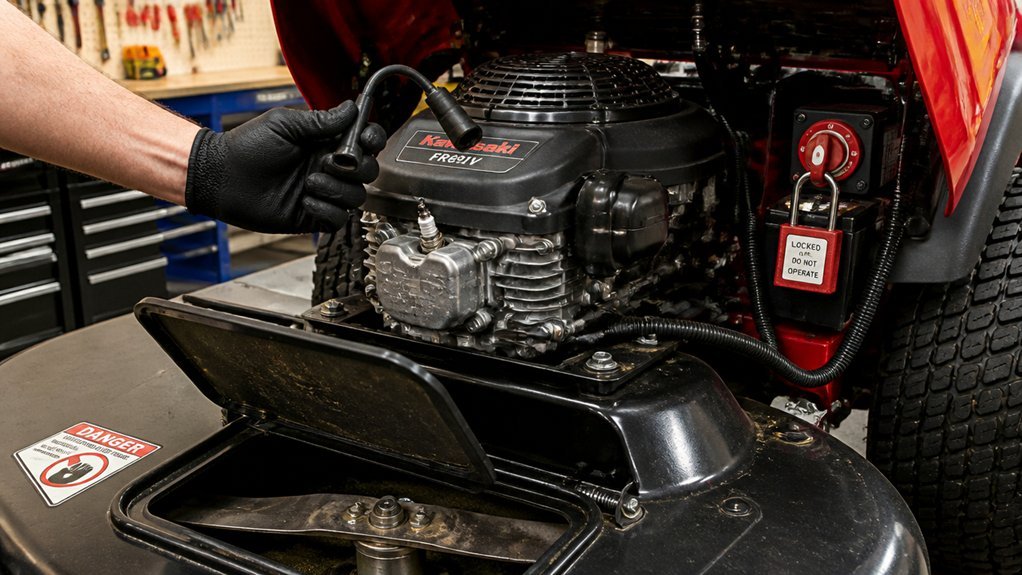
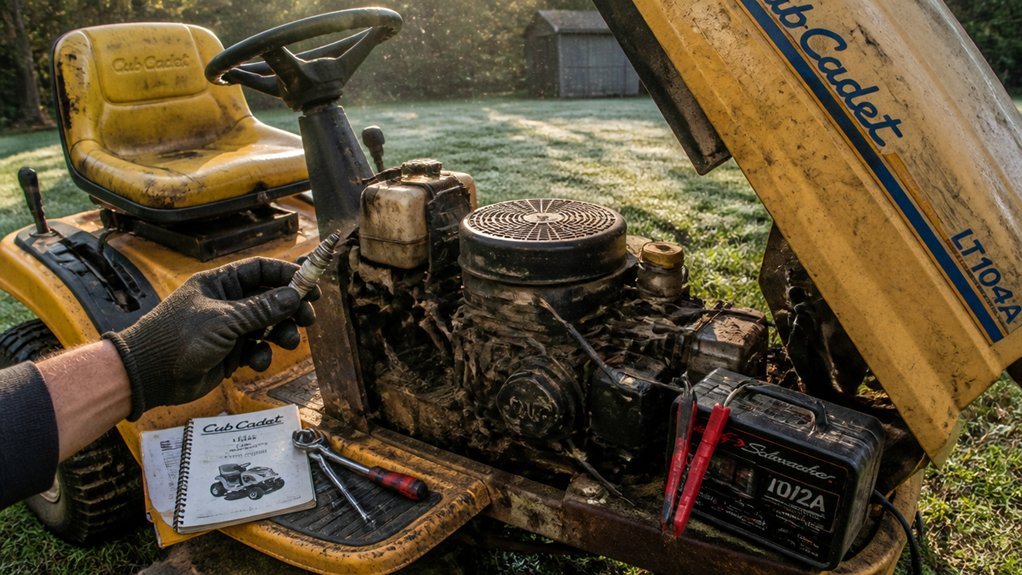
Where does proper blade maintenance begin? It begins with complete lockout of the mower’s energy sources. You turn the engine off and remove the ignition key to eliminate unexpected startup. You engage the parking brake and chock the rear wheels to prevent any rolling during maintenance. You disengage the PTO lever to ensure the blade drive system can’t activate. You set the deck height lever to its highest position to maximize clearance. This lockout procedure isn’t optional—it’s your primary defense against mechanical injury. You’re isolating stored energy: kinetic, potential, and thermal. Don’t skip steps. Verify each control position visually and physically before proceeding. Your safety depends on systematic de-energization.
Only after confirming total lockout do you position the deck for blade access.
Deck Removal or Jack Lift: Choose Your Access Method
Why wrestle with cramped quarters when you can choose your approach?
Deck removal provides direct access to both blades. You’ll detach the belt from the engine pulley and disconnect PTO components to free the deck assembly. This method delivers stable, unobstructed workspace for blade maintenance.
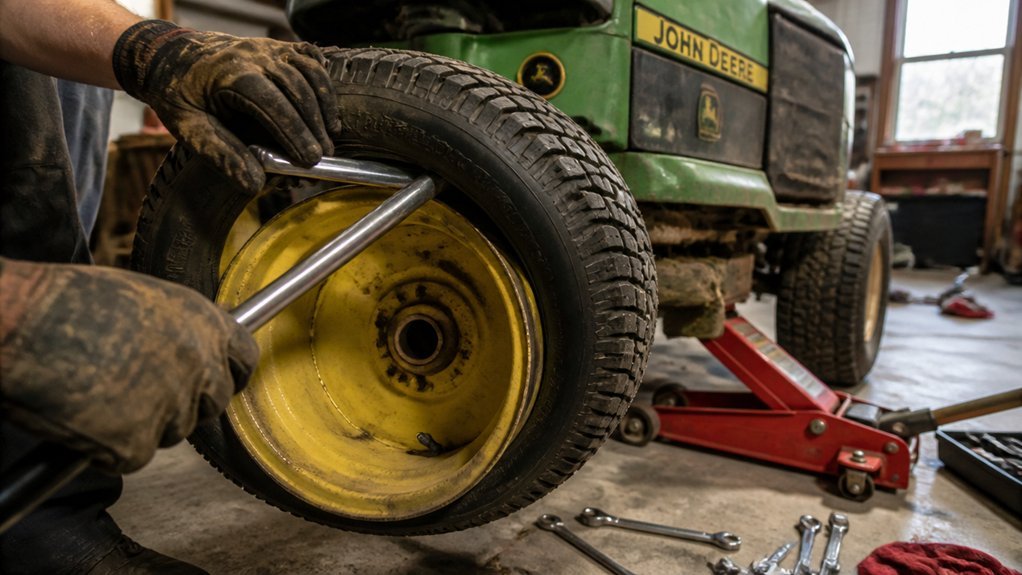
Alternatively, you can lift the mower with a jack to reach blades without removing the deck. You must secure the mower with proper blocking and verify stability before proceeding. Jack access may limit your range of motion compared to full deck removal.
Always consult your operator’s manual for model-specific torque values, removal sequences, and reassembly procedures. Whether you remove the deck or lift the chassis, prioritize secure positioning—you’re protecting yourself and preserving spindle integrity. Both methods work; select based on your equipment, space, and comfort.
Remove Blades Without Damaging the Spindle
Once you’ve secured access to the deck, protecting the spindle becomes your priority. Detach the spark plug wire and disconnect the deck belt to isolate the cutting deck from engine power. Support the mower with a jack or lift, then block it securely to prevent movement while you work on the blades.
Note each blade’s orientation before removal—you’ll need this to reinstall with correct left- or right-hand fit and maintain spindle safety clearance. Rest the blade on a non-marring surface, then apply steady counterclockwise torque with a properly sized wrench or socket to loosen the mounting bolt without stressing the spindle shaft.
After removing the blades, inspect the spindle shaft for burrs or wear. Clean the mandrels and spacers thoroughly to prevent damage during reassembly and ensure smooth operation.
Choose Your Sharpening Tool: File or Grinder?
Your choice of sharpening tool determines both the quality of the edge and the integrity of the blade steel. You’ll select either a file or a grinder based on your priorities for heat control, precision, and speed.
If you choose files, you’ll maintain blade angles without overheating. Grab a mill or automotive file set with flat and curved profiles to match the blade’s edge geometry and maintain the original bevel.
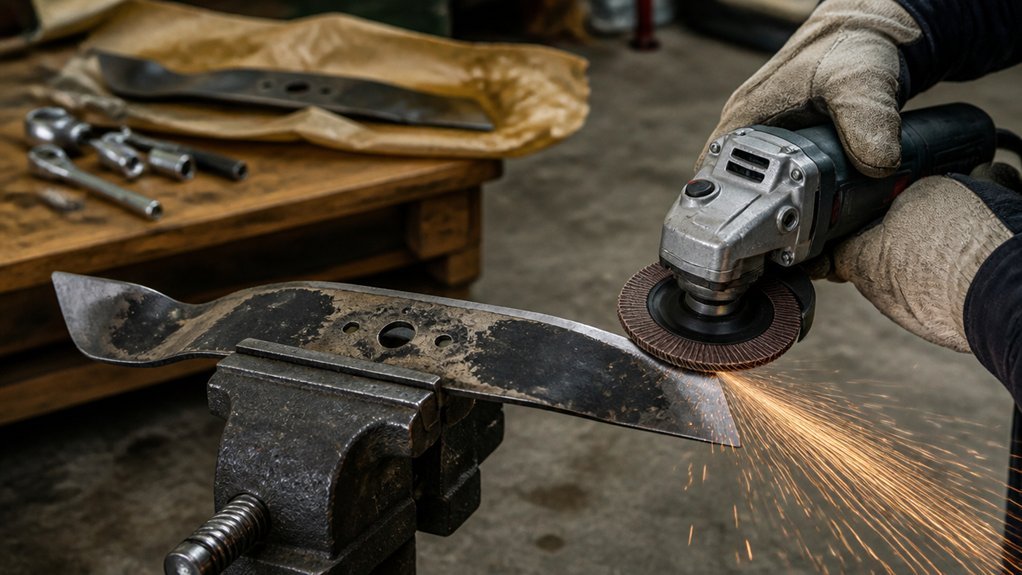
If you select a grinder, you’ll remove material quickly but risk heat buildup that can dull or temper the edge. Use a well-fitting grinding wheel and keep the blade cool with water or frequent pauses to prevent warping or weakened metal.
Regardless of method, you’ll sharpen both sides evenly to preserve balance. Recheck blade balance afterward; an out-of-balance blade causes vibration and uneven mowing.
Preserve the Factory Bevel Angle While You Sharpen
How precisely you maintain the factory bevel angle determines whether your blade cuts cleanly or tears grass. You’ll sharpen only the cutting edge, never the backside, to preserve the blade’s original cut geometry.
Set your file or grinder to match the blade’s existing bevel angle. Don’t remove material from the flats or mounting surface—doing so compromises structural integrity and cutting performance. Inspect the cutting edge for nicks and chips; if damage has altered the bevel angle unevenly, replace the blade rather than re-beveling excessively.
Sharpen both cutting edges evenly to maintain tip-to-edge geometry consistent with factory specifications. After sharpening, verify the cutting edge remains uniform along the full blade length. Reinstall with correct orientation to preserve lift and performance.
Balance Blades on a Screwdriver Shaft
Although a freshly sharpened blade might seem ready for reinstallation, you can’t verify its balance until you’ve tested it on a simple fulcrum. Secure a round shaft screwdriver horizontally in a vise or hold it steady, then rest the blade’s center hole on the shaft so its edges hang parallel to the ground. Observe whether either side tilts downward—that’s the heavy side. Blade balancing requires precision; you’ll remove small amounts of material from the heavy edge and recheck frequently. After each adjustment, return the blade to the screwdriver shaft and confirm it sits level with no rotation. Only complete this process after sharpening both cutting edges. An unbalanced blade causes dangerous vibration and uneven cutting performance.
Remove Metal From the Heavy Side to Balance
Where should you begin when the blade tilts consistently to one side? You’ve identified the heavy side—now remove metal exclusively from that end. Never shave material from the light side.
Attach the blade to a round shaft screwdriver or dedicated balancer. When one end drops, mark it. You’ll use a file or grinding wheel to reduce mass, applying light, gradual passes. Check balance after each removal. Aim for near-equal weight distribution so the blade spins true without wobble or vibration that risks spindle damage or unsafe operation.
Recheck both sides frequently. Ensure you’re shaving evenly while preserving original cutting edge geometry—don’t distort the blade’s profile or angle.
If excess material removal becomes necessary to achieve balancing, stop. You’ve likely compromised structural integrity. Replace the blade instead of over-sharpening one side and creating a hazard.
Tighten to Spec: Why Torque Wrenches Prevent Spindle Damage
Why risk spindle failure when a torque wrench guarantees proper clamping force? You’ll prevent under-tightening that loosens spindles and over-tightening that strips threads or crushes bearings. Consult your operator’s manual for the exact torque specification—typically calibrated to balance blade retention with bearing longevity.
You’ll apply force systematically, working in a star pattern to distribute load evenly. This minimizes runout and vibration, preserving cut quality and reducing component wear. The torque wrench delivers repeatable precision across all mounting points, eliminating uneven loading that warps spindle housings.
After initial tightening, you’ll recheck torque following a brief run cycle to compensate for bolt relaxation. This verification step ensures sustained clamping force throughout operation. Don’t rely on feel—your torque wrench protects critical spindle integrity through measurable, documented tension.
Reassemble in Reverse Order and Test Your Cut
With your blades properly sharpened and torqued, you’ll reassemble the mower by reversing your removal sequence: route the belt through pulleys as diagrammed, connect the PTO cable to its actuator arm, and seat the hanger rods into their brackets before securing with clips and fasteners. Verify each component sits seated and aligned before tightening bolts.
Torque blade mounting bolts to manufacturer specifications to ensure balanced, vibration-free operation. Use a round shaft screwdriver to check blade balance, removing material from the heavier side as needed.
Reconnect the spark plug wire, lower the mower, and confirm the cutting deck is level. Perform a test cut on a small, unobstructed area to confirm even cutting and listen for unusual noises indicating misalignment or loose components.
Conclusion
You’ve sharpened your riding mower blades with precision, but your work isn’t complete until you’ve verified balance and torqued every fastener to specification. Don’t skip the spindle bolt torque check—under-tightening risks blade detachment; over-tightening damages threads. Reinstall the deck, reconnect your spark plug, and verify cut quality on grass. Inspect blades after every 8–10 hours of operation. Proper maintenance extends blade life, protects spindle bearings, and delivers the clean, even cut your turf demands.