Your lawn mower’s sputtering or refusing to start often signals a carburetor choked with varnish and debris. You’ll need to diagnose whether a quick external cleaning suffices—or if full disassembly awaits. Small engines demand precision; one damaged jet or torn gasket turns a simple fix into costly repair. The method you choose depends on symptoms, fuel type, and how long the machine sat idle. Before you reach for tools, consider what’s actually happening inside that metal chamber.
Does Your Carburetor Need Cleaning? Symptoms and Quick Checks
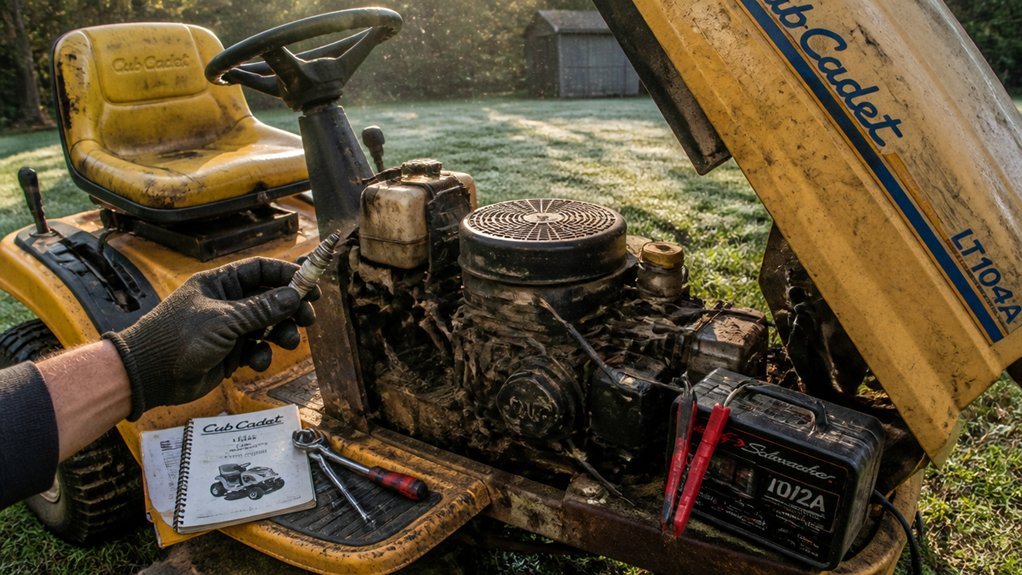
How do you know when your carburetor’s causing trouble? You’ll notice black smoke billowing from the exhaust, indicating an overly rich air-fuel mixture. You’re likely dealing with stale fuel or varnish buildup clogging internal jets and passages when the engine won’t start or struggles to turn over.
You’ll want to inspect your air filter first—if it’s oil-soaked or dirty, you’re restricting airflow and exacerbating rich running conditions. Check your choke and throttle linkages for sticking or binding; these mechanisms must move freely to maintain proper idle and acceleration. Examine your fuel line for cracks or blockages.
During your visual inspection, look for deposits around fuel passages and the float bowl—these indicate where carburetor cleaner will need to penetrate. You’re identifying failure points before disassembly.
Clean Without Removing: Fast Carburetor Fix
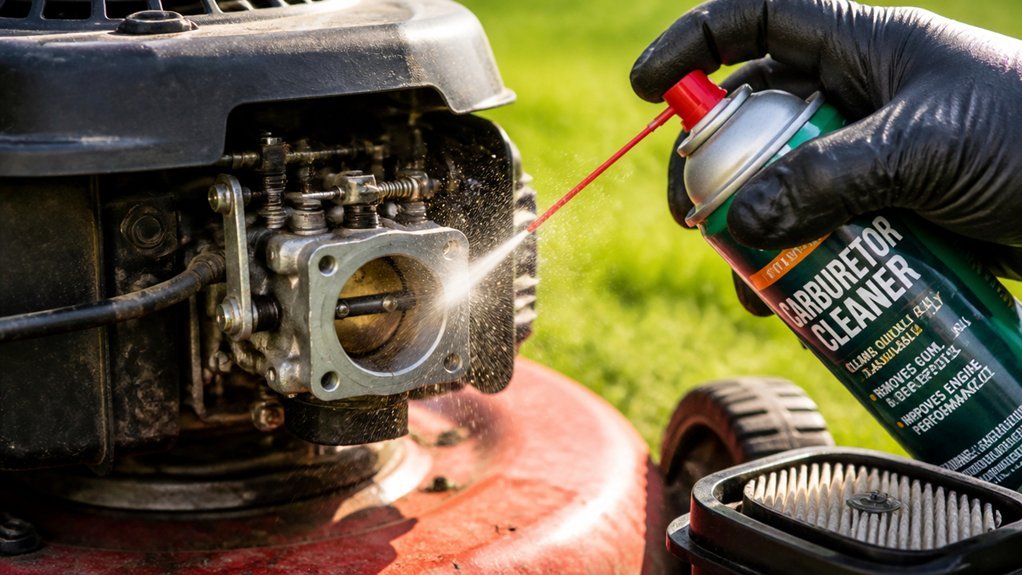
Your carburetor doesn’t always need full removal to restore performance. Remove the air filter cover and filter to expose the carb throat, then unscrew the bottom bolt to detach the float bowl. Spray dedicated carburetor cleaner into the carb throat, targeting varnish and gum deposits. Clean the carb jet and main jet with focused spraying. With the float bowl removed, direct cleaner into the pickup tube and internal passages, scrubbing gently to dislodge clogs without full disassembly. Don’t spray gasoline—use proper cleaner only. Reinstall the float bowl, filter, and cover. Reconnect the spark plug wire, then test-start to verify improved air and fuel flow. Avoid running the engine during cleaning; backfires indicate you’ve compromised the air-fuel mixture.
Remove and Soak: Deep Carburetor Restoration
Detach the carburetor by removing the covering plate, linkage, hoses, and mounting clamps, then pull the float bowl to expose the internal components for thorough cleaning.
Disassemble the carburetor completely, ensuring you’ve drained all fuel beforehand. Submerge the float and removable parts in a Simple Green solution at 1:3 dilution. Soak all metal components, ensuring tiny vents and small parts remain fully submerged to dissolve varnish and gum deposits. This cleaning method penetrates stubborn buildup that surface wiping can’t address.
After soaking, rinse all parts with clean water. Allow them to air dry completely—moisture causes corrosion and malfunction. Reassemble the carburetor carefully, re-link hoses and wires, then mount it back to your lawn mower engine. Re-connect the fuel line, verify all connections, and reinstall the covering plate to complete the restoration.
Clear Jets and Passages: Avoid Common Damage
Why risk ruining your carburetor’s precision-engineered passages? You’re preventing jets and passages damage during carburetor cleaning when you clear jets and passages correctly.
Remove all rubber and plastic components before soaking metal parts—strong solvents degrade these materials. When blocking persists, don’t insert paperclips or drill bits; you’ll irreversibly enlarge precision orifices. Instead, thread a very small, soft wire or bent bristle through obstructed openings to dislodge debris without altering dimensions.
Attach the red straw to your cleaner spray. through every passage, and confirm complete clearance by observing cleaner spray exiting from opposite holes—this verifies unobstructed flow paths. You’re using this visual confirmation method to ensure thorough passage evacuation.
You’ll avoid common damage that ruins calibration and restores proper fuel metering through these controlled mechanical and solvent techniques.
Reassemble and Test: Restore Fuel Flow
Precision-crafted components now demand equally careful reconstruction. Install new gaskets and reassemble the carburetor clean, ensuring all hoses, clamps, and wires match their original positions. Mount the assembly securely to the engine block.
Reconnect the fuel line and tighten the hose clamp firmly. Verify no leaks seep from connections before proceeding. Use compressed air to dry all internal passages and small holes completely. Install a fresh air filter and secure its cover to restore proper air intake.
Prime the carburetor using the choke or brief engine cranking to reestablish correct air-fuel mixture. Start the engine, running at fast idle while monitoring for smooth operation and normal exhaust. If performance falters, stop immediately and recheck wiring, connections, and seals. Reattach the spark plug wire last.
Stop Future Clogs: Fuel Stabilizers and Ethanol Tips
How do you keep a cleaned carburetor from gumming up again? You’ll prevent future problems by addressing fuel quality and storage practices.
Stale fuel degrades rapidly, forming varnish that clogs carburetor jets. Ethanol in E10 gasoline attracts water, causing moisture buildup and phase separation that deposits residue throughout fuel systems. You’ll counteract these effects by adding fuel stabilizers to every tank, especially before storage. These compounds slow oxidation, inhibit gum formation, and protect against ethanol-related corrosion.
Select a stabilizer formulated for ethanol-blended fuels. Measure precisely according to your tank capacity—overdosing wastes product; underdosing fails to protect. Top off with stabilized fuel at season start and end. This procedure maintains clean fuel passages, prevents jet obstruction, and ensures reliable starting when you return to operation.
Conclusion
You’ve now restored your carburetor’s fuel flow and airflow. Inspect all gaskets, seals, and hardware during reassembly; torque fasteners to manufacturer specifications. Test-start the engine, then verify throttle response and idle stability. Prevent future deposits by running ethanol-free fuel or adding stabilizer—ethanol absorbs moisture and gums passages. Store equipment with treated fuel or drained systems. Your carburetor will deliver consistent performance with proper maintenance.