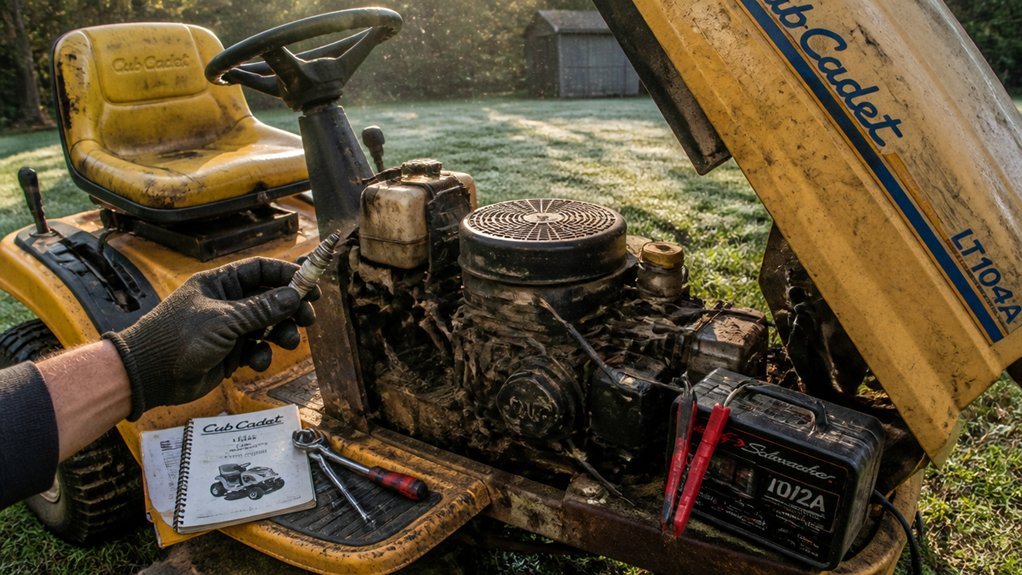
You’ll start by parking your mower on level ground, engaging the brake, and disconnecting the spark plug—skipping any of these steps risks serious injury. Once secured, you’ll need to choose between removing the deck or jacking the machine, but that decision depends on your specific model and available tools. The real challenge comes when you’re staring at a seized bolt or wondering whether your old blade is worth sharpening.
Park, Chock, and Disconnect the Spark Plug
Where should you begin? You park the riding mower on a flat, level surface. You’ll turn off the engine, remove the key, and engage the parking brake. You’ll disconnect the spark plug wire—this eliminates ignition risk during blade removal. If your model allows rear wheel access, you’ll chock the back wheels to prevent rolling. You’ll verify the mower deck sits at its highest position, maximizing clearance beneath the cutting deck for subsequent maintenance steps. These precautions establish blade safety protocols before you approach the riding mower blades. You’re ensuring no accidental starts occur while you work near the blade bolt.
This preparation phase precedes physical blade interaction—you’re securing the environment, not yet executing blade removal. You’re building procedural reliability through methodical shutdown and isolation. You’ll maintain this vigilance throughout service.
Access the Blades: Deck Removal or Jack Method

How will you reach the blade hardware? You’ve got two approved approaches: deck removal or the jack method.
For deck removal, ensure you’ve set the parking brake and disconnected the spark plug. Follow your operator’s manual precisely to detach the cutting deck from the riding mower, lowering it carefully to the ground.
For the jack method, raise the mower to its highest position, then elevate the front using a rated jack and secure jack stands. Both methods demand strict safety precautions—never work under an unsupported machine.
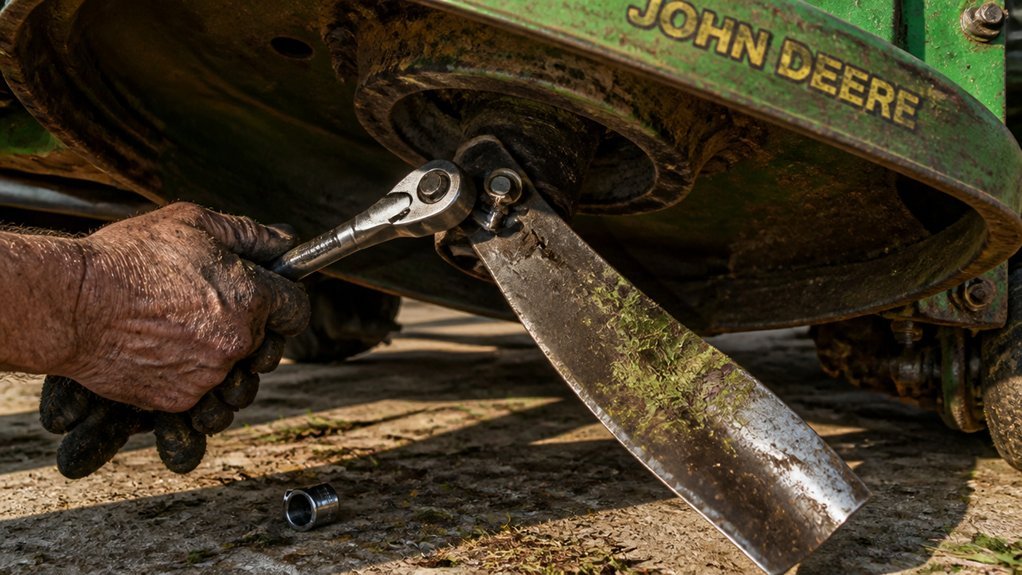
Once elevated or detached, perform thorough debris clearance around the blades. Verify you’ve got unobstructed access to the blade bolt, which you’ll turn counterclockwise during removal. Always secure the blade to prevent rotation before applying torque.
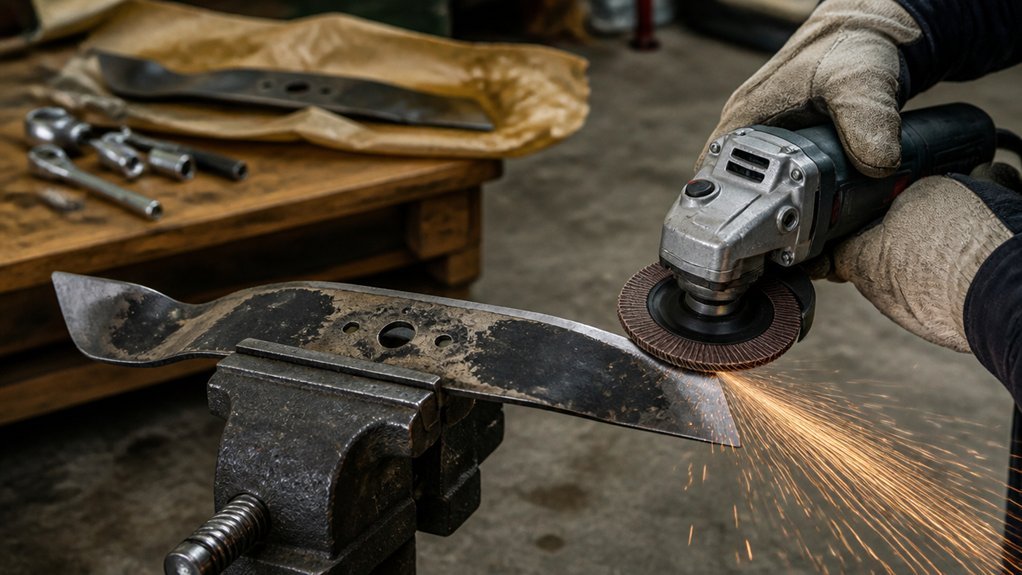
Remove the Old Blades
What’s the safest way to free that worn blade from its mount?
You’ll set the riding mower to its highest deck position, then clear debris from the cutting area. Don those safety gloves or wrap the blade with heavy cloth to protect your hands during this blade removal phase.
Position your tool wrench on the blade bolt. Apply steady torque counterclockwise while securing the blade to prevent rotation—you’re breaking the fastener’s resistance without losing control. Once loose, fully extract the blade bolt and store it safely. Carefully detach the blade from the mandrel or adapter. Before setting it aside, study the blade orientation: note any stamped markings or cutting edge position. This attention to detail streamlines reassembly and elevates your mower maintenance practice.
Inspect and Decide: Sharpen or Replace
Once you’ve freed the blade from its mount, you’ll need to assess its condition before committing to either sharpening or replacement. Conduct a thorough wear evaluation: examine blade sharpness, check for bending, cracks, chips, or corrosion. If dullness is the only defect, you’ll proceed with sharpening edge restoration, preserving the original bevel and angle. However, blade replacement becomes mandatory when you detect severe nicks, structural damage, or loss of balance/tair that grinding can’t correct. Consult your operator manual for model-specific service life limits—some manufacturers define maximum sharpening cycles.
For twin-blade deck considerations, precise tolerances demand matched condition; uneven wear between riding mower blades compromises cut quality and mower deck integrity. Replace paired blades simultaneously when imbalance threatens operational safety.
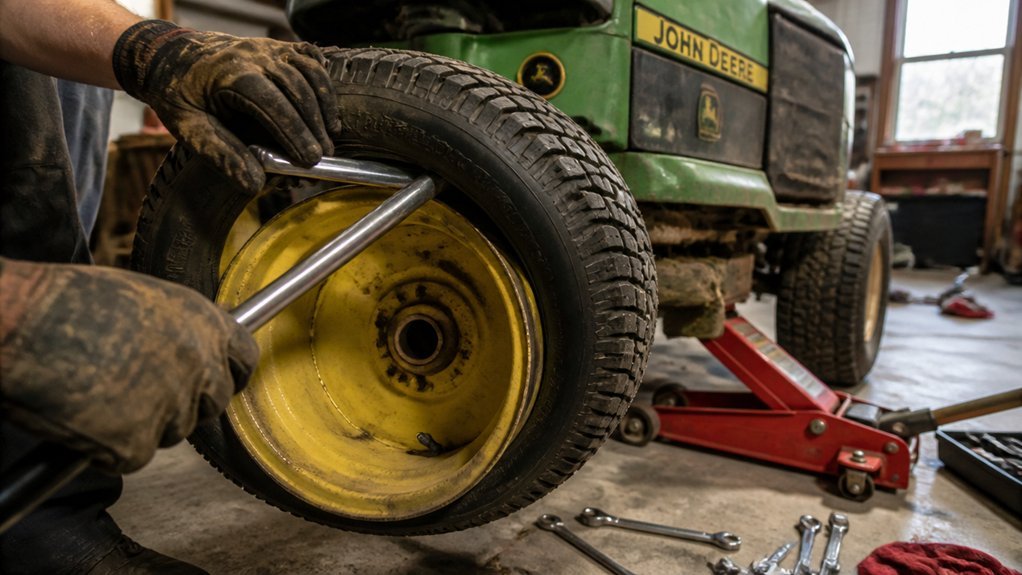
Install New Blades and Torque to Specifications
Whether you’re mounting a freshly sharpened blade or a new replacement, proper orientation is critical: position the blade so the GRASS SIDE faces downward, then align the center hole with the star pattern on the mandrel assembly before fully seating it.
Prioritize center hole alignment—blade installation demands precise engagement with the mandrel assembly’s star pattern. Verify blade seating: the blade must sit flush with zero play. Thread the bolt by hand, then apply blade bolt tightening using a calibrated torque wrench set to 45–55 ft-lbs (62–75 Nm) per manufacturer torque specification. Confirm blade balance through visual marking alignment.
Operate the riding mower blades through one complete cutting cycle, then execute a post-start torque check. Re-tighten immediately if you’ve detected any torque loss. Correct grass side orientation prevents hazardous imbalanced rotation.
Conclusion
You’ve secured the blades at 45–55 ft-lbs, verified balance, and reconnected the spark plug. Lower the deck, remove wheel chocks, and test the mower on a small patch. Listen for vibration or uneven cutting—signs of improper installation. Dispose of worn blades responsibly. Maintain a sharpening schedule to preserve cut quality and deck longevity. You’re ready for safe, efficient operation.