You’ve attached the box blade and adjusted the top link, but your first pass chews ruts instead of leveling soil. The scarifiers are digging too deep, the gauge wheels aren’t contacting the ground, and you’re leaving ridges high enough to trip over. Proper technique isn’t intuitive—it’s a sequence of adjustments most operators skip. The result? You’ll fight your own equipment until you understand exactly how the blade, scarifiers, and hitch geometry work together. There’s a method to this.
What Is a Box Blade and When Do You Need One?
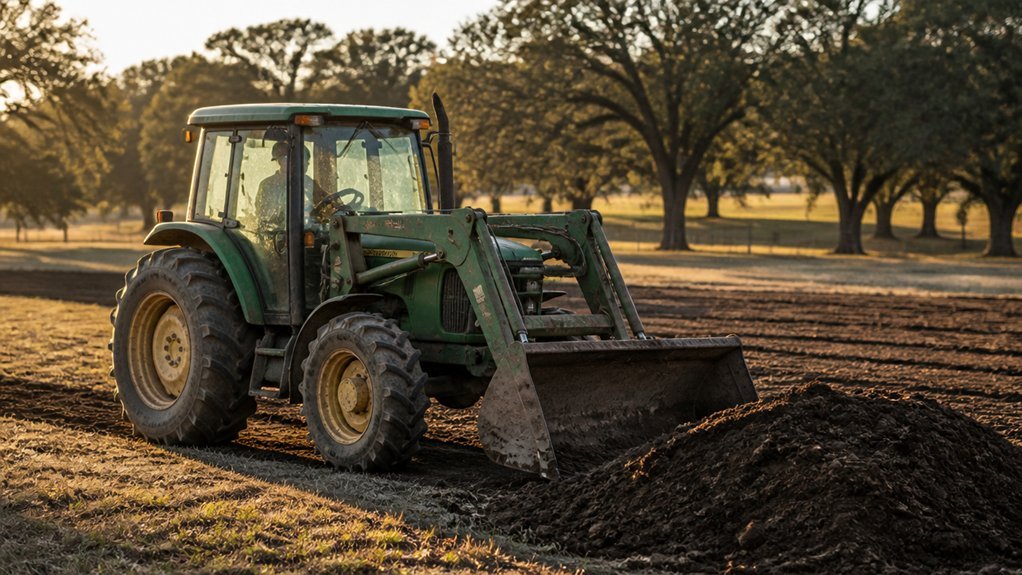
Why struggle with uneven ground when a box blade can transform your tractor into a precision grading tool? A box blade is a three-sided metal scraper you attach via your tractor’s three-point hitch. It carries front and rear scraping blades plus adjustable scarifiers mounted on a central crossbeam.
You’ll use this tool for leveling, smoothing, spreading materials, and breaking compacted soil. Lower the scarifiers to rip hard ground; retract them for finish passes. Adjust your top-link length and float position to control cutting depth versus floating action.
You need a box blade when you’re filling low spots, knocking down ridges, or contouring surfaces for drivable, even finishes. It fits Kubota and comparable tractors through universal quick-attach systems—install per your manual’s specifications.
How to Attach and Set Up Your Box Blade
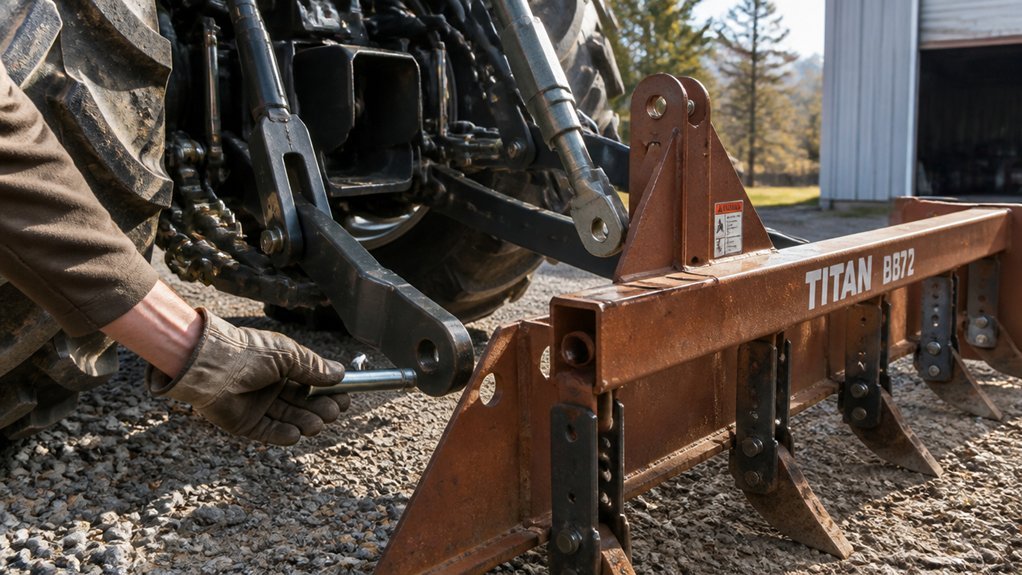
Once you’ve determined your box blade matches your tractor’s specs, move to mounting it. Verify three-point hitch compatibility and clearances per your manual, then attach the implement using your tractor’s quick-attach system or standard lower lift arms and top link. Center the box blade behind your tractor and secure all pins with clips.
During box blade setup, confirm proper weight distribution across the frame. Set scarifier position based on your immediate task—extend the tines for cutting and breaking ground, retract them fully for smoothing operations. Position the box level for initial testing.
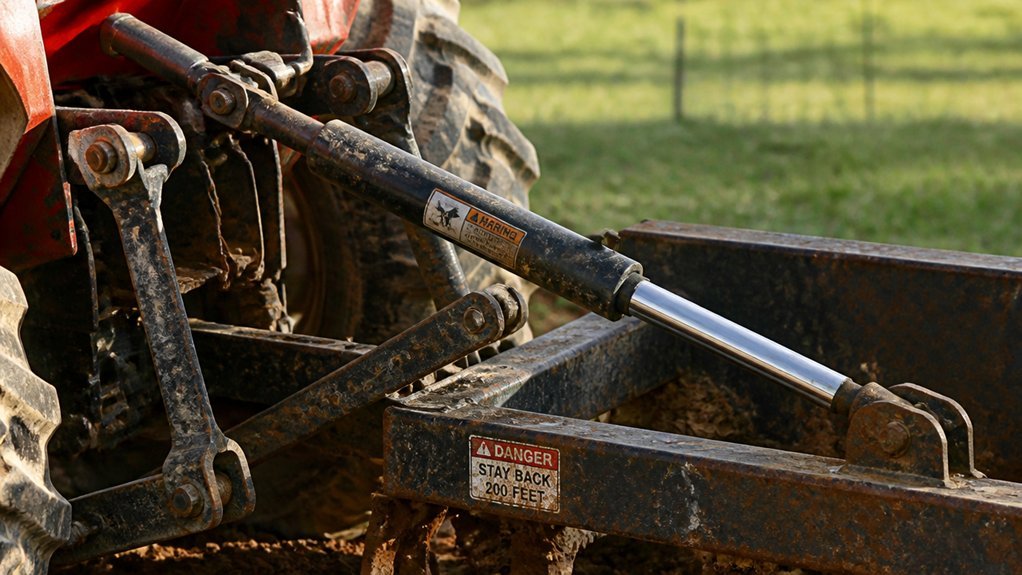
Plan your top link adjustment strategy before beginning work, recognizing that hydraulic top links provide superior control for frequent dirt work, though manual links suffice for occasional use. Double-check all connections before engaging your tractor’s hydraulics.
How to Adjust Your Box Blade’s Top Link for Any Task
How precisely does your top link position determine what your box blade actually does? You control cutting depth and function through height adjustment of this critical linkage.
Extend your top link nearly to maximum length. You’ll position front and rear blades for minimal ground contact, creating a float position ideal for final leveling without digging. Shorten the top link aggressively when you need bite—this drops blades deeper and increases cutting depth for material removal or grading humps.
For balanced operations, maintain your top link near mid-position. This neutral setting reduces both cutting and dragging, permitting even soil redistribution without unwanted aggression. Tilt the box forward via top link adjustment to transition from cutting into floating mode, smoothing uneven terrain passively.
Hydraulic top link options provide incremental precision during continuous dirt work, though manual versions function adequately for intermittent tasks.
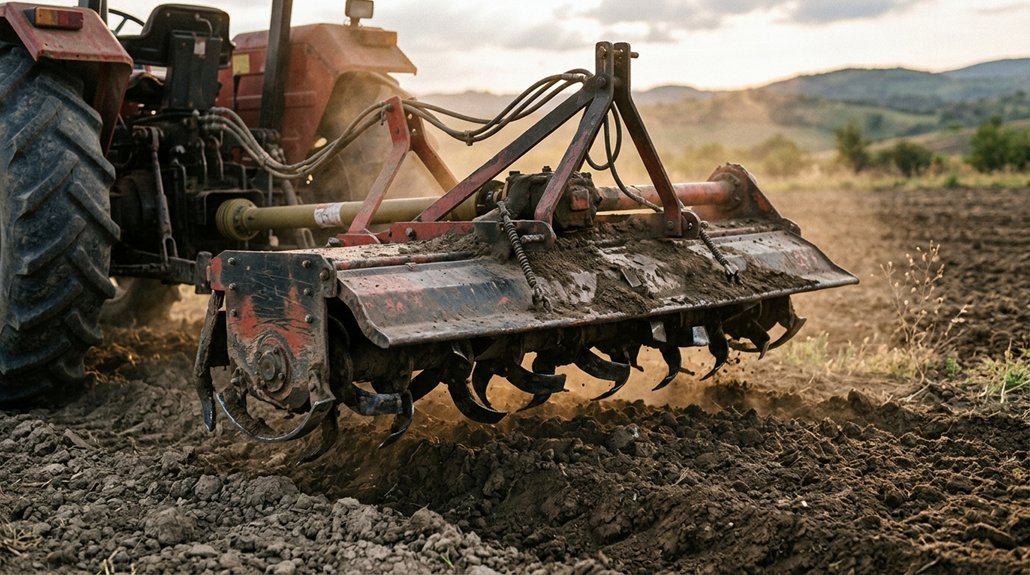
How to Set Scarifiers for Aggressive Ground Breaking
Your top link positioning sets the stage, but scarifier depth determines whether you’re skimming soil or ripping through compacted layers. For aggressive breaking, lower your scarifiers fully and extend your top link, angling the box blade settings forward to drive teeth deep into compacted ground. This configuration maximizes scarifier penetration and exposes undisturbed material beneath. Keep your top link position near mid-range to maintain consistent scraping while breaking ground—too short reduces bite, too long lifts the blade. You’ll feel the resistance when scarifiers engage properly. Remove or retract scarifier teeth when aggressive breaking completes to prevent unnecessary disturbance or clogging. Inspect scarifier wear regularly during intensive work; replace worn teeth promptly to maintain cutting performance. Proper scarifier adjustment transforms your box blade from a finishing tool into a ground-breaking implement.
Do You Need Gauge Wheels? (When They Help and When They Don’t)
Why install gauge wheels when you’re already managing scarifier depth and top link geometry? You’ll find gauge wheels provide a fixed reference that manual adjustments can’t match during initial leveling passes.
Set your gauge wheels to barely touch the ground on level surfaces. This maintains consistent blade-to-ground geometry and prevents the implement from lifting too high. Position them slightly lower than your cutting blades so lifts remain even without sacrificing ground contact.
Your gauge wheels excel at spreading material uniformly by lifting a fixed amount, enabling more consistent fill than dragging alone. However, they’re control tools, not finish instruments.
After initial grading, you’ll reduce reliance on gauge wheels. For final smoothing, float your 3-point hitch to follow variable terrain smoothly. Your tractor’s hydraulic float provides superior ground contact across undulations where rigid gauge wheels would create chatter and uneven cuts.
How to Level High Spots and Spread Material
What depth should you cut to knock down a high spot without creating new problems? Cut only 2–4 inches at a pass when leveling high spots with your box blade. Lower the scarifiers to grind raised areas until they’re loose and level with surrounding grade. Extend your top link until front and rear blades align at similar heights—this creates balanced cutting force across both edges. You’re not gouging; you’re shaving.
Gauge wheels help when spreading material. Set them to barely skim the surface so they control lift and distribute loosened soil evenly as you advance. Drag the box blade forward to redeposit material from peaks into adjacent depressions. Move steadily. Don’t scour—transfer. After reducing highs, lift scarifiers gradually in small increments while making additional passes to smooth and consolidate the surface.
How to Fill Low Spots: Compact, Drag, and Finish
Once you’ve shaved down the high spots, extend your top link to guide scraped material into the low areas, letting the box fill and release soil as it scrapes forward. Set your top link so the blades angle slightly backward, capturing loose material without aggressive cutting.
Drag material purposefully across depressions rather than scouring new ground. Concentrate on shifting previously lifted soil into each fill zone, building layers gradually. You’ll avoid disturbing undisturbed base layers this way.
Compact each fill by driving over it repeatedly with the box blade lowered. Multiple passes settle the soil and eliminate voids that cause future sinking. Gauge wheels assist here—set them barely touching level ground to maintain consistent lift height while spreading and packing.
Work systematically until all depressions disappear and the surface firms evenly under weight.
Box Blade Float Position: The Secret to Final Smoothing
How does the surface remain glass-smooth after you’ve leveled and filled every depression? You engage the float position on your 3-point hitch. This lets the box blade follow ground contours with minimal vertical movement, preventing the lift arms from fighting natural terrain variations.
When you’ve completed your broader leveling passes, shift into float. The box blade drifts along the surface without active cutting force. Lift becomes minimized, so the blades maintain close ground contact without gouging. You’re not pushing soil; you’re allowing consistent blade-surface interaction across irregularities.
For final smoothing, you’ll drive over the area to settle and compact lightly. Then make small, precise passes if needed. The float function does the work—your box blade glides, mirrors existing ground contours, and leaves behind that even, finished surface you’re after.
Avoid These 5 Costly Box Blade Mistakes (and How to Fix Them)
Why do some operators chew through cutting edges and still end up with washboard surfaces?
You’re likely running your front blade lower than your rear blade—or vice versa. Match both blade heights and set a middle top-link position so neither edge scrapes harder than the other. You’re also wasting material if you’re not balancing blade-to-ground contact; aim for minimal, even pressure. Don’t skip gauge wheels. They control lift and spread material evenly, whereas hydraulic top links tempt you into constant, sloppy tweaks. You’re not saving time by leveling everything in one pass; knock down highs first, then fill lows iteratively. Finally, compact those filled spots before regrading, or you’ll cut deeper and rut again on the next pass.
Conclusion
You’ve now got the fundamentals to run your box blade effectively. Match your hitch setup to the job, dial in that top link for precise depth control, and set scarifiers only when you’re breaking ground. Use gauge wheels for consistent grading, work highs before lows, and finish in float for a smooth surface. Avoid common errors— improper angle, excessive depth, neglected maintenance—and you’ll maintain grading accuracy while minimizing wear on your equipment.