You’ll start by understanding why your blade tends to create dips rather than fix them, then move through ripping high spots, selecting between box blade and ratchet rake, and finally locking in your grade with float and back-drag techniques. The sequence matters more than horsepower.
Why Your Tractor Blade Creates Dips (And How to Stop)
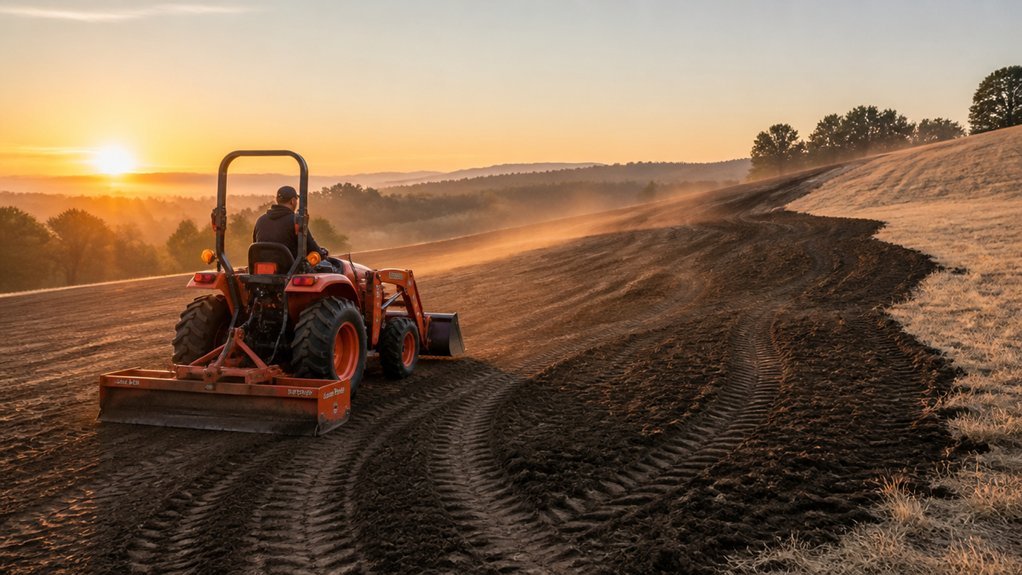
When you grade with a tractor blade, you’re not actually leveling the ground—you’re tracing it. Your rear blade follows every contour, so each pass carries that shape forward and gradually reintroduces low spots after each pass.
To stop this, you’ve got to loosen high spots and push material into hollows. Use your rear blade forward-facing; it’ll push material into hollows more consistently than dragging, reducing contour carryover. You can’t just scrape—you’ve got to cut in increments, work area-by-area, and make multiple passes to keep depth consistent and avoid re-cutting existing dips.
For stubborn jobs, pair heavy Box Blades with a Ratchet Rake on your loader. The box redistributes material; the rake breaks up compaction. Together, they fill dips better than any blade alone.
Start on Level Ground, Then Rip the High Spots Loose
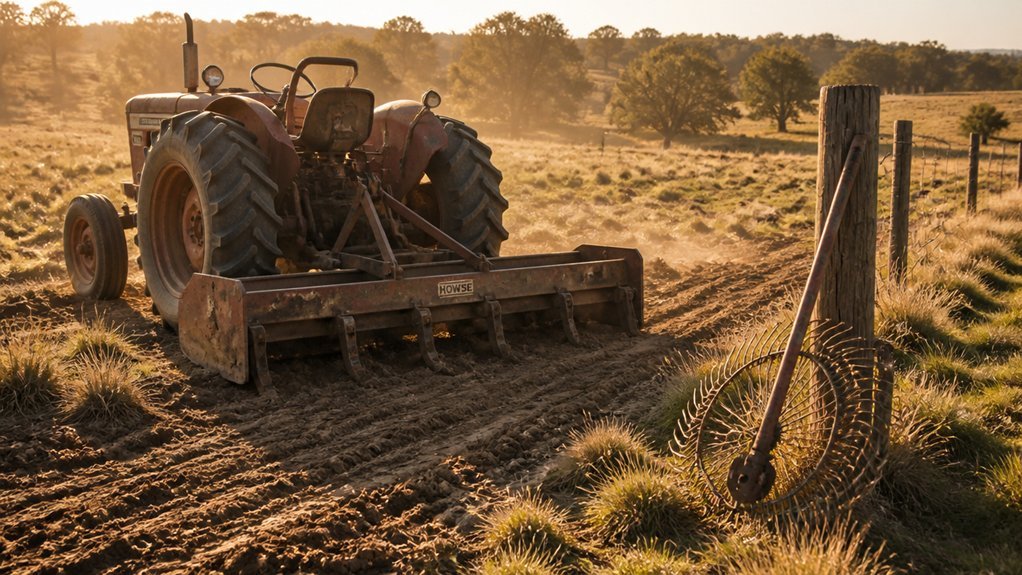
Stop contour carryover by establishing your baseline first. Begin your box blade work on the flattest available section of your yard. This prevents transferring unwanted elevation from high spots into low areas during subsequent leveling passes.
Once you’ve established your baseline, rip any remaining high spots before smoothing. Lower the box blade’s scarifiers to break up compacted ridges and mounds. This loosened material flows naturally into adjacent depressions, eliminating rebound that forces recontouring in later passes.
Face the blade away from your tractor and back up when grading to maintain contour control. Work incrementally through 40-by-40-foot sections rather than continuous runs—this improves depth consistency across your cut zone. Complete your primary leveling passes before moving to finishing techniques.
Box Blade or Ratchet Rake: Pick the Right Tool for Each Stage
Which tool should you grab for each phase of your leveling project? Start with the box blade for initial leveling passes. Its controllable cutting depth lets you push material directly into low spots while establishing a base grade. You’ll make fewer passes covering large areas since the box blade moves substantial material efficiently.
Switch to the ratchet rake mounted on your loader for secondary work. Its serrated teeth break up remaining high spots faster, though you’ll need more passes for equivalent material movement. Drag loosened dirt into depressions without heavy digging.
Pair both tools: use the box blade to create your level foundation, then follow with the ratchet rake for finishing passes, pulling material precisely into residual low spots. This staged approach optimizes tractor efficiency and surface quality.
Grade in Zones, Back Up, and Fill Low Spots
Because a half-acre yard quickly overwhelms a single sweeping pass, you’ll chop the job into manageable zones—typically 40×40 foot squares—and tackle each block before blending them together. Zone grading demands incremental attention; complete each square to tolerance before advancing. When you encounter depressions, employ the back-up technique: reverse with the blade angled away from the tractor to prevent contour carryover from adjacent terrain, maintaining precise material placement. Push spoil backward to fill low spots, manually adjusting implement height when the tires traverse high points. Crosshatch your pattern—north-south passes followed by 45-degree angles—to knock down crowns and stop fresh irregularities from forming. Verify each zone with a grade rake or laser before proceeding. Complete the section, then feather the boundary into the next square.
Float and Back-Drag to Lock In the Level
How do you keep a blade from fighting the soil when you’ve already fought the slope? You switch to float. Engage the float or partial float setting on your grader blade, letting the implement ride light on high spots without digging in. Keep the depth shallow—just enough to skim, not sculpt—moving incrementally across each zone.
Once you’ve covered the area, reverse your approach. Rotate the blade to face away from the tractor and execute back-drag passes, pulling loose material forward to fill depressions and lock in the level. Work section by section, finishing each with a final back-drag to settle material and eliminate washboard. Coordinate with a Ratchet Rake or rear blade beforehand if you’ve got stubborn ridges to redistribute.
Conclusion
Your yard’s finished grade depends on how you sequence each pass. You’ve ripped high spots, pushed fill with your box blade, and broken ridges with the ratchet rake. Now lock it in: float the blade, back-drag across zones, and let the surface settle. Check your baseline, rerun any low areas, and you’ll have a stable, level foundation that won’t rebound on you.