You’ll need to winterize your riding lawn mower properly if you want it to start come spring. Start with the basics: park on level ground, disconnect the spark plug, and engage the brake. The real problems hide in what most owners skip.
Prepare Your Riding Mower for Winterization
Where should you begin? Position the riding mower on a flat, level surface. Turn the engine off and allow it to cool. Remove the ignition key and disconnect the spark plug wire to prevent accidental ignition. Engage the parking brake, chock the back wheels, and raise the mower deck to its highest position. Gather your tools: drop cloth, oil drain pan, rags, spark plug socket, blade-sharpening tool, and fuel stabilizer if you’re treating fuel for storage. Disconnect the black negative battery cable first; remove the battery entirely if prolonged storage requires it. Clean the battery terminals to prevent corrosion. Remove the spark plug, inspect for wear, and replace it if necessary, ensuring the part number matches your operator’s manual specifications exactly.
Clean the Deck and Undercarriage Thoroughly
Once you’ve prepared the mower for service, direct your attention to the deck and undercarriage.
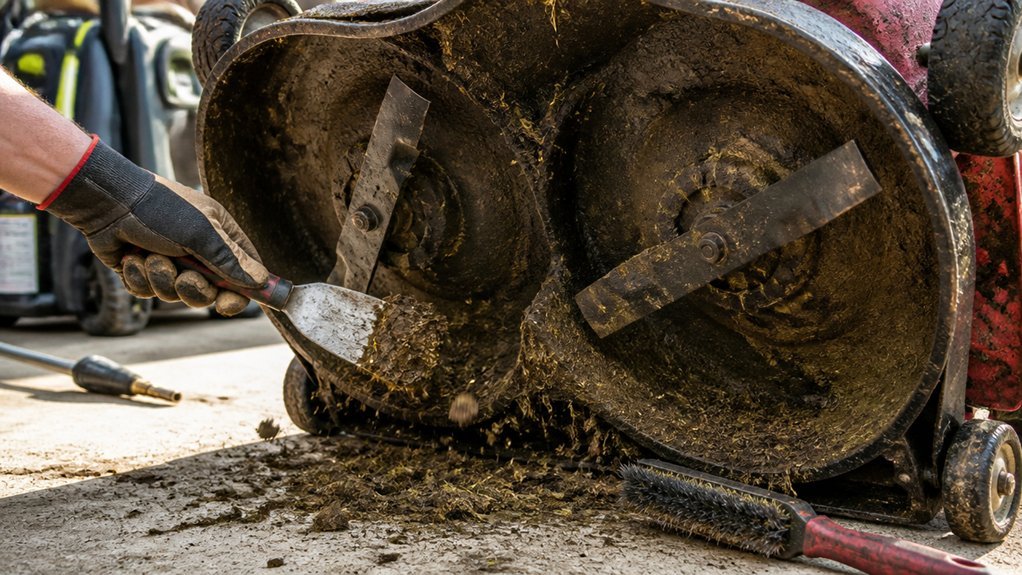
Clear all grass clippings and debris from under the deck by hosing down the area. Operate the deck wash-out port if your mower includes one. Spray and loosen built-up grime on the deck and blades. Scrape inside the deck with a long stick or flathead screwdriver to remove stubborn clumps. Wipe deck surfaces with cleaning cloths until the underside is clean and smooth.
Complete your mower cleaning by inspecting the deck for wear, damage, or blade deterioration. Address chips or cracks before winter storage.
Dry the entire undercarriage thoroughly. Moisture prevention is critical; any residual dampness promotes rust and erosion during off-season inactivity. Proper deck and undercarriage preparation ensures minimal degradation throughout winter storage.
Change the Oil and Replace the Oil Filter

Oil changes preserve engine longevity and demand careful execution during winterization. You’ll winterize your riding lawn mower by preparing the unit properly first. Warm the engine briefly to thin the oil and promote complete drainage. Shut off the mower, disconnect the battery if required, remove the spark plug, and position the unit on a drop cloth in a ventilated space.
Drain oil through the valve or siphon, ensuring the pan evacuates fully. Remove the old oil filter using an oil filter wrench. Lubricate the new filter’s gasket, then install and tighten securely. Replace filter components with manufacturer-grade equivalents. Refill with specified oil type and volume. Start the engine briefly, allow settling, and verify level with the dipstick.
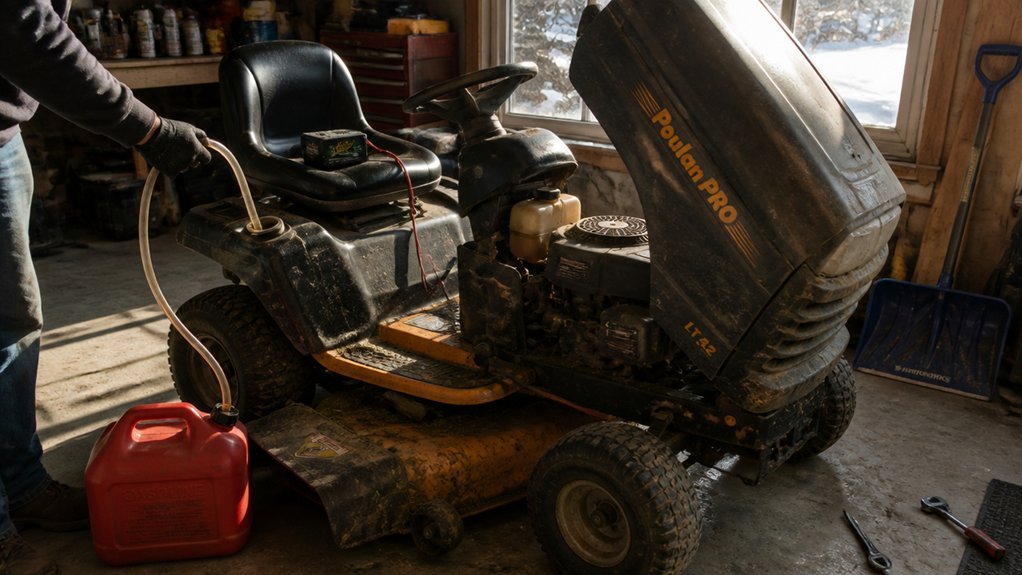
Stabilize Fuel or Run the Tank Dry
Either stabilize your fuel or eliminate it entirely—both approaches protect the carburetor and fuel lines from ethanol-induced degradation during storage. To stabilize fuel, add the recommended amount of fuel stabilizer to a full fuel can, fill the tank with the treated fuel, and run the engine several minutes to circulate the mixture through the carburetor and fuel lines. This prevents ethanol from absorbing moisture and forming deposits that clog passages. Stabilize fresh fuel within 30 days before long-term storage to maintain gasoline conservation and avoid varnish buildup.
Alternatively, run the engine until the tank empties completely, leaving the system dry. If you stabilize, periodically run the engine to refresh the treated supply and never exceed the stabilizer’s recommended shelf life.
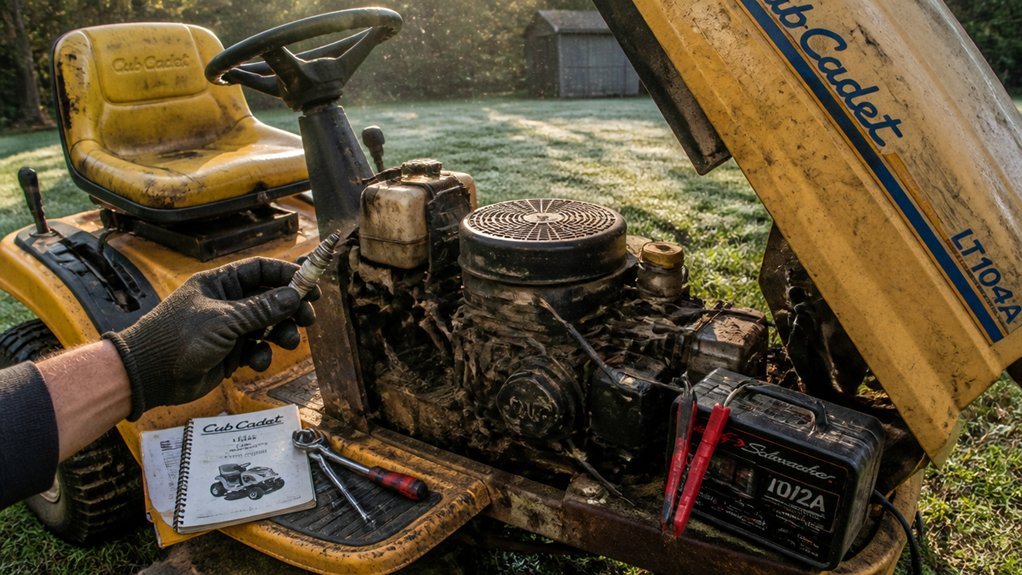
Remove and Store the Battery Safely
Where should you begin when removing the battery? First, disconnect the negative (-) cable, then the positive cable to prevent short circuits. Remove the battery from the mower, consulting your manual for any model-specific steps.
You’ll next address the terminals. Clean them with a cloth and metal brush or dedicated battery cleaner to remove corrosion. Apply a protective coating, such as Terminal Protector, to inhibit future corrosion growth.
For storage, place the battery in a cool, dry place away from heat sources and ignition hazards. Ensure the area remains dry and well-ventilated. You’re preventing discharge and extending battery life through proper isolation from temperature extremes and moisture. Verify you’ve completed cable disconnection before final placement in storage.
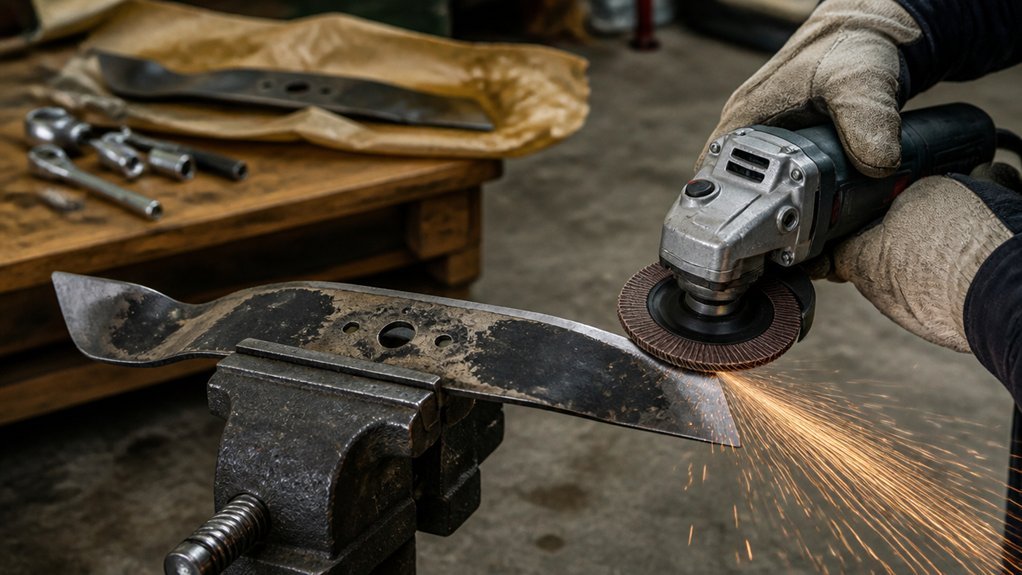
Sharpen Blades and Replace Filters
With the battery safely stored, you’ll now prepare the cutting components and filtration systems for spring operation. Begin blade maintenance by removing the mower blades safely. Inspect each blade for chips or excessive wear; sharpen blades using a file or sharpening tool, or replace damaged units entirely. Perform debris cleanup around the blade mounting area to prevent operational imbalance. Examine blade spindle and mounting bolts for wear or looseness. Reinstall mower blades with correct orientation—cutting edge facing downward—and apply proper blade torque per manufacturer specifications.
Proceed to air filter replacement. Remove the air filter housing and inspect the element; replace air filter if dirty or damaged, verifying the replacement matches the manufacturer’s part number exactly. Secure all fasteners and close the housing.
Run the Engine and Store the Mower
How should you ensure stabilized fuel reaches every component before storage? Add fuel stabilizer to your tank, then run the engine for two to three minutes. This circulates treated fuel through the carburetor, fuel lines, and injectors, coating all internal surfaces.
If you’re using a dry tank method for winterization, run the engine until fuel depletes completely.
After shutdown, proceed with battery removal. Disconnect the negative terminal first, then positive. Store the battery in a cool, dry location away from heat sources and concrete floors.
Position your mower in a clean, dry area. Shield it with a protective cover to block dust and moisture intrusion. You’re now ready to store the mower. Proper execution of these steps ensures complete winterization and prevents spring startup failures.
Conclusion
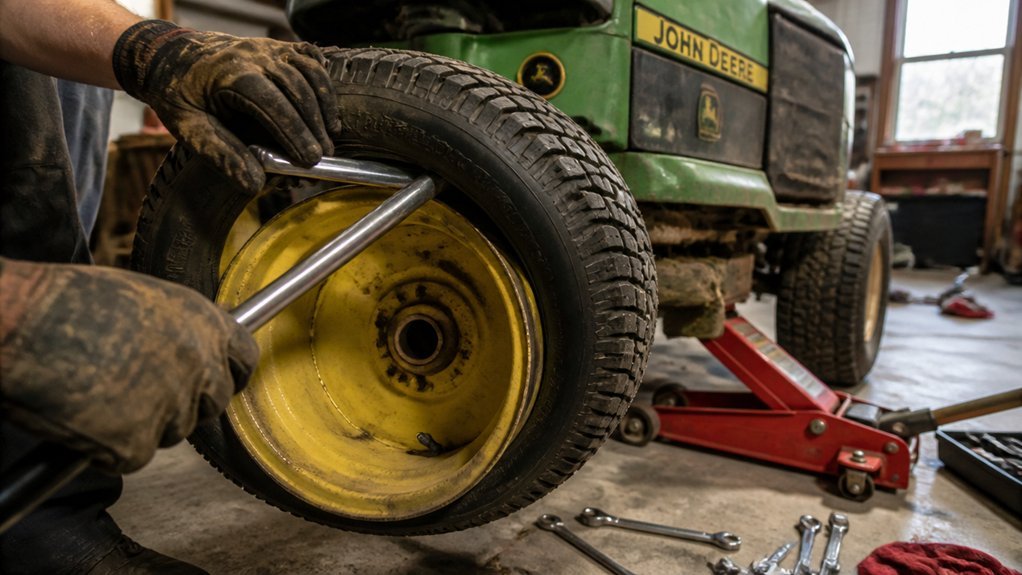
You’ve completed the essential winterization steps for your riding mower. Your machine now sits clean, lubricated, and protected against seasonal degradation. The stabilized fuel抑或 dry tank prevents carburetor damage, while the stored battery maintains charge capacity. Come spring, you’ll reconnect the components, reinflate tires if needed, and resume operation without repair delays. Proper winterization extends equipment lifespan and ensures reliable performance. Store your covered mower in a dry, sheltered location until grass growth resumes.