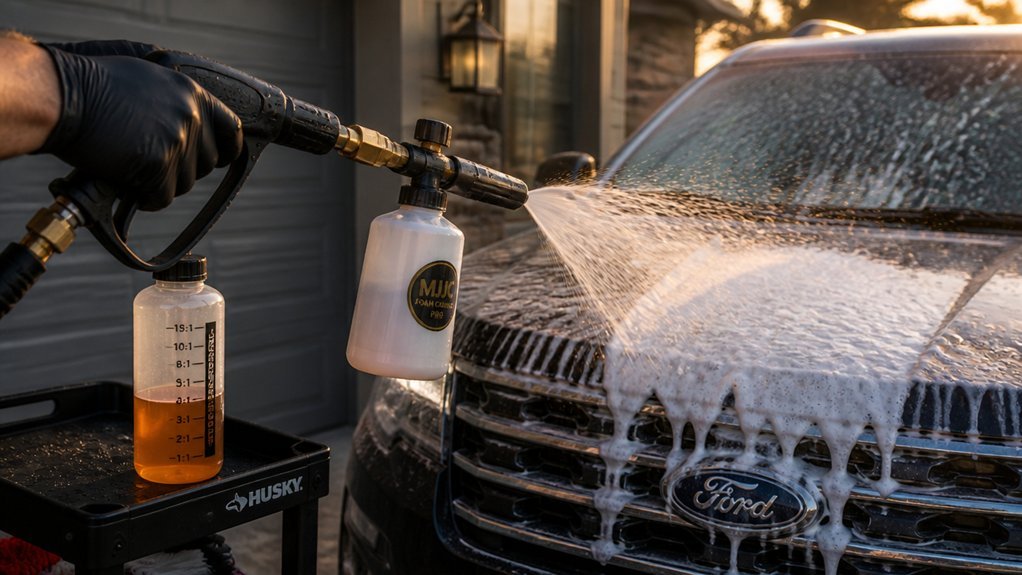
You attach a foam cannon to your pressure washer wand, and pressurized water creates suction that draws soap into a mixing chamber for air-blended foam. You’ll need high-foaming, pH-balanced soap mixed at the right ratio—typically one to two ounces per quart of water. But getting thick, clingy foam instead of runny suds depends on factors you might not expect, and the difference between a surface wash and actual deep cleaning comes down to technique you’ll want to understand before you start.
How Does a Foam Cannon Work?
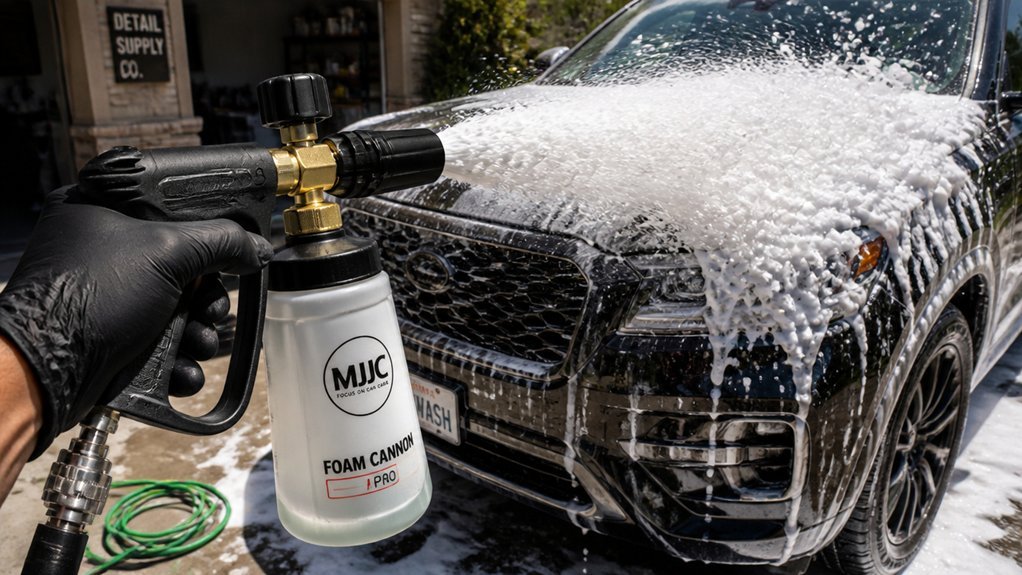
Understanding the mechanics of your foam cannon guarantees you maximize its cleaning potential. You attach the foam cannon to your pressure washer via a secure connection, typically using a fully seated slide lock. Once engaged, pressurized water flows through the device and into the reservoir, where it induces suction that draws your foam solution into the mixing chamber. Here, air and soap blend into aerated foam.
You control foam thickness and spray pattern through nozzle adjustment. Rotating the nozzle widens or narrows distribution; you’ll switch between vertical and horizontal patterns based on your vehicle’s contours. Higher pressure washers yield denser foam with superior adherence. Pre-mixing your solution in the reservoir ensures consistent results, and you’ll keep the unit attached during operation to prevent component ejection under pressure.
What Soap Should You Use in Your Foam Cannon?
Which soap you select directly determines your foam cannon’s performance and your vehicle’s finish. You must choose a high-foaming, pH-balanced car wash soap specifically formulated for foam cannon applications. Ethos Foam Party exemplifies this category, delivering dense cling without stripping protective coatings. You must avoid dish soaps entirely, as they’ll degrade sealants and waxes.
Your dilution ratio governs soap solution efficacy. You must adhere to manufacturer specifications—typically incorporating 1–2 ounces of concentrated product into warm water for optimal results. You mustn’t guess; improper concentration yields runny foam or wasted product.
You control foam thickness through mechanical adjustments. You manipulate the top dial and nozzle settings on your foam cannon to modulate output. A wider pattern paired with maximum draw generates thicker, longer-clinging foam that suspends contaminants effectively before contact washing.
How to Mix Foam Cannon Soap (Without the Mess)
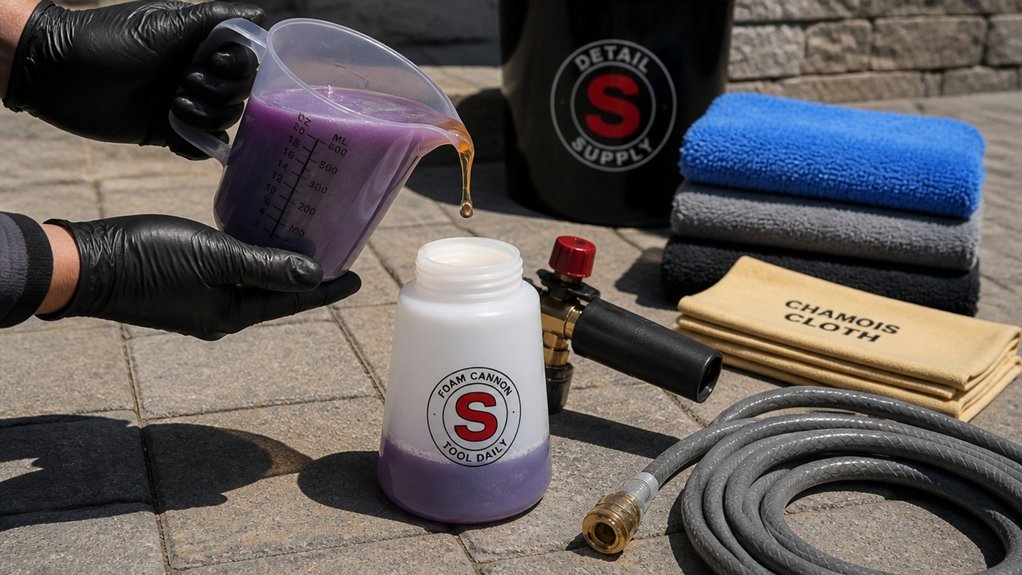
Where should you begin when mixing foam cannon soap to avoid spills and waste? Start with a clean, empty bottle. Pour warm water to 75% capacity first—this prevents excessive sudsing. Add 1–2 ounces of concentrated car shampoo per 28–32 ounces of water. Check your product label; foam cannon dilution varies by formula, so adjust your mixing ratio accordingly. Secure the lid for a leak-free connection, then shake to dissolve the soap mixture completely. Clumps disrupt foam consistency and nozzle spray performance.
For efficiency, prepare a pre-mix solution in a separate gallon container. Store it sealed. When you’re ready, fill your cannon directly from this reserve. You’ll minimize mess, ensure uniform dilution, and maintain optimal cleaning chemistry every time.
Foam Cannon Technique for Regular Washes
Once you’ve mixed your solution properly, you’re ready to execute a regular wash with your foam cannon. Attach your foam cannon to the pressure washer wand, secure the fitting with the slide lock, and verify the bottle contains your pre-mixed soap solution. Select the largest nozzle hole and adjust the top mixture knob to maximize foam production.
Begin your wash method with a thorough pre-wash rinse using the pressure washer to eliminate loose debris. Apply thick foam from top-to-bottom, ensuring complete coverage. Allow a dwell time of 1–2 minutes without permitting the foam to dry.
Following dwell time, swap to a 40-degree nozzle setting. Rinse the foam from top-to-bottom. Complete the process by drying with microfiber towels or a blower. This standardized technique yields consistent, professional results for routine maintenance washes.
Foam Cannon Technique for Deep Cleaning
Deep cleaning with a foam cannon demands a more aggressive approach than routine maintenance. You’ll increase the soap-to-water ratio beyond standard mixes, using approximately 6-8 oz of concentrated soap per 32 oz water. Perform nozzle adjustment to the largest orifice setting to generate thick foam with maximum cling.
Secure connections first, then pre-rinse the entire vehicle to dislodge loose contaminants. Apply thick foam from bottom to top, ensuring complete coverage. Extend dwell time to 5-7 minutes for stubborn soil penetration, monitoring to prevent premature drying.
For enhanced surface grime removal, agitate heavily soiled areas with a dedicated wash mitt while foam remains active. You’ll then rinse with low-pressure water using a 40-degree nozzle, flushing dissolved debris before it re-adheres. Finally, purge your foam cannon with clean water to prevent residue buildup in lines.
How to Rinse and Dry After Foam Cannon Washing
Why let your careful foam wash go to waste with sloppy finishing? After your foam cannon rinse, you’ll want to remove rinse water immediately to prevent water spots and maintain that pristine finish you’ve worked to achieve.
Select your drying method strategically. You can blow-dry using a leaf blower to force water from panel gaps, mirrors, and grilles without touching paint. Alternatively, employ drying towels—plush microfiber types—to absorb remaining moisture. Work from top to bottom, flipping towels frequently to prevent streaks.
Never let your microfiber wash mitt touch drying surfaces. Transition quickly between rinsing and car drying stages. Standing water etches clearcoat rapidly. Whether you choose forced air or towel contact, ensure complete moisture removal. This methodical approach preserves your foam application results and eliminates contamination risks.
Why Your Foam Cannon Produces Thin Foam (And How to Fix It)
When your foam cannon ejects a runny, watery stream instead of thick, clingy suds, you’ve lost the primary advantage of pre-wash lubrication and dwell time. Check your soap concentration first—an improper dilution ratio undermines foam thickness. You’re likely skimping on high-foaming soap or overdiluting the mixture. Fill your reservoir about 75% with warm water; cold water temperature weakens foam structure. Adjust your nozzle settings—verify you’re using the correct 40-degree tip and twist the top knob toward maximum foam density if your unit allows adjustment. Dish soap destroys cling foam; you’re sabotaging car washing results. Finally, monitor dwell time—letting foam dry creates a thin, filmy residue rather than dense, lubricating suds.
Conclusion
You now understand foam cannon operation, from the venturi-driven suction mechanism through proper soap selection, dilution ratios, and application techniques. Maintain your equipment by flushing the chamber after each use, inspecting O-rings quarterly, and storing the bottle detached. Adjust your dilution and pressure settings based on observed foam density, and you’ll achieve consistent, effective results across both routine maintenance and intensive cleaning protocols.