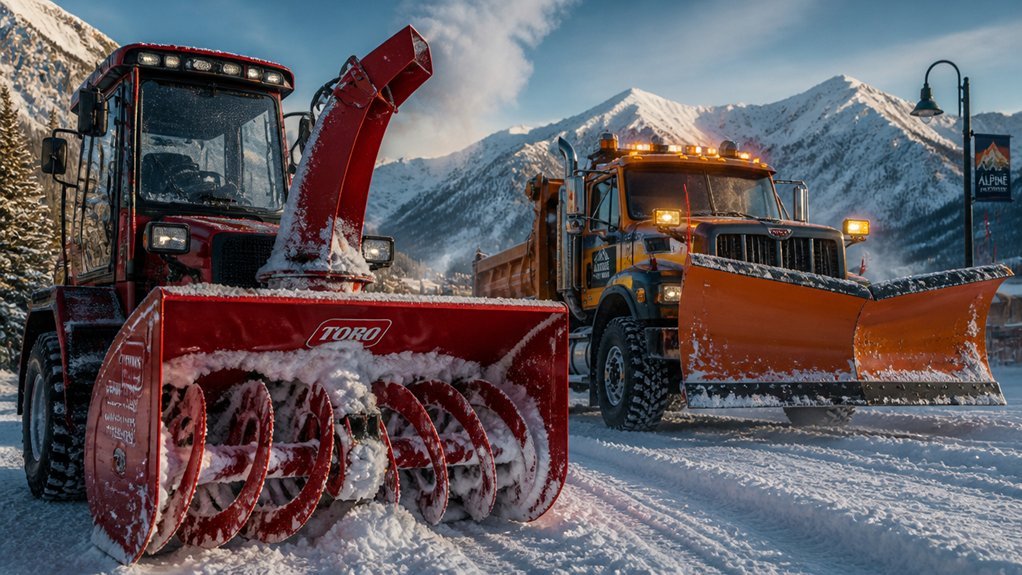
You’ll operate your snow blower most effectively when you treat each step as a deliberate procedure. Start by inspecting your unit, positioning yourself correctly, and managing discharge direction before you engage the auger. The risks—rotating blades, carbon monoxide, and projectiles—demand your full attention. What follows is a systematic approach to each phase of operation, from pre-start checks to proper shutdown.
Read Your Manual and Inspect Your Snow Blower
Why risk an accident when a few minutes of preparation can keep you safe? You must read and comprehend the operator’s manual to learn model-specific safety protocols and operating instructions prior to activation. You’ll familiarize yourself with all controls, including the auger engagement, drive clutch, chute rotation mechanism, and steering levers, as documented in the technical specifications. You’re responsible for leaving all safety features intact and unmodified; you’ll re-familiarize yourself with the manual at each season’s commencement or following any equipment modifications. You’ll verify you can execute emergency shutdown procedures and manual-guided clog protocols. When operating borrowed equipment, you’ll obtain the specific user guide or access the manufacturer’s online documentation repository to ensure complete operational knowledge.
Dress Right and Clear Debris Before Starting

How should you prepare yourself before engaging the ignition? You’ll dress in layered warm clothing to prevent frostbite, protecting your hands, head, and face systematically. You’ll wear bright or reflective outerwear for visibility and don non-slip boots for stable footing. You’ll put on protective eyewear to shield against flying debris and ensure your gloves provide a firm grip. You’ll eliminate loose scarves or clothing that could entangle in the machine’s moving parts.
You’ll clear the operating area methodically. You’ll remove doormats, objects, and debris from the path to prevent ingestion by the auger or impeller. You’ll verify all safety gear is positioned correctly. You’ll confirm bystanders are absent from the vicinity. You’ll complete these preparatory steps before starting your snow blower.
Plan Where to Throw the Snow
With your gear secured and the workspace cleared, you’ll now determine your snow disposal strategy before engaging the auger. Map your discharge pattern first to eliminate redundant passes—decide whether you’ll push snow to one side or distribute it across both edges of your driveway.
Identify safe deposition zones away from structures, vehicles, pedestrians, and roadways where snow won’t create hazards or require recirculation by municipal plows. Factor wind direction into your discharge pattern to prevent blowback onto cleared surfaces and minimize subsequent drifting.
Chart paths that channel snow past obstacles, landscaping, and entryways without re-handling. As conditions evolve, you’ll reassess and adjust your discharge pattern to accommodate changing pile sizes and snow density, maintaining operational efficiency throughout the clearing process.
Start Your Snow Blower Outside Only
Where must you position the machine before ignition?
You must start outside, placing the snow blower in an open area with adequate ventilation to prevent carbon monoxide accumulation. Never start the machine inside a garage or enclosed space, even with the door open, as fumes concentrate rapidly and pose lethal risks.
Before ignition, disengage the auger clutch and drive clutch. Consult the owner’s manual for model-specific starting procedures. If your unit features an electric start, you’ll connect an extension cord to an outdoor-rated outlet only; verify ventilation remains sufficient throughout the process.
When operating near the home in a ventilated area, keep doors and windows closed to minimize exhaust infiltration. Position the machine upwind from structures when possible.
You must treat carbon monoxide as an invisible, odorless hazard requiring strict spatial protocols to ensure safe operation.
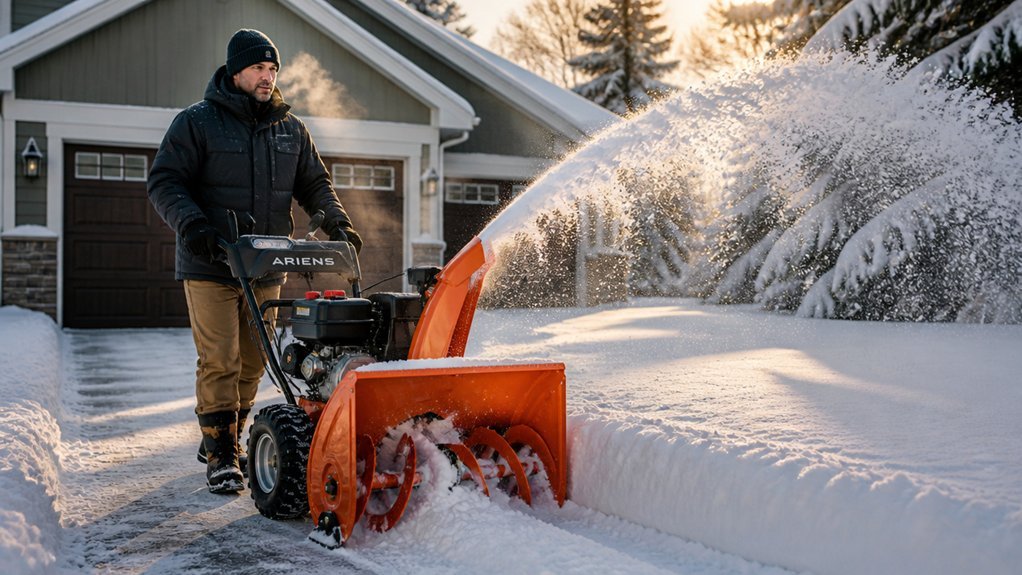
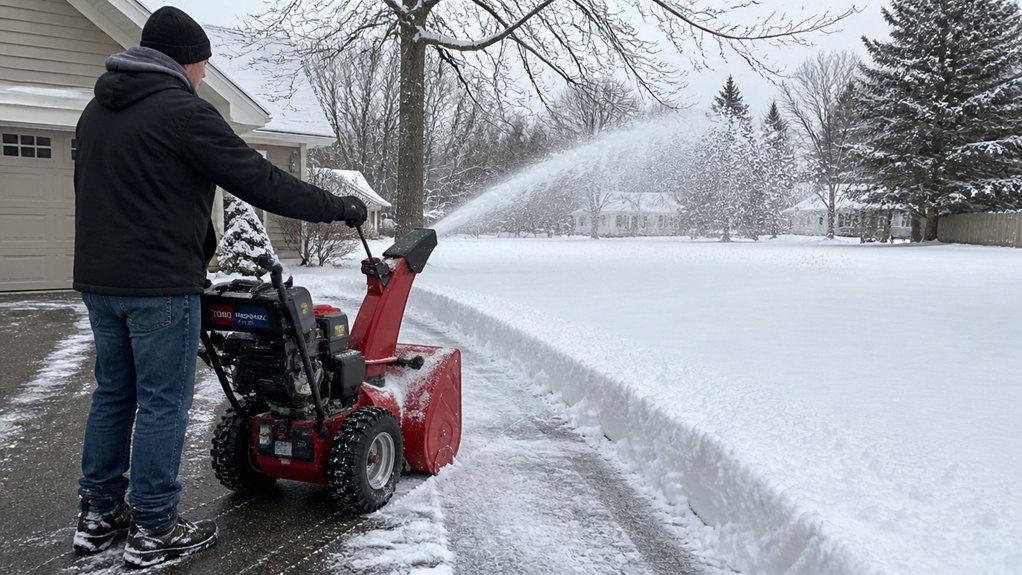
Keep Both Hands on the Handles While Blowing
Why risk losing control of a machine that’s throwing snow at high speeds? You’ll maintain maximum control by keeping both hands on the handles throughout operation. This ensures immediate access to all controls and prevents unexpected loss of grip on slippery surfaces.
A firm grip enables steady, controlled maneuvers and rapid response to changing snow conditions or obstacles. You’re executing precise directional adjustments while maintaining constant command over the unit’s trajectory.
Some two-stage models feature a one-hand interlock that permits driving with one hand while rotating the chute with the other. You’ll verify your specific model supports this feature before attempting single-hand operation. If your model requires both hands for safe operation, or if the interlock isn’t engaged, you’ll keep both hands on the handles. Always consult your Owner’s Manual for manufacturer-specific requirements.
Go Slow to Prevent Clogs and Engine Strain
How effectively does your machine clear snow when you’re forcing it beyond its designed capacity? It doesn’t. You’re accelerating component fatigue and inviting mechanical failure.
Slow operation forms the foundation of proper snow blower technique. You’ll maintain steady forward momentum without overwhelming the auger housing or impeller. When you encounter wet, heavy snow, your reduced ground speed prevents engine bogging and protects drive components from excessive torque loading.
Execute gradual turns rather than abrupt pivots. You’re minimizing shear pin stress and reducing auger jam probability through controlled maneuvering. In deep or packed conditions, reduce speed further and decrease bite width. You’re taking smaller passes to maintain traction and throwing efficiency.
Monitor discharge trajectory continuously. You’re adjusting pace and pattern as snow density changes, never pushing through at maximum velocity. This systematic approach preserves equipment integrity while ensuring consistent clearing performance.
Clear Snow Blower Jams With a Stick, Never Hands
Your controlled pace reduces mechanical strain, but obstructions still occur during operation. When you encounter a jam, immediately shut off the engine and wait for all moving parts to come to a complete stop. Locate a sturdy stick or designated clearing tool—never use your hands. Even with the engine off, the auger can rotate unexpectedly due to residual tension or stored energy, so you keep your hands clear of the auger housing during jam clearing.
Consult your Owner’s Manual for model-specific jam clearing procedures, including interlock operations and safety feature activation. Prior to startup, remove debris from your path to minimize blockage frequency. Don’t override safety interlocks or attempt jam clearing with the machine running. Eliminate gloves and loose clothing from the auger zone entirely.
Stop Your Snow Blower for Odd Noises or Stalls
What distinguishes a minor operational hiccup from a critical failure requiring immediate shutdown? Persistent unusual noises, sudden vibrations, or engine stalls indicate mechanical distress requiring immediate cessation.
When you encounter a clog or jam, shut off the engine immediately and wait for all moving parts to cease motion. You must never use your hands for jam-clearing; instead, employ a stick or manufacturer-provided tool, consulting your manual for specific procedures. After clearing an obstruction, anticipate potential sudden auger movement and release the engagement as needed.
Do not override interlocks or safety devices to expedite restart or jam-clearing—this compromises protection systems. If abnormal sounds or vibrations continue post-clearance, stop operation and inspect for damaged components or concealed blockages. Your vigilance prevents catastrophic failure and ensures operational integrity.
Let the Engine Cool Before Refueling
Before you add fuel, ensure the engine has cooled completely, as residual heat from the combustion chamber and exhaust components can ignite vapors. You’ll eliminate spontaneous ignition risks by waiting until metal surfaces reach ambient temperature.
You must stop the engine entirely and position the snow blower in a well-ventilated area. Never refuel while the engine runs or when components retain operational heat, as fuel vapors can ignite instantly upon contact with hot surfaces.
You should store fuels only in approved containers placed outdoors or in detached, ventilated structures. Keep these containers away from the equipment during operation.
You’ll prevent hazardous conditions by handling oil and fuel carefully, avoiding spills. When spills occur, you’ll wipe them immediately before restarting. This systematic approach ensures refueling safety throughout maintenance procedures.
Store Your Snow Blower Away From Flames and Heat
Where should you place the snow blower after the final clearing? You’ll position it in a well-ventilated area, away from open flames, hot surfaces, water heaters, and furnaces. This placement prevents fire or heat damage and supports fuel safety.
You’ll let the engine cool completely before moving the unit into storage. Hot parts can ignite residual vapors, so you’ll wait until all surfaces reach ambient temperature. For fuel safety, you’ll drain the tank or store fuel separately in approved containers outdoors, distant from the machine. This separation minimizes ignition risk.
You’ll remove the spark plug wire before extended storage to prevent accidental starting. You’ll verify the storage location has adequate airflow to prevent fume accumulation. You’ll inspect surrounding equipment for heat sources before final positioning.
Conclusion
You’ve now mastered the systematic operation of your snow blower. By following this technical protocol—manual review, protective equipment, debris clearance, controlled startup, two-handed operation, tool-based jam clearing, mechanical monitoring, cooled refueling, and isolated storage—you’ll maintain optimal performance and safety. Execute each step precisely; your equipment’s longevity and your physical well-being depend upon rigorous adherence to these procedures. Proceed methodically, and you’ll clear snow efficiently without incident.