You’ve mapped the high spots and measured the dips, but you’re stuck deciding whether to skim the surface or tear it all up. The wrong choice wastes weeks of growth and hundreds in materials. Before you lift a shovel, you need to match your lawn’s condition to the correct technique—otherwise you’ll be back here next season.
Assess Your Lawn: Is It Bumpy Enough to Level?
How do you know your lawn actually needs leveling? You start by walking your lawn systematically, feeling for dips, high spots, and soft areas underfoot; these physical cues indicate where leveling is necessary. Next, you roll a lawn roller across the surface—if high spots flatten under pressure, you’ve identified prime targets for leveling. You then test soil compaction by pushing a screwdriver into the ground; when it won’t penetrate six inches, you’ll need aeration before proceeding. You observe drainage patterns after rain or irrigation, noting where standing water collects, as poor drainage dictates where leveling must occur. Finally, you classify severity: mild irregularities under one inch suit topdressing, while your bumpy lawn’s deeper depressions exceed three inches, signaling that standard leveling won’t suffice.
Level Bumps or Regrade? How to Choose the Right Approach
Once you’ve mapped your lawn’s uneven terrain, you’ll need to decide whether to level existing bumps or undertake a full regrade.
For slight irregularities, you’ll apply topdressing in ¼–½ inch layers, repeating applications until you achieve smoothness without smothering the grass. You’ll find this method sufficient for minor bumps and shallow depressions.
When you encounter low spots exceeding one inch deep, you’ll remove sod, backfill with soil, and re-lay sod or overseed—this creates more durable results than topdressing alone. You’ll assess severity systematically: small imperfections yield to topdressing, while severe unevenness demands regrading or complete lawn establishment.
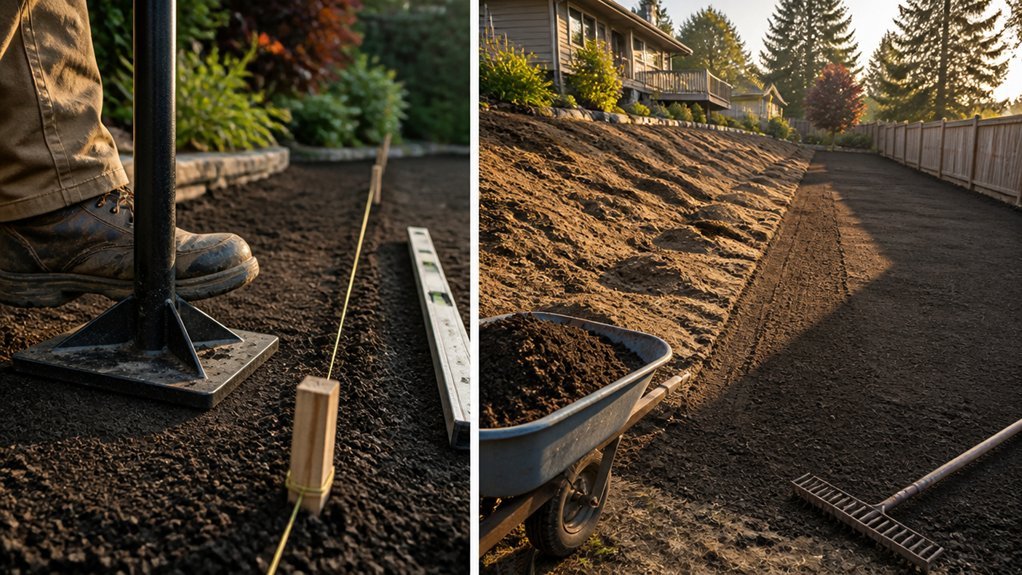
You’ll prioritize drainage throughout, maintaining 2–3 inches of drop per ten feet to direct water away from structures. You’ll use stakes or a transit level to preserve consistent slope during regrading, matching your plan to existing grade, soil type, and grass species.
DIY Lawn Leveling Tools That Actually Work

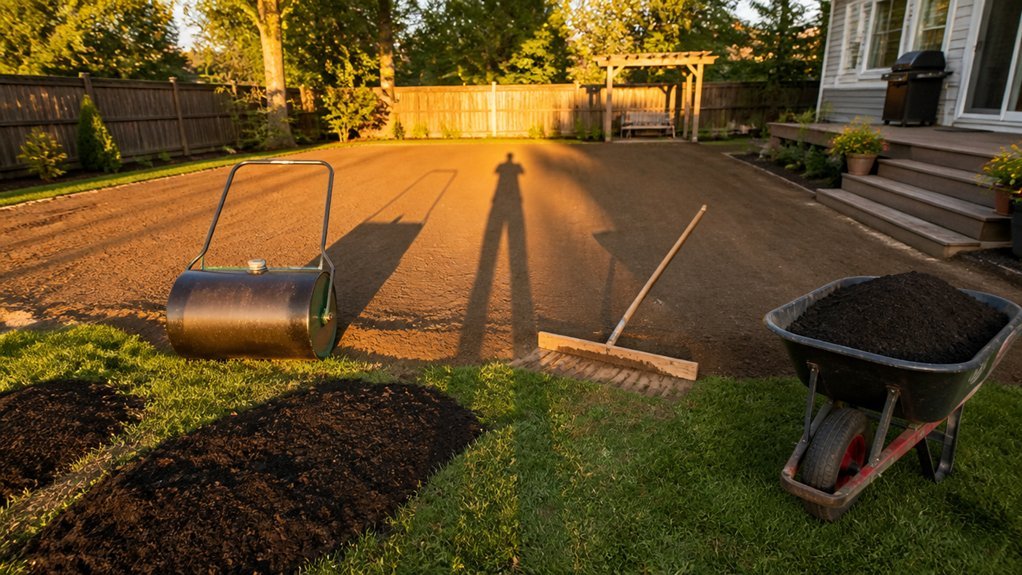
You’ll need specialized tools to execute precise leveling work that standard garden equipment simply can’t deliver. A leveling rake—such as those used by golf greens keepers or the Accuform AccuLevel—distributes and smooths topdressing far more precisely than a standard landscape rake or broom. You’ll drag this tool across 1/4–1/2 inch layers of dry-to-moist soil mix, working it into depressions without smothering existing turf.
A lawn leveller tool with flat metal rods provides controlled, uniform contact to settle material into troughs and reduce new bumps. After each topdressing pass, you’ll run a water-filled lawn roller to flatten minor high spots and confirm surface evenness. For larger projects, you’ll weigh a 36″ versus 48″ leveling rake to balance coverage against physical effort, matching your lawn size and bump severity.
Choose the Right Mix to Level Your Lawn
What determines whether your leveling project succeeds or fails? You choose the right material for your specific conditions.
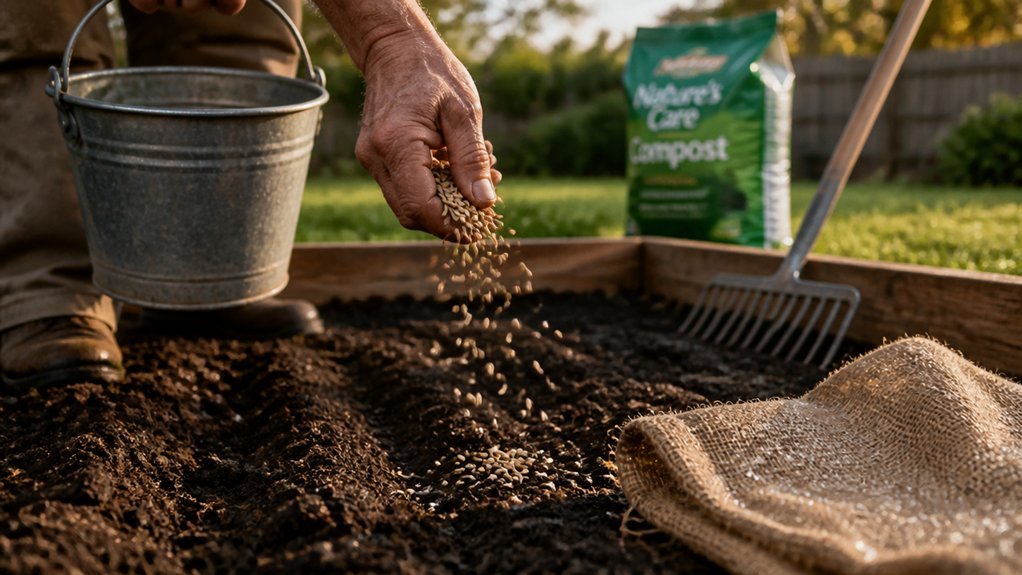
Select pure sand as your topdressing when drainage is adequate and nutrients aren’t lacking. For overseeding and faster establishment, you’ll need a soil-mix—typically 70 percent sand to 30 percent topsoil with optional compost. Fill small holes with topsoil first, then top up progressively; reserve topdressing for minor irregularities so you don’t smother existing grass.
When integrating seed, use a soil-mix to enhance germination, keeping coverage under one-half inch.
Apply your leveling blend at one-quarter to one-half inch per application, spreading two to four kilograms per square meter. Compact and water immediately to eliminate air pockets. On clay soils, combine your sand/topsoil mix with aeration and reseed for rapid root establishment and improved drainage.
Level Small Bumps With Topdressing Step by Step
After selecting your leveling mix, you’re ready to address minor surface irregularities. Mow your lawn short, then apply a thin topdressing of ¼–½ inch using two parts topsoil, two parts USGA-spec sand, and one part compost. Distribute the dressing evenly with a leveling rake or stiff-bristled broom, working it into low spots without burying existing grass. Lightly roll with a water-filled lawn roller or press with the back of a rake to compact and integrate the material. Water thoroughly to settle air pockets and encourage seedling growth if overseeding is planned. Repeat this thin topdressing in 1–2 week intervals until you level the surface with surrounding areas, avoiding excessive thickness that smothers grass. This methodical lawn care approach gradually eliminates small bumps without disrupting established turf.
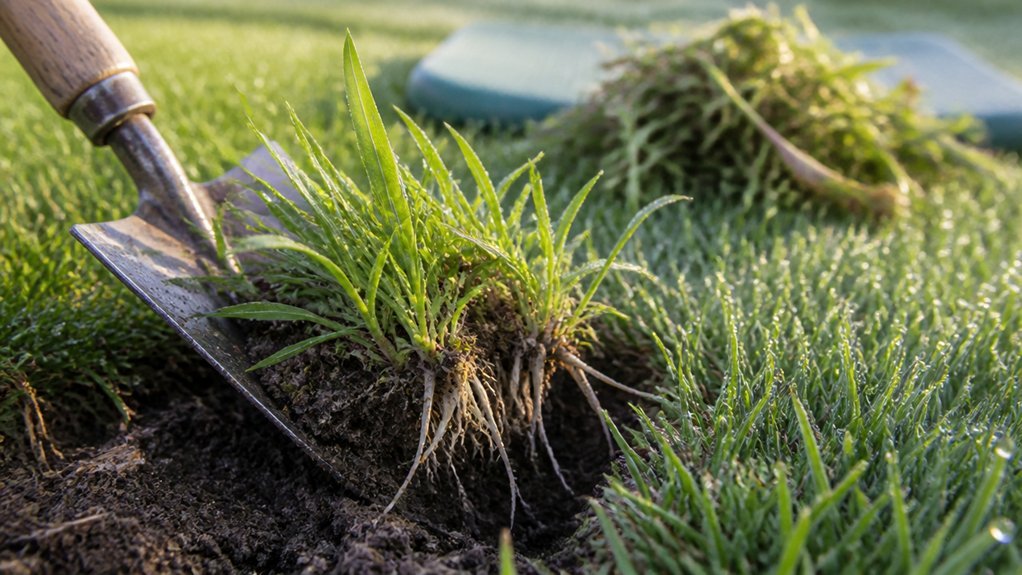
Level Deep Low Spots by Lifting and Replacing Sod
When surface depressions exceed what topdressing can reasonably correct, you’ll need to remove and reinstall the sod to rebuild the underlying grade.
Cut the sod around the affected area using edging or a sod-cutting shovel, then set it aside for replanting. Backfill the low spot with a topsoil or topsoil-sand blend, achieving smooth grading that matches adjacent turf. Compact the backfill with a hand tamp or light roller to eliminate air pockets and prevent future settling.
Reinstall the sod over the corrected grade, pressing edges firmly to ensure soil contact. Water thoroughly to promote root reattachment. Before completing repairs, locate and fix underlying causes—drainage issues, irrigation leaks, or structural settlement—to prevent recurrence. Resume mowing once the sod anchors firmly.
Fix Bumps on a Sloped Lawn Without Worsening Drainage
Why does leveling a slope demand extra care? Altering the grade risks creating standing water or erosion channels that worsen drainage patterns you’ve relied on.
First, add a sand and topsoil mix to raise low areas evenly across the slope. Remove turf over significant depressions if necessary, then redistribute soil from high points to fill them. Install edging to define borders and prevent material spillage onto adjacent areas.
Use a leveling tool or rigid rake to spread the dressing uniformly. Follow with light rolling to eliminate air pockets without compacting excessively. Then topdress thinly and overseed to integrate new material with existing turf.
Water thoroughly after leveling. Apply additional topdress in multiple passes, allowing settling time between applications. Monitor water flow after rain—you’re maintaining grade integrity while smoothing the surface, not defeating the slope’s natural drainage function.
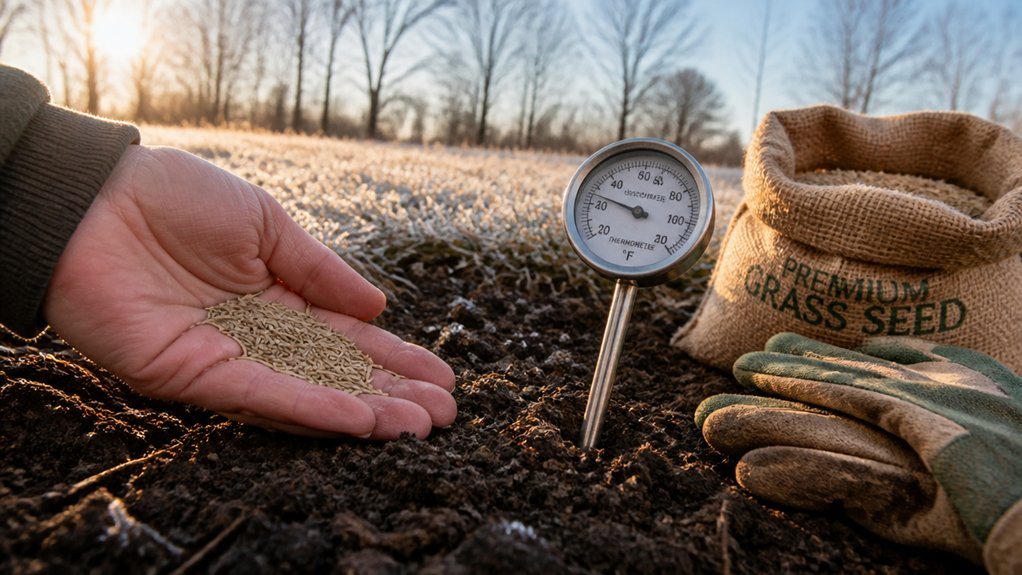
Best Time to Level and Prevent Future Bumps
Timing your leveling work correctly determines how well your lawn recovers and whether the results last. You’ll achieve optimal results by scheduling leveling in spring or early summer when grass grows actively, enabling rapid recovery after topdressing or regrading. Avoid extreme temperatures—heat or cold stress slows growth and prevents grass from filling new material effectively.
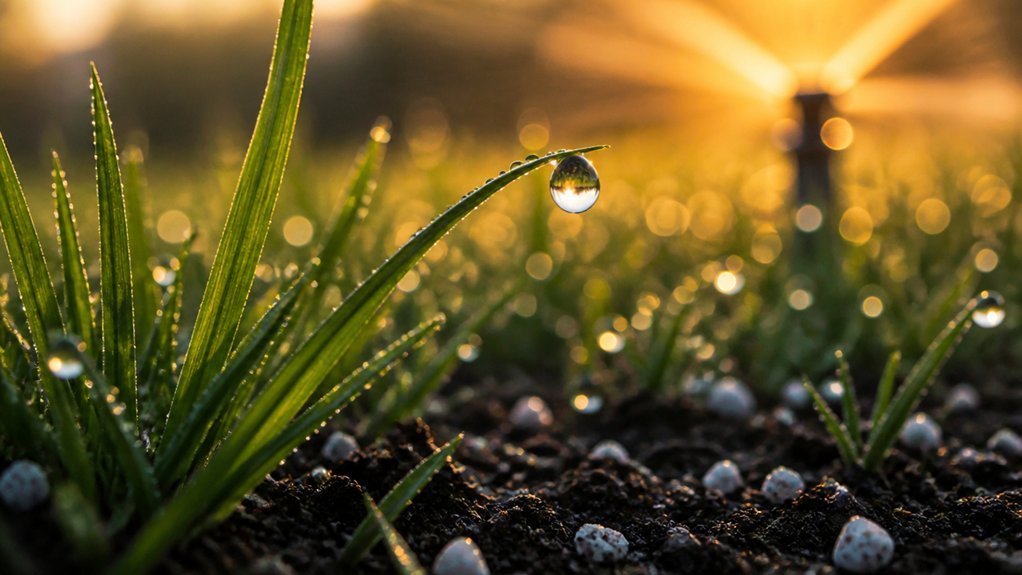
For maintenance, you’ll perform small adjustments annually, but space significant corrections to allow healthy regrowth between interventions. You’ll apply topdressing when soil moisture reads moist but not soggy, ensuring proper compaction and settlement without compromising drainage integrity.
After completing leveling, you’ll restrict foot traffic and mowing pressure for several weeks to months, depending on your grass type. This protects developing root systems and preserves your leveled surface. Strategic timing and post-care prevent future bumps and sustain long-term surface uniformity.
Conclusion
You’ve assessed your lawn, selected your method, and gathered the proper tools and mix. Apply topdressing in thin, successive layers for minor bumps, or lift and re-lay sod for deeper depressions. Always maintain slope away from structures, restrict traffic during recovery, and monitor drainage after rain. Level during active growth, aerate periodically, and address thatch buildup to prevent future unevenness. Your systematic approach yields a stable, well-drained surface.