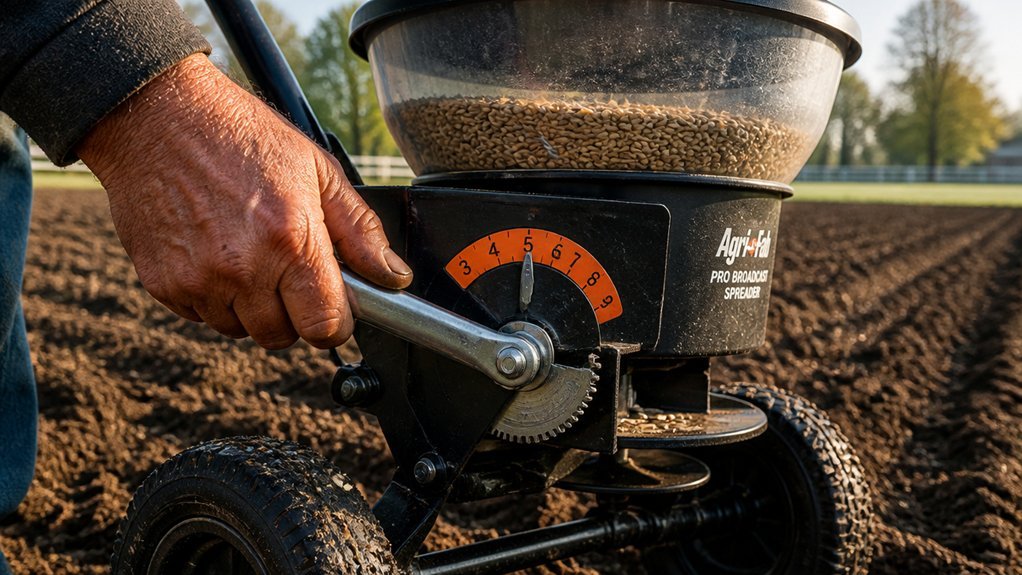
Your spreader setting isn’t a universal number—it’s a calibration that depends on seed size, density, and your walking speed. Check your seed bag first; manufacturers test their products on specific spreader models. If you skip this step, you’ll likely over-apply or leave gaps. The real challenge isn’t finding a starting point.
Check Your Seed Bag for the Recommended Spreader Setting
Where should you begin when calibrating your spreader? You begin with the seed bag. Examine the label guidance for the recommended setting specific to your spreader type—broadcast vs drop—since output varies by model and mechanism. The seed bag lists a spreader setting calibrated to that seed product’s rate; don’t assume settings transfer between products. Even identical spreaders require verification when loading a different seed product. Perform calibration by loading a test amount and covering a measured test area—weigh before and after, then calculate actual seed rate applied. If label guidance lacks specificity, start at the recommended setting for similar products, complete a short test pass, measure output, and adjust the dial until actual rate matches target rate.
Choose Broadcast or Drop Based on Lawn Size and Shape
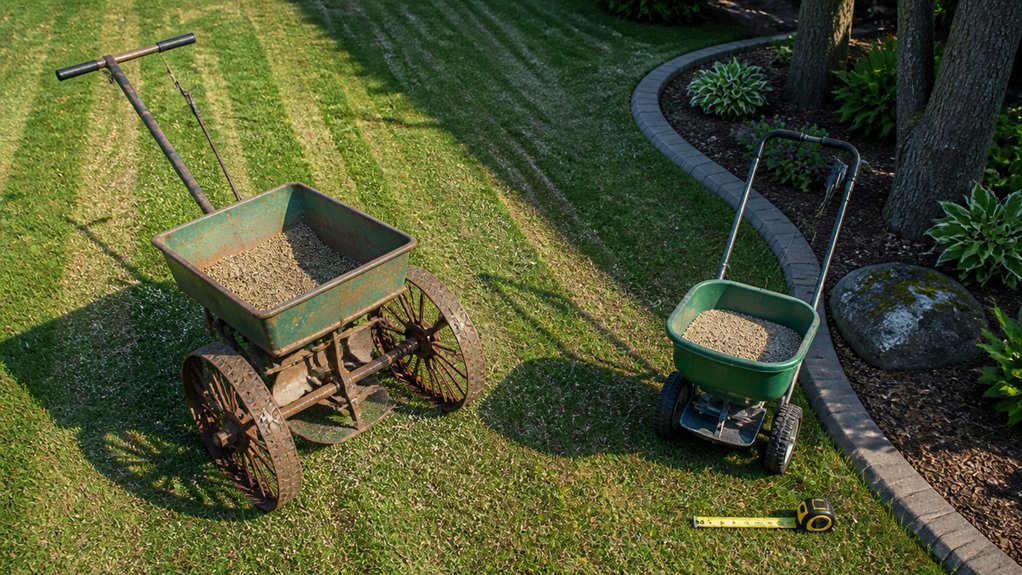
Once you’ve confirmed the recommended setting on your seed bag, you’ll need to match your spreader type to your lawn’s physical characteristics. Assess your lawn size and lawn shape before selecting equipment.
For expansive areas, you’ll deploy a broadcast spreader; its wide swath maximizes coverage efficiency, though you’ll execute overlapping passes to achieve uniform spread across large, open terrain.
For compact lawns or irregular shapes with obstacles, you’ll select a drop spreader. Its narrow drop zone deposits seed precisely beneath the hopper, eliminating overspray and ensuring accurate edge placement. You’ll mitigate wind drift significantly with drop spreaders in tight or bounded spaces.
Always verify your spreader type prior to adjusting your spreader setting, as broadcast and drop spreader mechanisms demand distinct configurations to deliver your target seed rate accurately.
Why the Same Product Uses Different Settings for Each Spreader Type
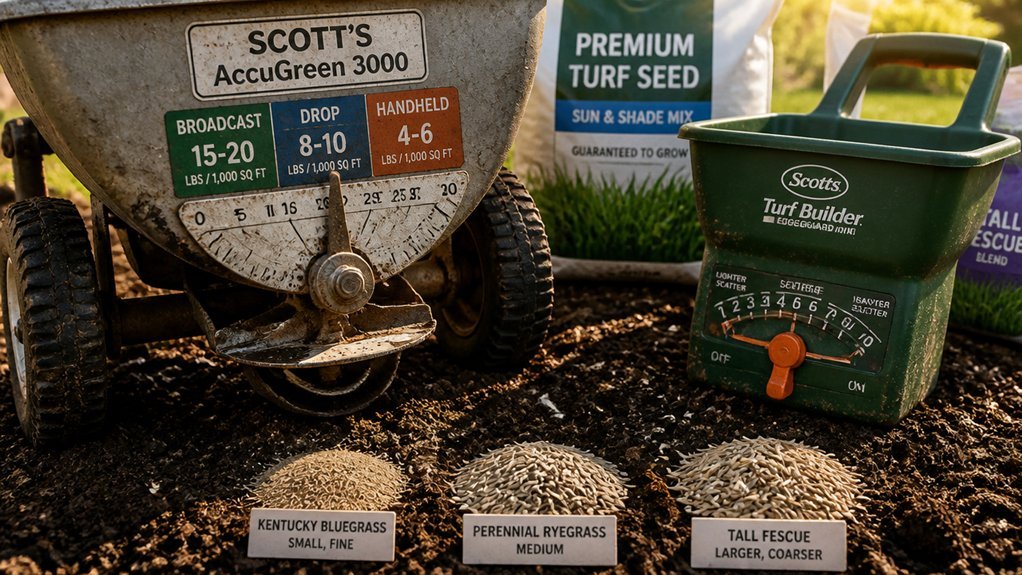
Why do identical grass seed products demand different spreader settings? The answer lies in fundamental mechanical divergence between spreader types.
Broadcast spreaders distribute seed in a wide arc, covering substantial area per pass; drop spreaders release seed in a narrow band directly beneath the hopper. Consequently, broadcast units typically demand lower dial settings than drop units for identical products, since their broader swath achieves uniform coverage with reduced output density. Conversely, drop spreaders require higher settings to force adequate seed through smaller apertures across narrower zones.
You can’t assume compatibility between spreader types—cross-referencing settings invites application failure. Instead, identify your spreader type, consult the product label for the corresponding setting, then execute calibration and a test pass. Precision demands type-specific configuration, not approximations.
Run a Test Strip to Match Your Walking Speed to the Label Rate
How do you verify that your spreader actually delivers the manufacturer’s specified rate? You implement a rigorous seed spreader calibration protocol using the test strip method. Select a 100-square-foot test area, load your spreader, and traverse it at a consistent walking speed of approximately 3.5 mph—standard for walk-behind units. Weigh the remaining material post-application to determine actual emission rate. Calculate your coverage rate by comparing distributed quantity against the label rate. If your test strip exceeds the specified rate, reduce the spreader setting by roughly half a number; if insufficient, increase it accordingly. Re-run a second test strip after adjustment to confirm alignment. This calibration method ensures precise fertilizer application and eliminates guesswork before committing to full-scale deployment.
Adjust Your Setting to Fix Stripes or Over-Seeding
What you’ve observed—pale stripes between passes or patchy, uneven growth—signals a spreader misalignment that demands immediate calibration. You mustn’t ignore these visual cues during overseeding, as they indicate flawed seed coverage requiring immediate correction.
Begin calibration with a 1-pound test load. Walk 100 square feet, weigh your remainder, and compare against the label rate. Adjust your setting by half-increments until delivery matches specifications. Remember: your broadcast spreader and drop spreader require different dial numbers for identical products—confirm your equipment type first.
Eliminate stripes through methodical technique. Establish perimeters before filling interior zones. Maintain consistent pace and achieve proper overlap between adjacent passes to ensure uniform distribution. Afterward, lightly water to drive granules toward roots, sweep stray seed onto turf, and prevent runoff from hard surfaces.
Conclusion
You’ll match your spreader setting to your seed bag’s specifications, then calibrate with a measured test strip at your walking speed. Broadcast and drop spreaders demand distinct settings—never interchange them. Verify your output rate by weighing leftover seed against your target. Adjust the dial to eliminate striping or overlap errors. Precision calibration ensures uniform coverage and prevents costly over-application or bare patches.