You’re facing a trailer wiring project, and you need to know what you’re getting into before you start splicing. The stakes are straightforward: improper connections mean failed brake lights, shorts, or roadside citations. You’ve got plugs that don’t match, color codes that shift between manufacturers, and grounding points that make or break the circuit. The good news is that most failures trace back to three fixable errors.
Identify Your Vehicle and Trailer Plug Compatibility
Before you splice a single wire or crimp any connector, you’ll need to verify that your vehicle’s tow package and your trailer’s plug are actually compatible. Identify your tow package plug type—4-pin, 5-pin, 7-pin blade, or round 6/7-pin—and confirm it matches the trailer’s connector. Determine if your vehicle uses traditional or SAE 7-way configurations, as trailer connector compatibility depends on this distinction for gooseneck and utility applications. You’ll likely need adapters when mating mismatched plug types. Verify ground integrity by checking that your vehicle’s tow harness provides solid ground return and that the trailer ground bonds cleanly to its frame. Consult your vehicle manual for wiring color mapping to ensure accurate function alignment during vehicle-to-trailer wiring installation.
Read Trailer Wiring Color Codes by Pin Configuration

How do you know which wire controls what function when every pin configuration follows its own color standard?
You’ll match trailer wiring colors to their pin configuration using manufacturer wiring diagrams before connecting any trailer lights.
In 4-pin setups, you’ll identify Green for right turn/brakes, Yellow for left, Brown for taillights, and White for ground.
When you’re working with 4-pin 5-pin 6-pin systems, you’ll expand this baseline: a 5-pin adds Blue for reverse lights, while a 6-pin introduces Blue for electric brakes and Black for 12V auxiliary power.
For 7-way round or RV blade connectors, you’ll reference diagrams carefully—traditional and SAE formats differ, with Red carrying auxiliary power in some variants, or Black handling reverse lights depending on standard.
You’ll verify every assignment against your specific connector’s documentation to prevent cross-circuit failures.
Install, Route, and Ground Your Trailer Wiring Harness
The wiring harness serves as the central nervous system of your trailer’s electrical system, demanding methodical installation to ensure reliable performance and safety.
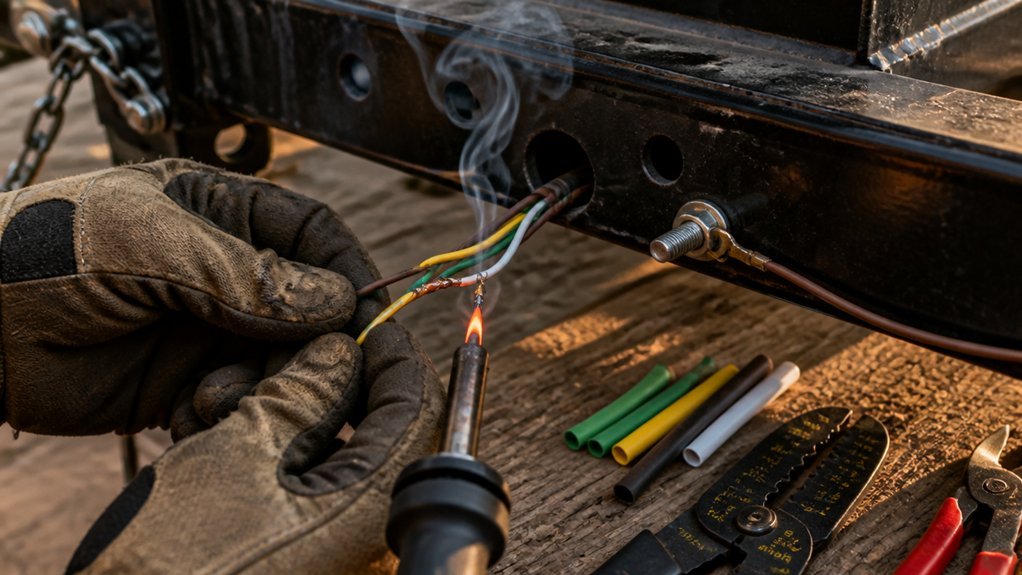
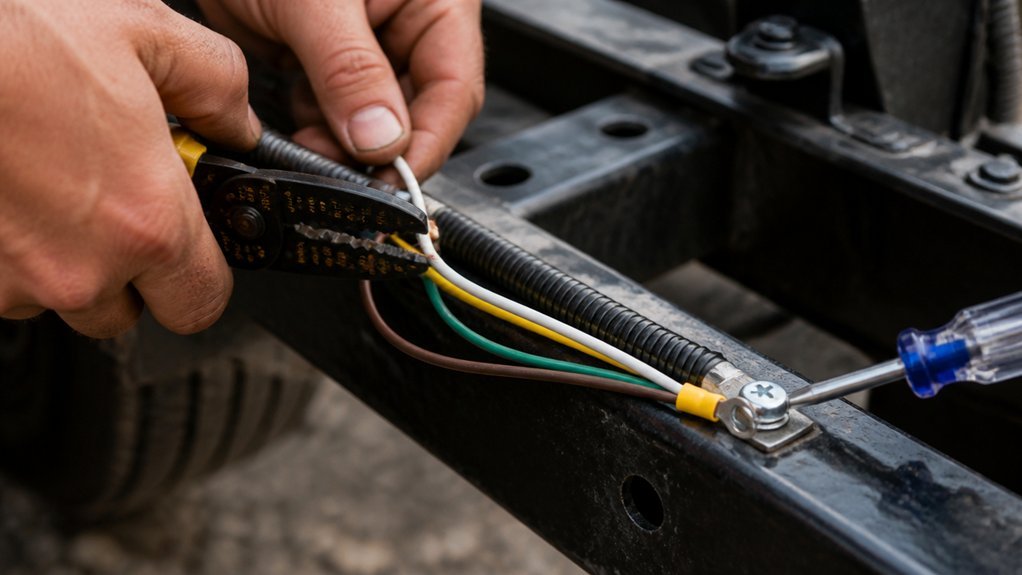
You’ll mount the trailer wiring harness along the frame, using zip ties to secure it. Route wires away from sharp edges and moving parts. Match the wire colors to their functions: white for ground, brown for taillights, green for right turn/brakes, yellow for left turn/brakes, and blue for electric brakes if equipped. You’ll ground the system by attaching the white wire to clean, bare metal on the frame with a solid connection. Protect routed wires with jacket or split loom, provide strain relief at connections, and seal exterior points against moisture. Conduct a complete lights test—tail, brake, turn, and reverse—before finalizing.
Fix Mismatched Plugs: Adapters and Wiring Solutions
Vehicle and trailer connectors rarely match straight from the factory, so you’ll need to bridge incompatible plug configurations before your lights will function. Select a trailer plug adapter that matches your vehicle’s 7-pin round or blade connector to your trailer’s 4- or 5-pin plug, ensuring correct function mapping per the wiring diagram: ground, taillights, brake/turn signals, and auxiliary circuits if equipped.
Choose adapters rated for SAE J2863 or traditional 7-way compatibility for your trailer type—gooseneck, fifth-wheel, or RV. Avoid generic, non-rated units; instead, select weatherproof adapters with amperage ratings sufficient for your lighting load. After splicing, verify brake and turn signals remain isolated without cross-wiring. Secure all connections, then re-check ground continuity and voltage across each circuit with a multimeter before finalizing installation.
Test Your Trailer Lights and Troubleshoot Common Problems
Why risk discovering a wiring failure when you’re already on the road? Test all functions immediately after completing your trailer wiring. Activate headlights, tail lights, brake lights, left/right turn signals, and reverse. Use a helper or reflective surface to verify each function matches the correct light array and color code at your trailer plug.
If a function fails, begin troubleshooting by checking fuses in your tow vehicle first. Inspect for broken or loose wires, then verify ground integrity. Secure the white ground wire to clean bare metal on both the trailer frame and connector mounting point. Confirm your trailer plug matches the vehicle’s output—4-, 5-, 6-, or 7-pin—and that any converter or adapter is properly installed. Complete your diagnostic with a multimeter to check continuity and ensure connector pins are corrosion-free.
Conclusion
You’ve matched your plugs, routed your harness along the frame, secured your white ground to clean bare metal, and sealed every connection against moisture. You’ve tested brake, turn, tail, and running lights with a helper, verified your vehicle’s fuses, and confirmed continuity with a multimeter. Keep spare fuses, dielectric grease, and an adapter in your tow kit. Recheck connections before each haul—corrosion and vibration cause failures you can’t afford at highway speeds.