You split and stack your firewood with deliberate gaps, and you wait. But here’s what most operators miss: you’re not just drying wood—you’re protecting profit margins. Wet wood burns inefficiently, wastes fuel, and destroys flue systems. The real question isn’t whether to season; it’s whether you’re measuring moisture correctly or guessing wrong.
Why Seasoned Firewood Burns Hotter and Cleaner
Why does seasoned firewood outperform green wood? You’re wasting energy when you burn wet wood—moisture evaporation consumes heat that you’d otherwise capture. Seasoned firewood reverses this equation. You’ve got wood where 20% or less moisture remains, so combustion transfers directly into thermal output rather than boiling water.
You’ll slash creosote accumulation too. Your chimney stays cleaner, fire risk drops, and you cut maintenance costs. That translates to safer operations and fewer professional cleanings eating into your margin.
You’re looking at six to twelve months of curing time—softwoods on the shorter end, hardwoods demanding patience. Test readiness: lighter weight, cracked ends, that hollow sound when you knock pieces together. You’re maximizing BTU extraction per cord this way, stretching your fuel dollar further while minimizing waste. Seasoned firewood delivers measurable returns.
Split and Size Wood for Faster Drying
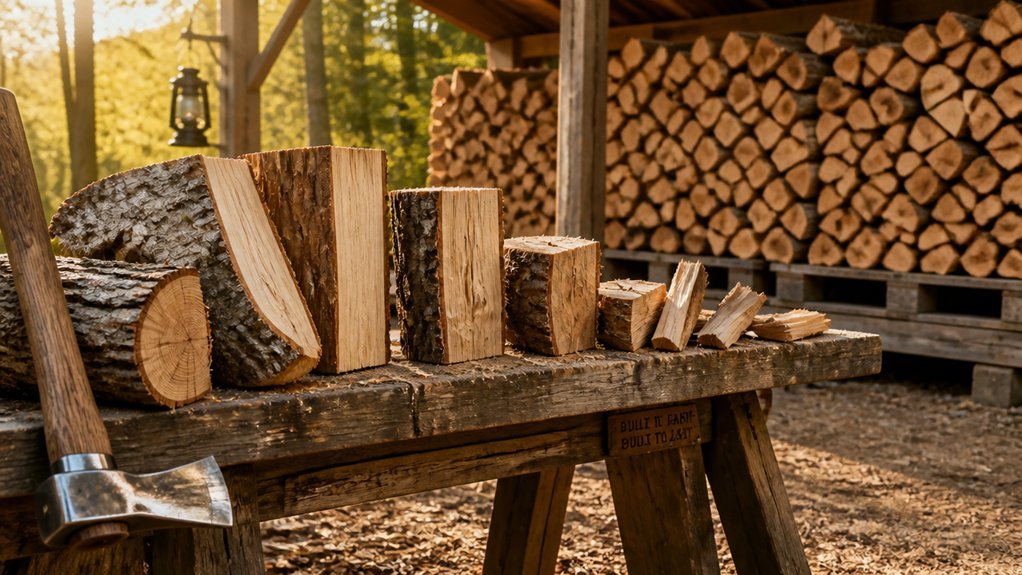
How quickly can you accelerate your drying timeline? Split every log you process. Increasing surface area exposes internal moisture to air, cutting your wait for seasoned firewood significantly.
Keep splits under six inches thick. You’ll create optimal geometry for airflow penetration, drying each wedge uniformly without rot pockets. Don’t waste fuel warming wet wood—size some pieces specifically for kindling so your fire starts hot and stays efficient.
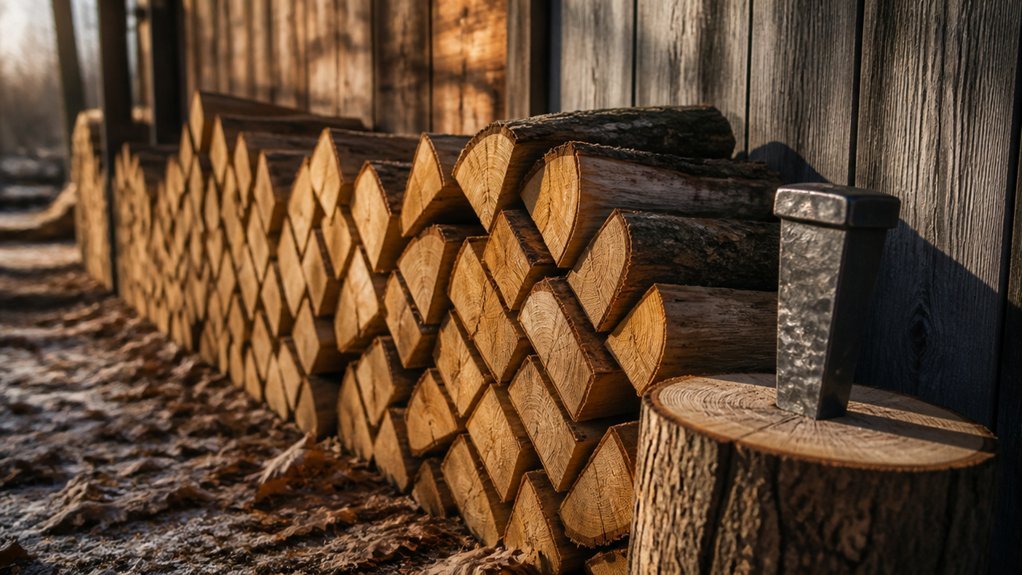
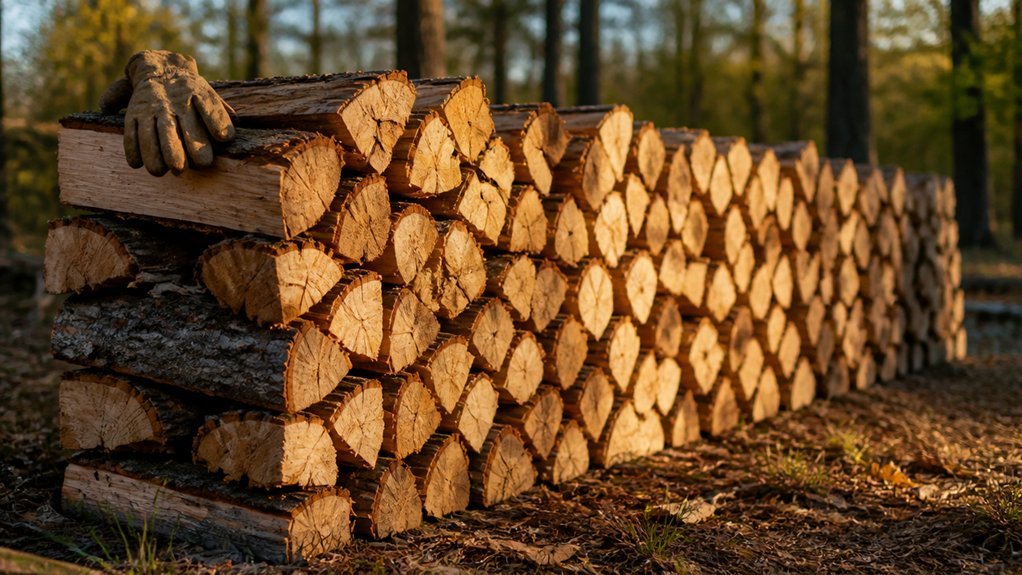
Stack with deliberate gaps between pieces. You’re engineering channels for continuous circulation, preventing moisture traps that delay seasoning. Elevate your entire pile on pallets or rails. You’ll block ground contact that reintroduces water through capillary action.
Every split you make and every dimension you control translates directly to faster turnover, higher heat output, and measurable fuel savings. Precision in sizing delivers profit at the burn.
Stack Firewood to Maximize Airflow
Where should you position your stack to maximize returns? Locate it where sun exposure remains longest and airflow moves freely—this accelerates moisture loss and reduces seasoning time. You’ll shrink carrying costs and get sellable product faster.
Stack pieces with deliberate gaps between them. Don’t jam them tight; you’re building channels for airflow, not a solid wall. Avoid end-to-end contact entirely—it creates dead zones where moisture lingers. Elevate the stack on pallets or rails so ground moisture can’t wick upward and undo your drying progress.
Use a rain-shedding cover across the top, but don’t seal the sides. Keep ends fully exposed to sun and moving air. This preserves continuous airflow circulation post-initial seasoning, locking in efficiency gains and protecting your margin through faster turnover.
Cover Only the Top, Not the Sides
Once your stack is positioned and built for airflow, you’ll want to protect your investment from rain without undoing your setup. Cover only the top of your stack. You’ll shield the wood from direct rainfall while preserving air flow through the open sides. This top-cover approach reduces water exposure without trapping moisture inside, which supports continued evaporation throughout the stack’s interior.
Leave the sides completely uncovered. You’ll maintain critical air movement that accelerates moisture loss from the split wood ends, driving faster seasoning and earlier burn-readiness. Every day of reduced drying time translates to capital freed faster and heating costs cut sooner.
Use a roofed cover that sheds precipitation while leaving side gaps for wind passage. If you’re using a tarp, drape it across the top without sealing the sides. You’ll avoid creating a humid, stagnant microclimate that stalls drying and degrades your fuel quality.
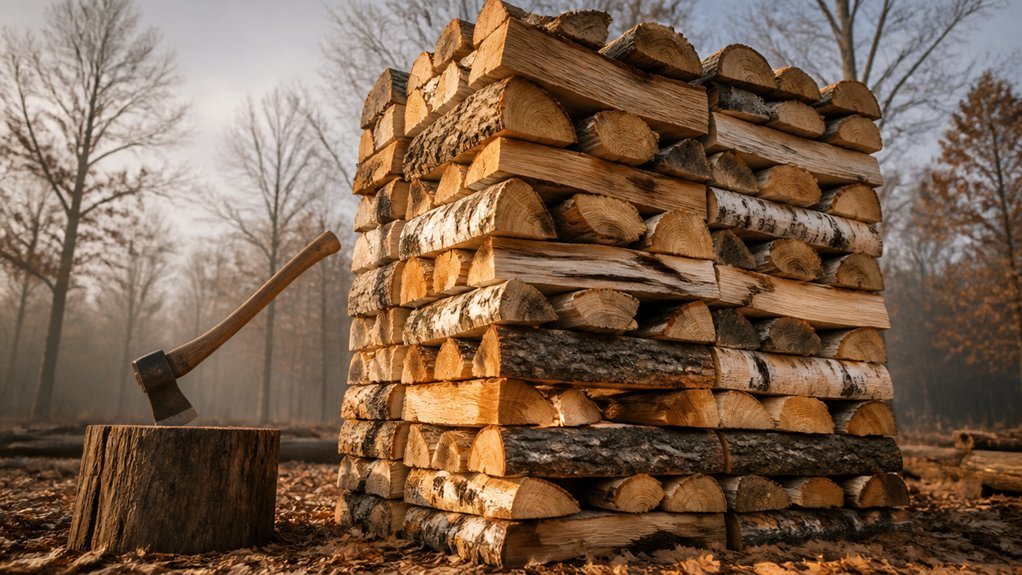
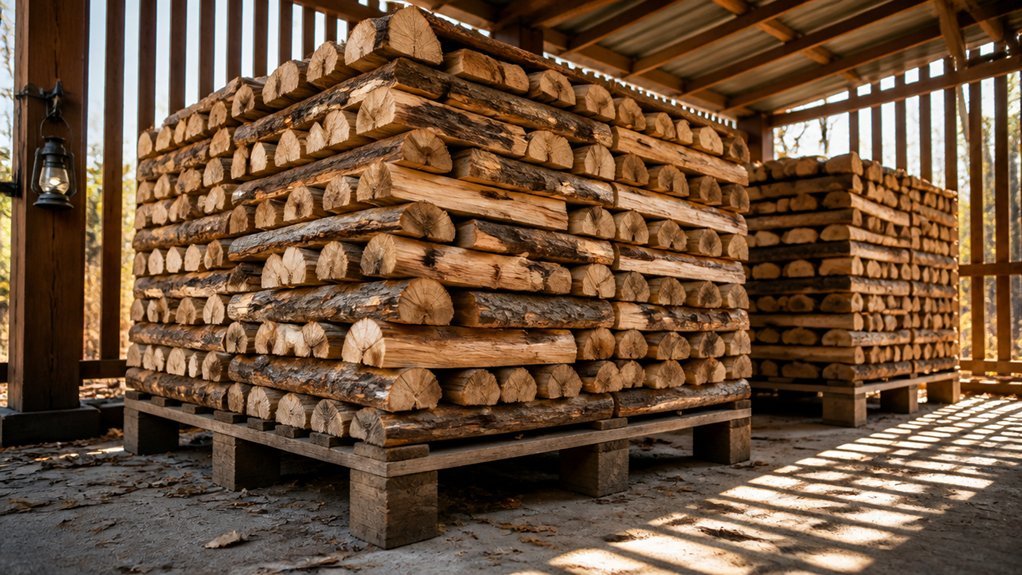
Build a Woodshed That Dries Wood Fast
Although tarps provide basic protection, you’ll get faster returns by investing in a woodshed or purpose-built structure that sheds rain while keeping sides fully open. You’ll maximize airflow by designing with elevated flooring and unobstructed side openings, accelerating moisture evaporation exponentially versus enclosed alternatives.
Flat metal roofing delivers cost-effective coverage when you weight the structure appropriately against wind displacement. This preserves consistent airflow circulation without structural compromise. You’ll maintain steady drying conditions through porch or dedicated storage configurations rather than loose tarp arrangements that seal moisture against your investment.
Design dual-end accessibility into your shed. You’ll facilitate loading and removal operations while encouraging continuous airflow through the entire stack. Every design decision prioritizes rapid moisture extraction—your profit depends on minimizing holding time between harvest and market-ready product.
How Long Firewood Actually Needs to Dry
Why guess at drying timelines when your cash flow depends on precision? You need hard numbers for proper seasoning. Softwoods demand at least six months; hardwoods require twelve months minimum. You cut, split, and stack with strategic gaps to maximize surface area and airflow. You elevate stacks off ground and cover only the top—sides stay open to sustain moisture loss. You target 20% moisture content or less, verifying with a handheld meter before you move product. Skip this verification and you absorb returns, complaints, and liability. Your seasoning timeline isn’t flexible; it’s a fixed cost of doing business. You build inventory patience into your operational calendar because rushed wood burns poorly and destroys customer trust.
3 Visual Signs Your Wood Is Ready to Burn
You’ve locked in your drying timelines and verified moisture content with a meter—now you need to spot-check inventory in the field without equipment. Examine the end surfaces of your seasoned wood. You’re looking for grey coloration and large cracks or splits that signal low moisture content and extended drying time. These end checks aren’t spoilage; they’re confirmation of proper seasoning progress.
Next, lift the pieces. Seasoned wood feels noticeably lighter than green stock because moisture loss reduces weight substantially. You’ll quickly calibrate your judgment by comparing known dry pieces against fresh splits.
Finally, note the texture and sound. Dry seasoned wood produces a hollow ring when struck, indicating readiness. Prioritize split pieces—they’ve exposed more surface area, accelerating moisture loss. This visual triage protects margins by preventing premature sales of unready stock and ensuring consistent burn quality.
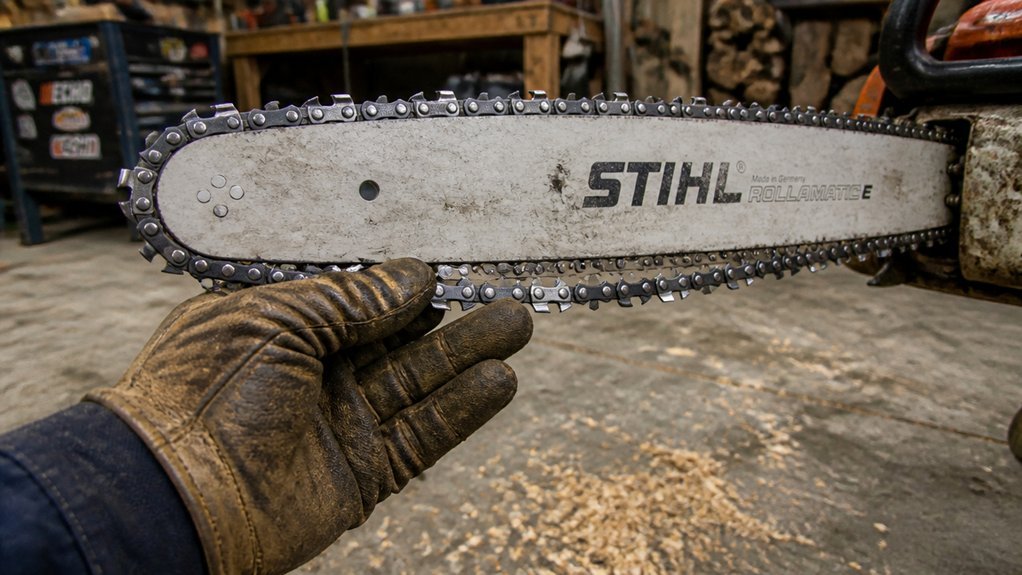
Use a Moisture Meter: Target 20% or Less
How do you eliminate guesswork from your seasoning operation? You deploy moisture meters. These handheld devices measure internal wood moisture with precision, and you’ll target 20% or less for optimal combustion efficiency and maximum heat output per cord. DEC and EPA guidance endorse this protocol because verified dry wood burns hotter, cleaner, and delivers stronger returns on your labor and fuel investment.
You’ll test multiple pieces from each stack, as moisture varies even within matched loads. Split faces give you the most accurate readings. Many state programs let you borrow moisture meters free from local libraries, removing cost barriers entirely.
When readings exceed 20%, you’ll re-stack that wood for continued drying and retest after additional seasoning time. You’re validating your product before it hits the firebox, protecting your efficiency margins and ensuring every load performs.
The Real Cost of Burning Wet Wood
What happens when you skip the seasoning phase and feed wet wood straight into your stove? You’re burning money. Wet wood forces your stove to waste energy boiling off moisture before producing usable heat, slashing efficiency and driving up fuel consumption. You pay for more logs while receiving less warmth.
The damage compounds. Underseasoned wood smolders instead of burning cleanly, accelerating creosote buildup throughout your chimney system. This restricts draft, reduces combustion efficiency, and elevates fire hazards—costly risks you’ll mitigate later through professional cleaning or repairs. You’re trading short-term convenience for long-term expense.
Dry wood at 20% moisture or less eliminates this waste. It burns hotter, transfers maximum heat to your living space, and minimizes emissions. You cut fuel costs, reduce maintenance demands, and protect your investment. Season properly, or watch your heating budget evaporate like steam from green logs.
Stop Creosote Before It Starts
Where does creosote come from? It forms when you burn wood with excess moisture, sending unburned gases up your chimney where they condense into tar-like deposits. You’re looking at expensive chimney sweeps, potential fire hazards, and lost heating efficiency when creosote buildup takes hold.
Cut your risk by driving moisture below 20%. Split your logs to maximize surface area—you’ll accelerate drying and starve creosote-producing combustion of the water it needs. Stack smart: expose the ends, cover only the top against rain, and let airflow do its work. Give softwoods six months minimum; hardwoods need twelve. Don’t rush it—you’re paying with safety and cash when you don’t.
Seasoned firewood burns hotter, cleaner, and protects your bottom line from creosote buildup’s costly consequences.
Conclusion
You reduce fuel costs and chimney maintenance by seasoning firewood properly. Split wood correctly, stack for maximum airflow, and shelter the top only—you hit 20% moisture faster, cutting burn inefficiency and creosote buildup. A moisture meter eliminates guesswork; dry wood delivers more BTUs per dollar spent. Build that woodshed, watch for visual cues, and stop throwing money up the flue. Your heating budget depends on preparation, not luck.