You need dry firewood that burns hot and clean, not smoky, inefficient fuel. Your stacking method directly determines how quickly wood seasons and how stable your pile remains through winter. Start with the base: moisture is your enemy from day one.
Start With a Raised, Dry Base
Where should your firewood stack begin? You start with a raised, dry base. Elevate your wood off the ground using pressure-treated pallets or 2x4s. This prevents moisture absorption and deters ground dampness. You’re improving drying efficiency and structural stability simultaneously.
Ensure you’ve built adequate airflow beneath your stack by spacing supports properly. Air circulation accelerates seasoning and reduces mold risk. In damp or snowy climates, add a moisture barrier—tarp or plastic sheeting—beneath your base layer for additional protection.
Construct this foundation before stacking long logs. You’ll create a stable platform that supports weight distribution and prevents collapse. Without elevation, your wood contacts wet soil, rotting the bottom tier and wasting fuel. Start correctly, and you’ll maximize burn efficiency and minimize maintenance.
Pick a Sunny, Breezy Spot 20 Feet From Your Door
The right location determines how quickly your wood seasons and how safely it stores. Scout a position receiving maximum direct sunlight and unobstructed airflow; solar radiation and wind convection drive moisture evaporation, reducing seasoning time. Avoid depressions, shaded areas, and flood-prone zones where ambient humidity spikes and ground moisture accumulates. You’ll accelerate drying further by elevating your stack on wooden pallets or concrete blocks, preventing capillary wicking from damp soil.
Position the stack precisely twenty feet from any door or entry point. This distance creates a buffer zone that minimizes termite, ant, and rodent migration into your structure while reducing fire propagation risk to the building envelope. Verify the ground is level to prevent settling and toppling. Orient the stack perpendicular to prevailing winds, maximizing convective flow through the row ends, and maintain clearances from walls, eaves, and combustible materials.
Build Two Bookend Towers to Frame Your Firewood Stack

Why start with bookend towers? They’re your structural frame. Build each tower by laying 2–4 pieces parallel, then stack perpendicularly for six alternating layers. You’ll create stable vertical supports that anchor the entire system. Position your first tower at one end of the prepared base, then mirror it at the opposite end with identical dimensions.
These towers function as built-in guides. They constrain lateral movement and define your stack’s boundaries. As you fill between them, the towers maintain alignment without requiring additional bracing. You’ll fit irregular logs against this fixed structure rather than fighting a wobbly free-standing pile.
The spacing between towers matters. Set them to accommodate your standard log lengths while preserving perimeter gaps. This perimeter channel channels airflow beneath and around the mass, accelerating moisture evacuation. You’ll avoid the concentrated humidity that breeds decay.
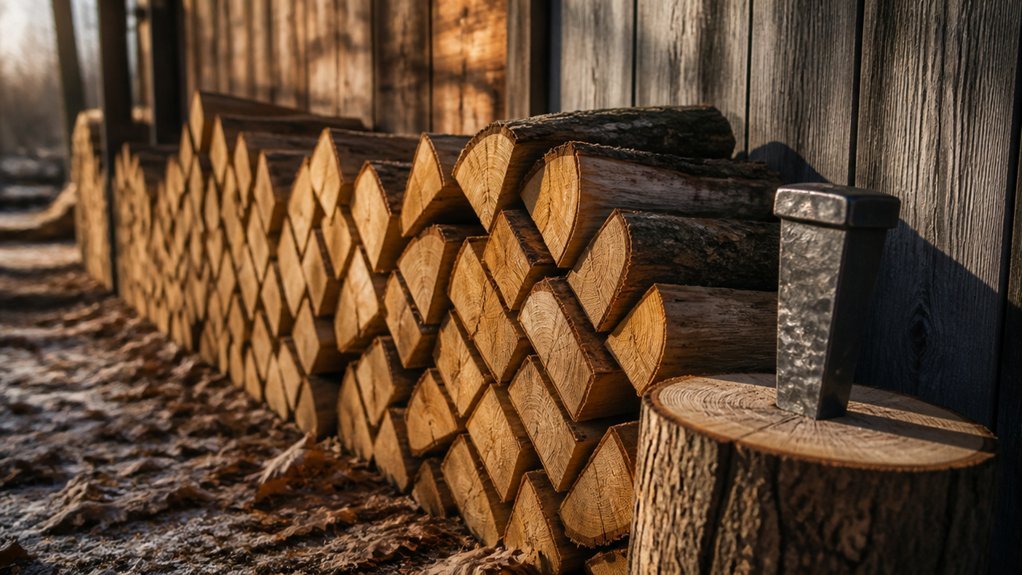
Fill Your Firewood Stack With Gaps for Airflow
How should you load the space between your towers? You’ll place logs with deliberate gaps to maintain airflow throughout the stack. Space each piece apart as you build layers; don’t jam them tight. You’ll prevent moisture pockets and mold while accelerating drying time.
Avoid rigid Jenga-style patterns. Instead, fit logs securely where they belong, preserving ventilation channels between them. You’ll maintain consistent spacing across every layer—compaction blocks airflow and traps moisture, slowing the entire curing process.
As you build, check that air moves freely through the stack’s interior, not just around its edges. Cap the structure with top coverage only; you’ll keep sides fully open. This preserves uninterrupted airflow through the gaps you’ve engineered, delivering efficient, uniform drying without unnecessary bulk or structural risk.
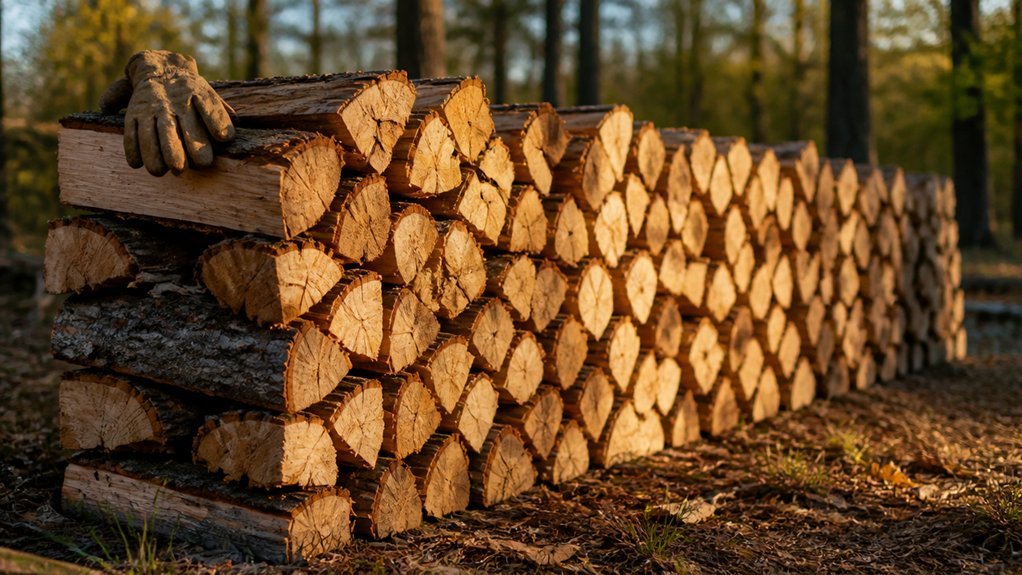
Stack Firewood Higher Without Tipping Over
Once you’ve established proper airflow with your gapped layers, you’ll need to address structural stability as your stack grows. Build two-ended towers by laying 2–4 pieces parallel, then add a matching end tower to guide the remaining wood. Match your final stack height to the tower height for balance.
You’ll maintain airflow by avoiding strict Jenga patterns and letting the stack extend gradually as you fit wood between towers. Raise the base using pallets or 2x4s to prevent ground moisture from destabilizing the structure. When you increase height, stop at the tower height, then lock the top with props or heavy objects to prevent sudden tipping. You’ll cap with a tarp on top only, propping it to prevent wind displacement while keeping sides open for continuous airflow.
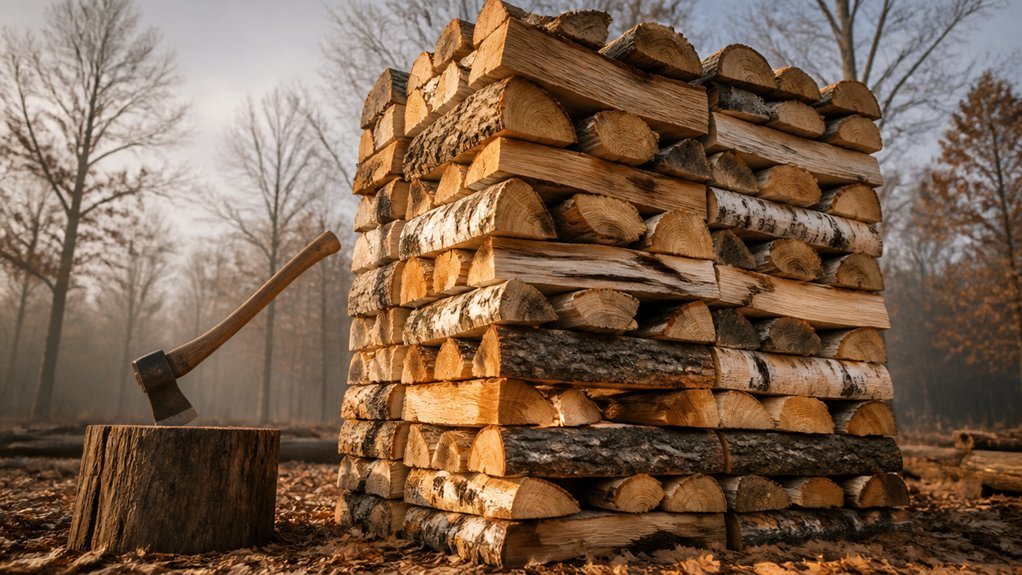
Cover the Top, Not the Sides
Where should you focus your protection efforts when covering a firewood stack? Concentrate on the top cover. You protect from precipitation while maintaining critical airflow through open sides.
Drape a tarp or metal roofing across the stack’s peak. You’re blocking rain entry points, not creating a sealed enclosure. Keep sides completely exposed; airflow circulates through the wood, driving moisture out and preventing mold colonization.
In wet environments, prop the tarp to slope outward, directing runoff away from the base. Pooling water undermines your drying efforts. Anchor the top cover with heavy rocks or weights; wind displacement wastes your setup time and exposes the stack.
Align the cover height precisely with the tower peak. Stabilize with props when geometry demands it. You’ve now optimized protection without sacrificing ventilation efficiency.
Check Your Firewood Stack for Season-Long Stability
With your cover secured and airflow optimized, you’ll need to keep the stack sound through months of weathering.
Inspect your base weekly for sagging or moisture transfer—fix any soft spots immediately to prevent collapse.
Check for shifting or settling after temperature swings and reposition logs to maintain even height and stability.
Verify that airflow stays unobstructed under and between logs to block mold buildup.
You’ll spot wobbling early by nudging corner pieces; restack sections before they lean.
Watch for pest activity or surface mold and reorganize affected pieces promptly.
Keep the surrounding area clear of debris to deter further issues.
These checks take minutes but preserve structural integrity.
Prioritize dryness monitoring and rapid intervention—season-long stability demands consistent, efficient maintenance, not reactive repairs.
Know When Your Firewood Is Ready to Burn
How do you know your firewood won’t smolder and smoke instead of producing clean, sustained flames? You’ll verify through measurable indicators. Check your wood moisture content with a moisture meter—aim for 20% or lower. Without a meter, lift a piece; seasoned wood feels significantly lighter than fresh-cut stock. Strike two pieces together; you’ll hear a sharp, hollow crack rather than a dull thud. Split a log; dry wood separates cleanly along grain lines. Sniff for resinous odors—seasoned fuel carries minimal green scent.
Position your stack in a ventilated, sun-exposed location to accelerate drying. Hardwood typically demands 6–12 months depending on climate, species, and initial wood moisture content. You’ll reduce indoor humidity exposure during final curing phases. These verification steps ensure you burn efficiently, minimizing creosote buildup and maximizing heat output.
Conclusion
You’ve built a functional stack. Your wood’s elevated, ventilated, and positioned for optimal drying. Maintain the structure: check towers monthly, ensure the cover stays intact, and don’t overload. Split logs dry faster than rounds—factor that into your timeline. When moisture content hits 20% or below, you’re ready to burn. Proper stacking isn’t aesthetic; it’s fuel efficiency. Done right, you’ll minimize waste, maximize heat output, and reduce chimney buildup. Execute consistently, season after season.