You’ll begin by selecting either a sharp flat spade or a half-moon edger—your choice depends on soil density and edge curvature. Once you’ve mapped the boundary with a hose or straight guide and let it sit overnight for evaluation, you’ll cut 4–6 inches into the sod, angle your trench at 45 degrees, and keep mulch exclusively on the beds. The real challenge isn’t the initial cut; it’s maintaining that crisp separation through seasonal shifts and growth cycles without letting your edge dissolve into the surrounding turf.
Why Edge Your Lawn?
Why exactly does a crisp lawn edge matter for your maintenance routine? A sharp lawn edge establishes a defined boundary that physically blocks turf encroachment. When you cut a clean V-shaped trench between grass and adjacent features, you’re creating a no-grow zone that halts rhizome spread into planting beds. This barrier keeps maintenance precise—you’ll mow faster when grass stays contained. Your equipment works more efficiently against a hard line; string trimmers and edgers follow the trench without ambiguity. Regular cutting, paired with weekly mowing, prevents soil from filling the gap and preserves that crisp separation. You’ll spend less time hand-pulling invaders from vegetable plots and perennial borders. The result? Distinct transitions between turf and hardscape, measurable time savings, and equipment that performs predictably against a maintained reference point. That’s precision you can replicate weekly.
Where to Edge (and Where It Damages Trees)
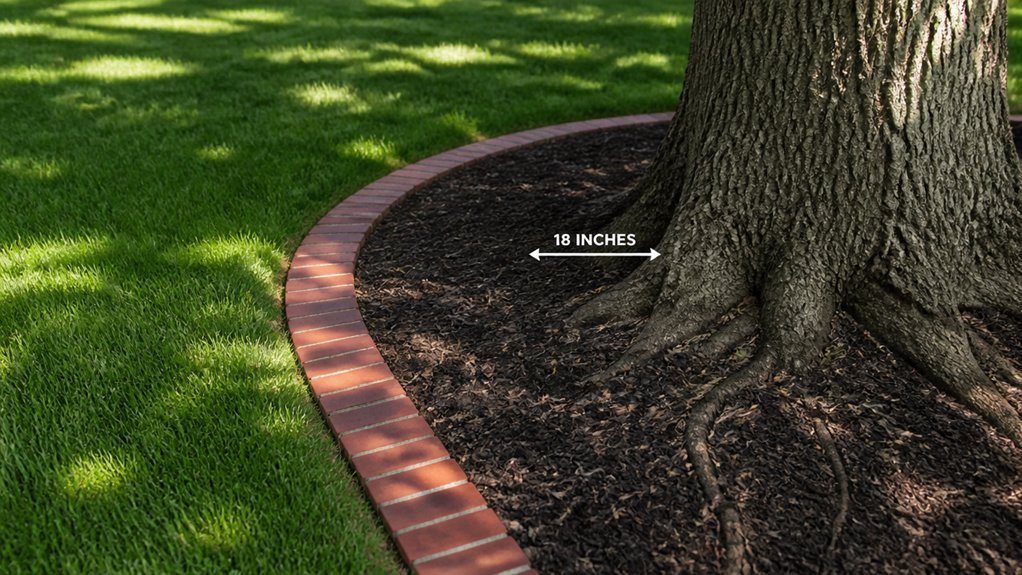
Where exactly should you cut your edge to get maintenance value without creating costly damage? You edge where turf meets open soil, beds, or fences. This creates a distinct no-grow zone and stops grass from creeping into planting beds, vegetable gardens, and mulched playground borders. You use a cut lawn edge to define boundaries and block encroachment.
Do not edge around trees. Cutting a thin layer too close to trunks severs surface roots and compromises tree health and stability. In Lawn Care, root protection takes priority over cosmetic borders.
For straight edges, you position a 2×4 board or PVC pipe as a guide.
For curves, you mark outlines with a garden hose before cutting.
You refresh edges in spring and every two months during growing season to maintain clean boundaries and prevent grass encroachment.
Choose Your Tool: Spade vs. Half-Moon Edger
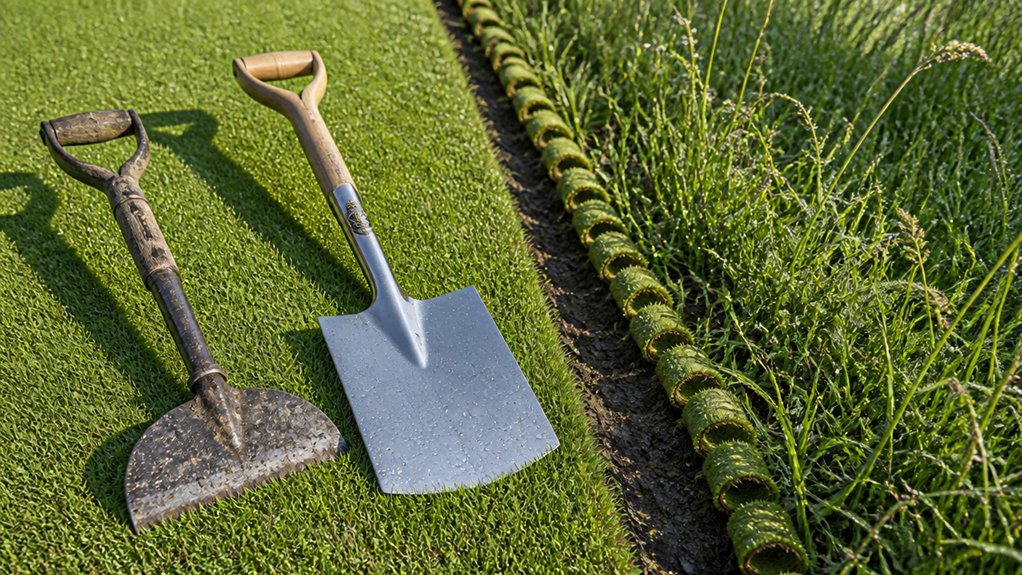
You have marked your boundaries and avoided surface roots; now you select the cutting tool that matches your edge geometry.
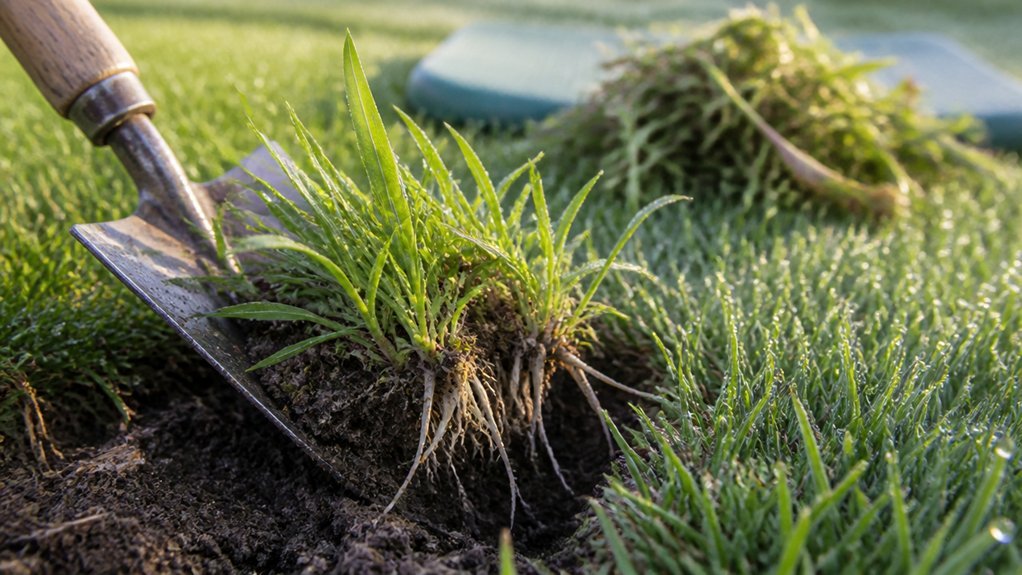
A flat spade cuts a wider, straighter trench, making it ideal for linear edges. Its blade drives 4–6 inches deep into sod during cutting operations, excavating material efficiently. You’ll find it effective for removing bulk soil and establishing straight V-shaped trenches.
A half-moon edger specializes in narrow, precise vertical cuts. Its curved blade follows contours with minimal soil disturbance, delivering crisper edges along beds and borders. You’ll achieve cleaner definition with less rework, particularly where geometry demands accuracy.
Both tools form 4–6 inch deep V-shaped trenches. For Step 4, skim additional soil with either tool based on your comfort level and desired sharpness. Maintain blade condition; a sharp edge reduces effort and prevents ragged cuts that compromise edge integrity.
Step 1: Map Your Edge With a Hose or Board
Defining the edge geometry comes before any blade meets soil. You’ll map your edge using flexible materials that conform to your design intent.
For curved borders, lay a garden hose along your proposed line. Adjust its position until you achieve flowing, natural curves that match cottage-style aesthetics. Step back frequently to assess the overall composition from multiple angles.
For straight edges, employ a 2×4 board or PVC pipe as a rigid straightedge. This equipment ensures your lines remain true, supporting modern, minimalist landscape designs. You’ll prevent layout drift by working against this fixed reference.
Leave your hose or board in place overnight. Return with fresh perspective to evaluate and adjust as needed. This visible guide eliminates guesswork during subsequent cutting operations, ensuring your edge trench follows the precise geometry you’ve established.
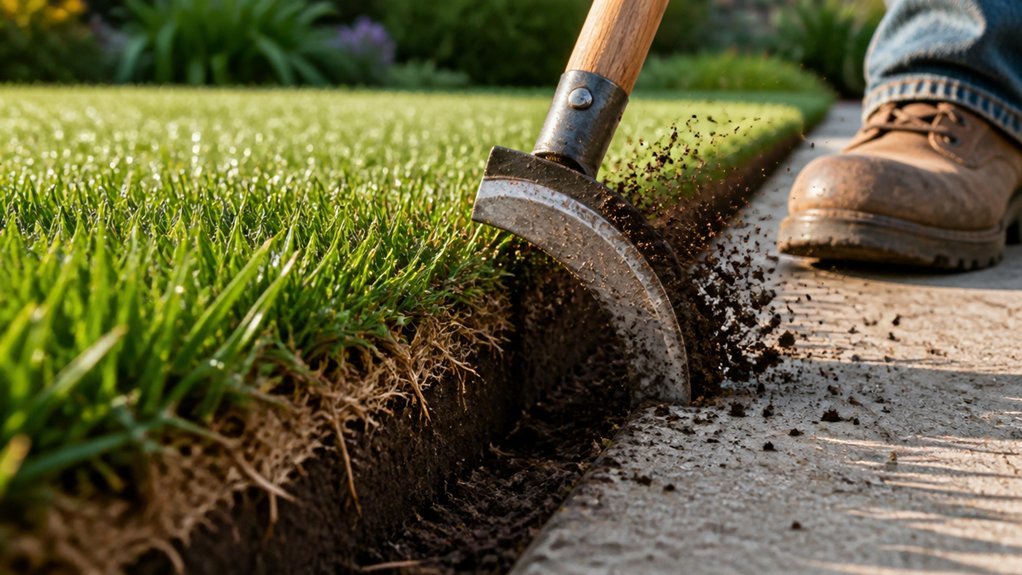
Step 2: Cut 4–6 Inches Into the Sod
Once your hose or board has defined the geometry, pick up a sharp flat spade or half-moon edger to execute the first cut. Drive the blade vertically into the sod at a depth of 4–6 inches, maintaining this measurement consistently along the entire edge. Apply steady, controlled pressure to avoid ragged cuts or depth variations. You’ll feel the resistance release as the blade severs the root mass.
This cut establishes the initial separation between turf and edging zone, creating the foundational plane for a clean, uniform edge. Work your way along the marked line, ensuring each thrust achieves the target depth. Inspect your progress frequently; deviations compromise the final trench geometry. Remove the severed turf and soil promptly to expose the incised profile. This prepared edge now awaits final refinement, with the cut surface providing the structural base for the subsequent trench formation in Step 3.
Step 3: Dig the V-Shaped Trench
After establishing the initial vertical cut, you’ll angle the spade or edger backward at approximately 45 degrees to excavate the soil and create the V-shaped profile. Remove turf and soil to achieve a uniform 4–6 inch depth. Work methodically along the edge, maintaining consistent angles for structural integrity.
You’ll consolidate the edge below ground level, forming a defined transition between lawn and adjacent areas. This subsurface barrier prevents rhizome penetration and maintains boundary clarity long-term. Monitor depth with a tape measure; deviations compromise maintenance efficiency.
The resulting V-trench establishes a sharp, permanent division. Avoid over-widening—you’ll erode the structural capacity of the trench walls. Once you’ve achieved uniform depth and profile, you’ll smooth and adjust the soil contour within the trench to prepare for the subsequent finish work.
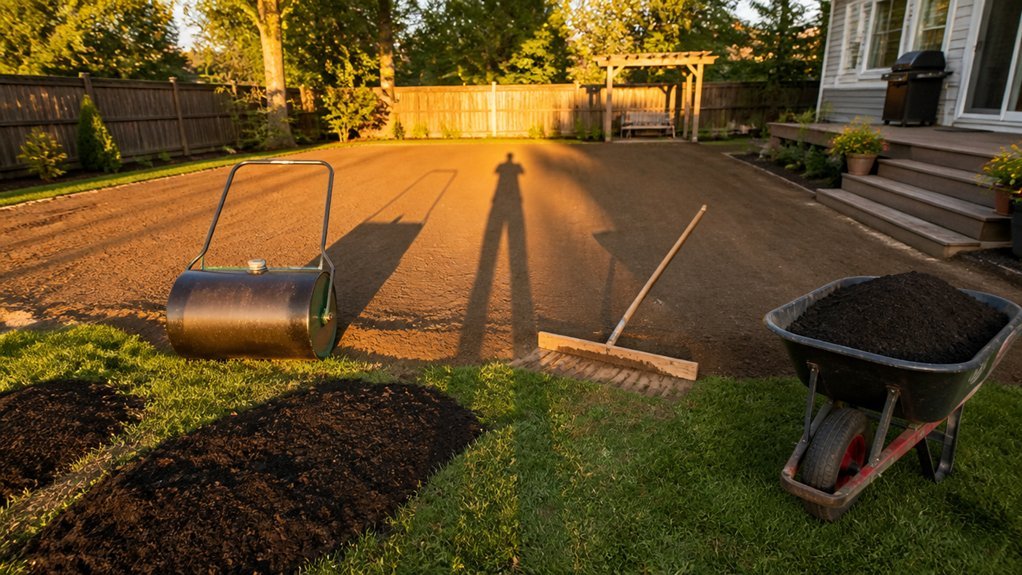
Step 4: Mulch Without Filling the Trench
Where should the mulch go once you’ve cut that clean V-trench? Spread it only across the bed area, not into the trench itself. Maintain that 4–6 inch V-cut as a visible barrier; keep it clear.
You’ll apply a 2-inch layer of shredded bark, pine needles, cocoa hulls, compost, or finely shredded grass clippings across the planting bed. Don’t allow material to spill into the trench. Maintain trench visibility to preserve the edge definition between lawn and bed.
Mulch suppresses weeds and retains moisture, but filling the trench obscures your cut and defeats the edging purpose. When refreshing, redistribute displaced material back onto the bed. This preserves the sharp boundary your equipment created. You’ll maintain this separation through proper application technique.
Maintain Your Edge: How Often to Recut
How often should you run your edger to keep that trench crisp? Recut in spring, then every two months through the growing season. This schedule maintains a consistent 4–6 inch deep trench and a sharp V-shaped profile between turf and beds.
After each pass, you’ll clear debris and stray clippings immediately. Don’t let soil accumulate; it’ll blur your edge and undo your precision work.
Weather and growth disrupt even the best schedule. You’ll need to refresh the edge after heavy rainfall or aggressive weed growth to restore that clean line.
Annually, recheck the edge width and contour. If the lawn grows unevenly near the border, adjust your mower height to preserve the trench’s geometry. Your edger’s effectiveness depends on this disciplined maintenance cycle.
Skip Digging: Stone, Steel, or Vinyl Barriers
A sharp trench isn’t your only option. Skip digging and install a barrier to define your edge. Cast stone, natural stone, steel, vinyl, or rubber materials create a low-maintenance border that prevents grass encroachment without demanding deep trenches or frequent recutting.
Choose cast stone or steel bullet edgers for rigid, mower-resistant boundaries that withstand weathering. Select vinyl or rubber barriers for flexible, lightweight installation that still blocks turf spread into mulched beds or open soil.
Set your barrier flush with the soil surface during install. Maintain the edge by clearing accumulated debris and checking alignment seasonally. Verify that shifting ground hasn’t tilted or lifted sections. Proper barrier selection and periodic inspection eliminate intensive edging while preserving clean lawn-to-bed separation.
Conclusion
You’ve mapped your edge, cut your sod, and opened that V-shaped trench. Now maintain it: recut seasonally with your spade or half-moon edger, keeping the angle at 45 degrees and the depth at 4–6 inches. Skip the labor entirely if you install steel, stone, or vinyl barriers—just align them precisely during placement. Either way, keep mulch out of your trench; that’s your maintenance access, not your bed. Your equipment choice determines your effort level.