You need to ground your portable generator correctly to prevent electrocution and meet NEC requirements, but the method depends on whether your unit is already frame-bonded and how you’re using it. Most people skip the first critical check and install unnecessary hardware, while others miss mandatory earth connections entirely. Before you drive a single rod or strip any wire, you’ll want to verify exactly what your specific setup demands—because getting this wrong can leave you unprotected.
Do You Actually Need to Ground Your Portable Generator?
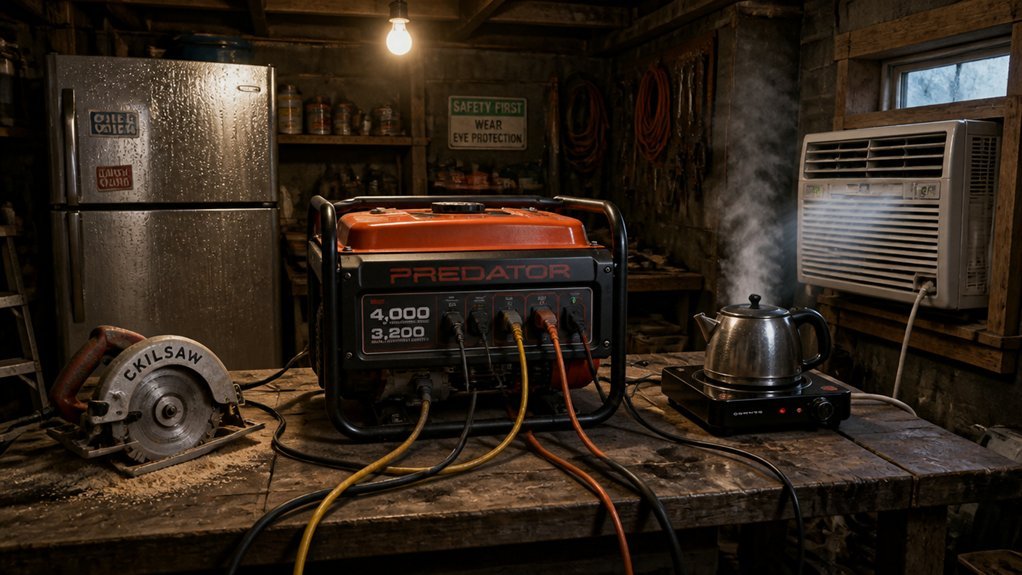
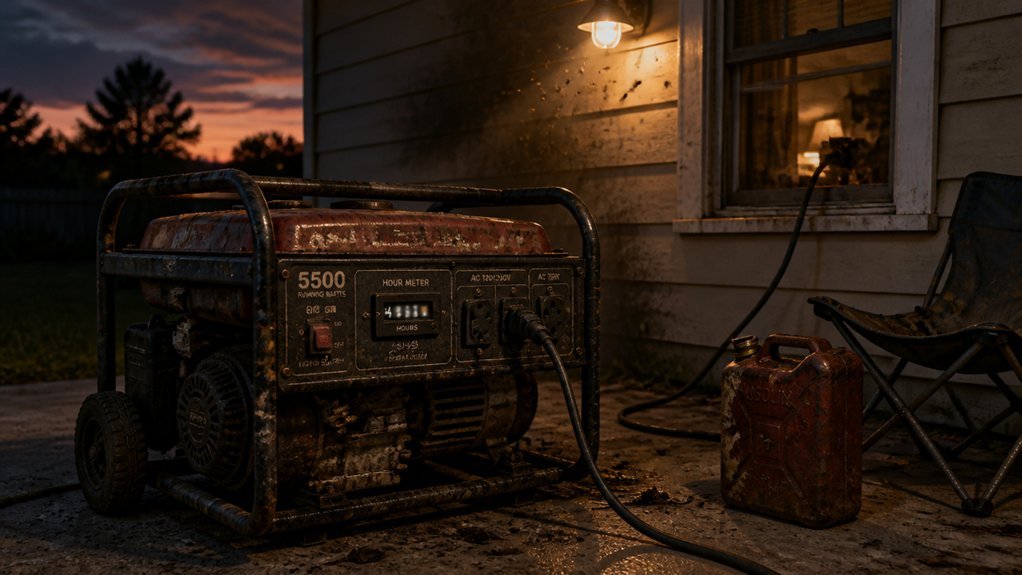
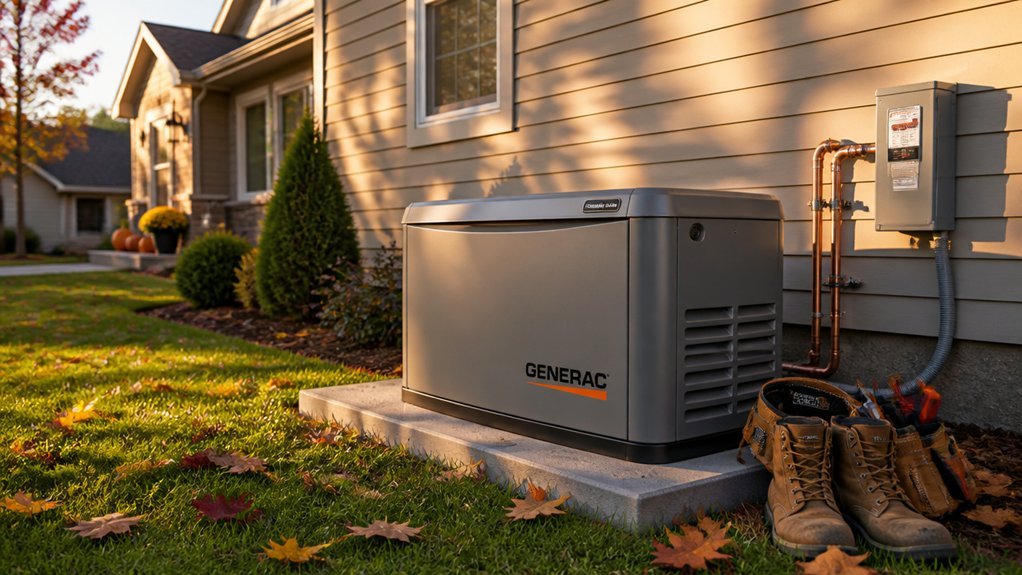
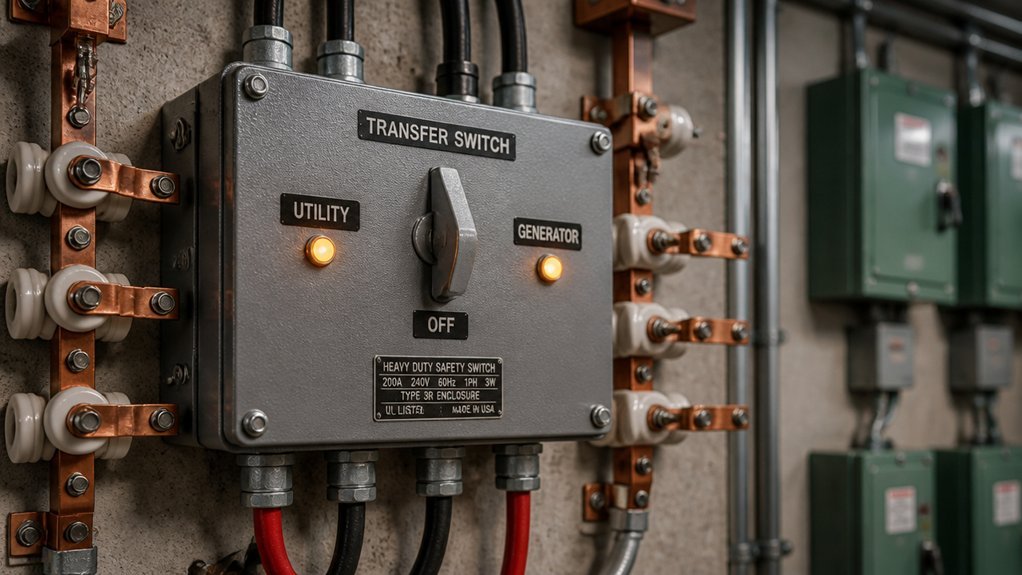
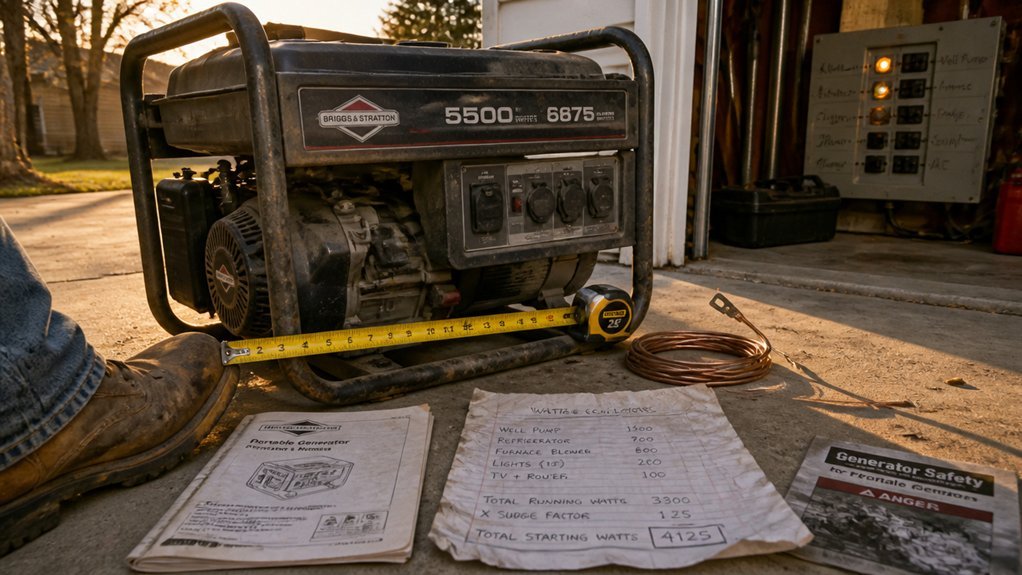
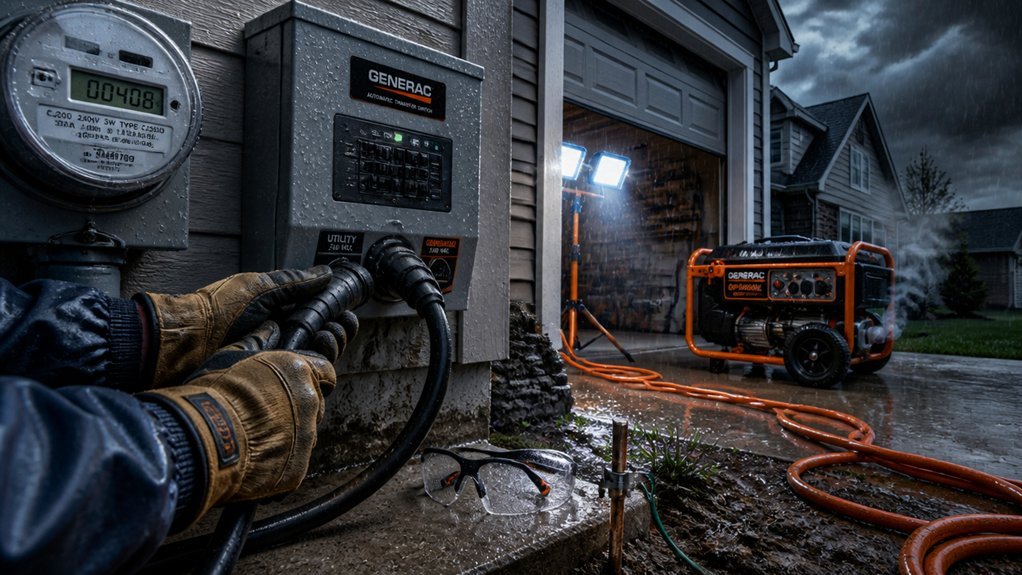
Whether you need to ground your portable generator depends entirely on how you’re using it. When you’re powering equipment through extension cords alone, you typically don’t need additional grounding—many modern portable generator designs incorporate frame grounding that satisfies safety requirements for this application. However, you’ll need proper grounding when your portable generator connects to a building’s electrical system, a transfer switch, or a recreational vehicle’s panel. In these configurations, you’re creating a bonded path where fault current must divert safely into the earth to prevent electrocution hazards. If your setup requires grounding, you’ll drive a grounding rod at least 3 feet into soil per NEC Article 250 and local amendments. Always verify your specific model’s requirements against manufacturer documentation before operating, as grounding procedures vary by design and jurisdiction.
Check If Your Generator Is Already Grounded to the Frame
Assuming you’ve confirmed grounding is required for your setup, your first step is determining if your generator already incorporates frame grounding. Some modern portable generators come pre-grounded to their metal frame, which eliminates the need for a separate grounding rod in typical applications.
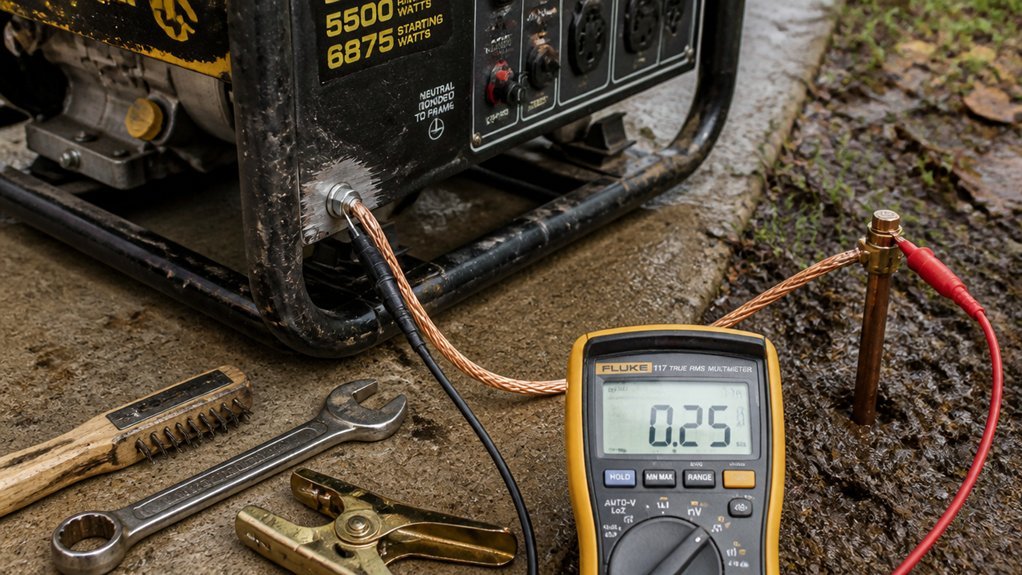
To verify this, locate the neutral/ground bond on your unit. You’ll need to confirm a continuous low-resistance path exists between the frame and the grounding conductor using a multimeter. Check your manufacturer’s documentation for specifications regarding a factory grounding point or designated grounding conductor.
Ensure the frame-ground bond remains intact and hasn’t been compromised by incorrect wiring or modifications. Never disconnect or bypass this bond—doing so creates serious shock hazards and risks equipment damage. If you discover your generator isn’t pre-grounded, you’ll need to establish an external grounding path, but that’s a separate evaluation from confirming what your unit already provides.
Word count: 124
Pick the Right Grounding Rod and Wire for Your Conditions

How deep should you drive your grounding rod to ensure a low-resistance path? You’ll need at least 3 feet of copper or copper-coated steel driven into stable soil, though rocky or sandy conditions may demand deeper penetration or multiple rods to hit code-compliant resistance levels.
Select a flexible, outdoor-rated grounding wire—typically 10 AWG or heavier per your local codes—with clean, exposed copper ends for maximum conductivity. Verify chemical compatibility between your rod material and soil to prevent accelerated corrosion.
Position the rod away from water sources and high-traffic zones, maintaining distances specified by codes and your generator’s manual. Secure connections with corrosion-resistant clamps, tightening until snug. You’re now ready to drive your rod to the required depth and complete the installation.
Drive Your Grounding Rod to Code-Compliant Depth
Where exactly should you drive your rod to achieve dependable grounding? You’ll drive it at least 8 feet vertically into soil, though local codes may require deeper penetration for adequate electrical safety. Deeper installations yield lower impedance paths to earth, improving fault current dissipation when you need it most.
You’ll use a hammer or digging tool to install the rod vertically—avoid bending it, as deformation reduces effectiveness. Position the rod at a suitable distance from your campsite, keeping it away from water sources and metal structures to prevent contact hazards. After driving it to full depth, you’ll cover the exposed top with a protective clamp or cap. This prevents accidental contact while maintaining a clear path to earth. Verify you’ve achieved full code-compliant depth before proceeding to your next step.
Strip and Wrap the Copper Wire Correctly
Why risk a faulty ground when proper wire preparation guarantees your safety? You’ll strip 15–30 cm of insulation from each end of your copper grounding wire using a reliable wire stripper. Don’t rush—damaged conductors compromise conductivity. You’ll expose clean, corrosion-free copper to maximize electrical contact with your grounding system.
Next, you’ll wind one stripped end tightly around your driven grounding rod using pliers. You’ll maintain constant pressure to create a solid mechanical bond without loose twists that reduce conductivity. You’ll press each wrap securely, ensuring no gaps remain between wire and rod. You’ll keep both stripped ends completely free of insulation throughout this process—any remaining material creates dangerous resistance. You’re preparing terminal points that’ll carry fault current safely to earth, protecting against lethal electrocution hazards.
Ground Your Generator: Attach Wire to the Frame Bolt
When will you take the final step that completes your generator’s protective earth path? You’ll do it now, but first you’ll ensure the generator’s off. You can’t risk arcing or accidental startup.
You’ll loosen the grounding bolt on the frame. You’ll take that 15–30 cm of stripped copper wire you prepared and wrap it securely around the bolt. You won’t leave loose strands hanging—they’re a hazard you’ll eliminate now. You’ll retighten the bolt until the wire’s clamped firmly. You won’t guess at tightness; you’ll verify it.
You’ll inspect the connection. You’ll confirm there’s no corrosion weakening the path and no movement in the wire. You’re building a low-resistance bond, not a loose junction. You’ll check your manufacturer’s manual too—some units come pre-grounded or need modified attachment points. You’ve established earth potential.
Double-Check Your Connections Before Starting Up
Grounding the frame bolt is complete, but you’re not ready to start yet. Verify the neutral-to-ground connection is secured with a properly tightened bolt or clamp. Confirm your copper conductor meets manufacturer specifications and local electrical codes for gauge and low resistance. Ensure you’ve driven the grounding rod at least three feet deep and capped any exposed portion to prevent contact hazards. Inspect every connection point for corrosion, looseness, or conductor fraying. Trace the grounding path from generator to electrode to confirm electrical continuity. You’ll also need to verify the generator and main power switch remain in the off position before proceeding. These steps aren’t optional—they’re mandatory safety protocols that protect against electrocution and equipment damage. Complete this verification sequence without exception.
What Happens If Something Goes Wrong With Your Grounding?
If your grounding system fails, you’re no longer protected against the hazards it was designed to eliminate. Fault current can’t safely discharge to earth, and you’re exposed to serious risks.
You’ll likely encounter stray voltage on conductive surfaces, experience prolonged shock durations, and watch your protective devices trip repeatedly. These symptoms signal immediate grounding failure.
Check your connections. A loose or corroded bond increases resistance, choking fault current’s return path to ground. You’ve compromised the system’s effectiveness.
Verify your components. An undersized or damaged grounding rod or conductor violates NEC requirements and creates dangerous vulnerabilities.
When fault current can’t flow through intended paths, it seeks alternate routes—often through equipment frames or your body. You’re risking lethal shock, severe injury, and catastrophic equipment damage. Don’t operate until you’ve restored code-compliant grounding integrity.
Conclusion
You’ve verified your generator’s bonding status, selected code-compliant materials, and established an earth connection at proper depth with secure terminations. Test continuity before startup. Your grounding system now provides a safe path for fault current, protecting you and connected equipment. Keep your connections tight and corrosion-free, and you’ll maintain NEC-compliant protection every time you run your unit.