You clamp the bar in a vise, select the correct round file for your pitch, and set your gauge to 30 degrees—but one misalignment ruins every stroke. Most users quit early because they can’t feel the edge forming. You’ll need to recognize the burr before it tells you otherwise.
What You Need to Sharpen a Chain by Hand
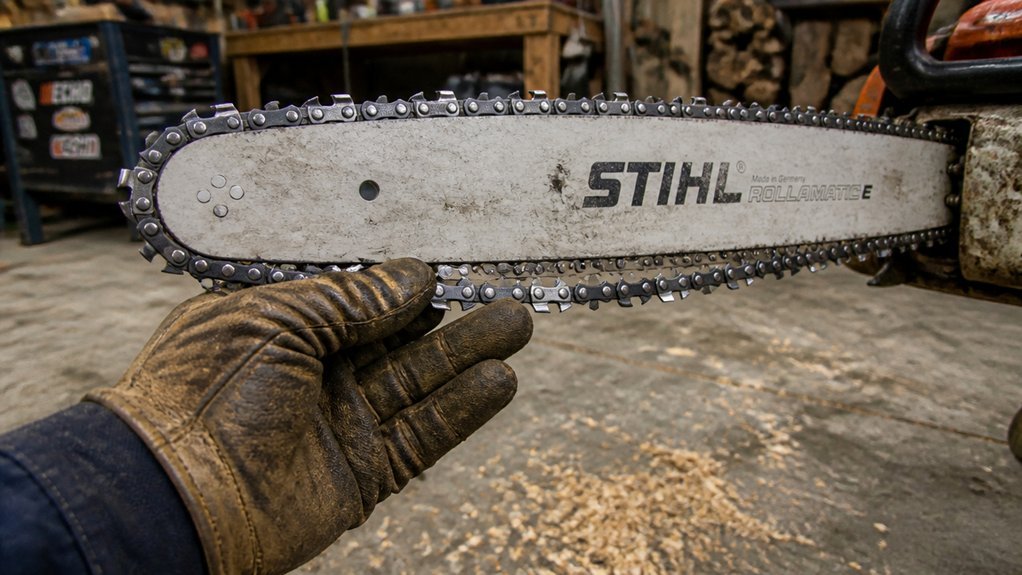
How exactly do you prepare a chainsaw chain for manual sharpening? You secure the blade in a rigid vise, clean debris from the teeth and top plate with degreasing detergent, and inspect for damage. You need a round file matching your chain size—commonly 3/16, 5/32, or 7/32 inch—and a filing guide; confirm specifications from your manual and replace the round file after roughly five sharpenings.
You identify the starting cutter—the shortest tooth—and mark it if lengths appear equal. You insert the file into each notch, keeping 20–25% above the tooth, maintaining a 25–30 degree filing angle while lightly twisting to deburr. You check depth gauge height with a load gauge, adjust rakers for proper clearance, verify chain tension, and oil the chain before operation.
How to Set Up Your Sharpening Station
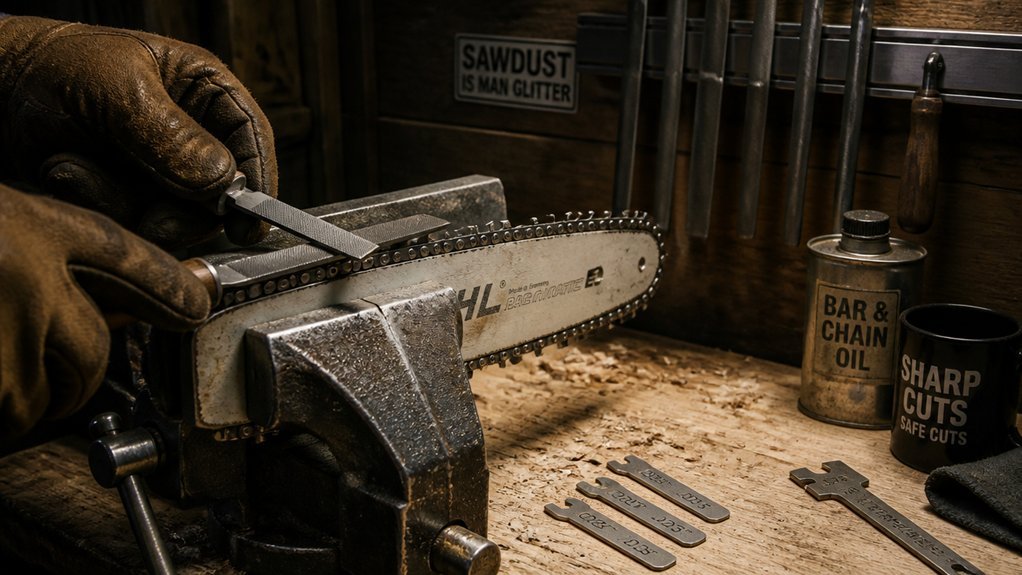
Before you begin filing, you’ll want to establish a stable, well-lit workspace that keeps the blade completely stationary. Secure the blade in a vise on a solid surface and tighten it firmly to prevent movement during the operation.
Clean the chain with a brush and commercial degreasing detergent, then inspect for run-down or busted teeth and links. Mark the shortest cutter—the leading cutter—so you’ll bring all cutters to uniform length.
Determine your round-file diameter by identifying the chain pitch and consulting the STIHL chain file size chart. Position your filing gauge to maintain the specified sharpening angle, typically 25–30 degrees. Verify depth gauge clearances using your owner’s manual or chain manual. Keep your flat file ready for adjusting raker heights after sharpening.
Which File Size Matches Your Chain
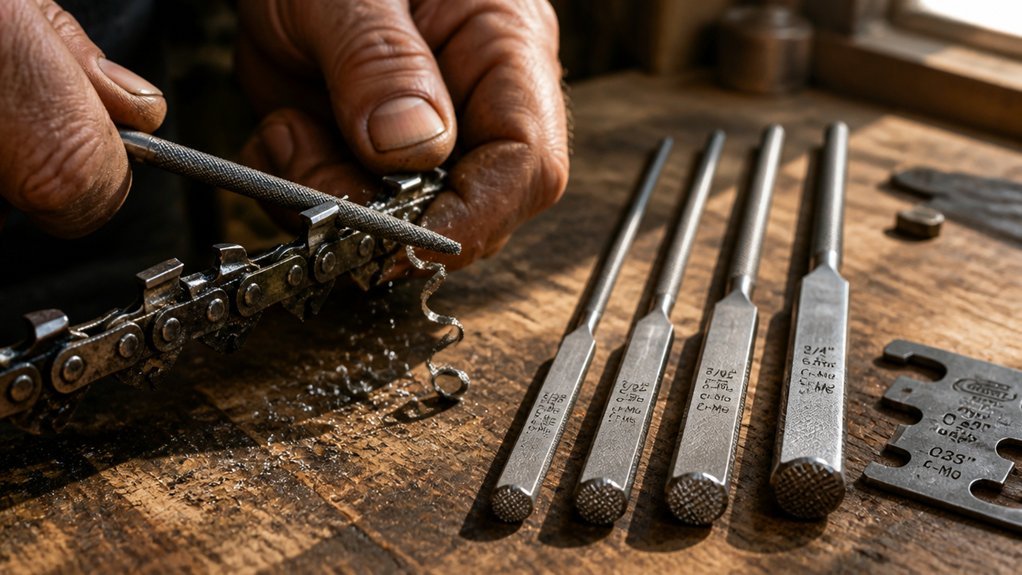
The correct round file diameter depends entirely on your chain’s pitch, which you’ll find stamped on the depth gauge or listed in your owner’s manual. Cross-reference this measurement with a chain file size chart—STIHL provides reliable references—to identify your required round file. Common diameters include 3/16, 5/32, and 7/32 inch. When the depth gauge code’s illegible, measure chain pitch by rivet spacing and match that dimension to the appropriate file size.
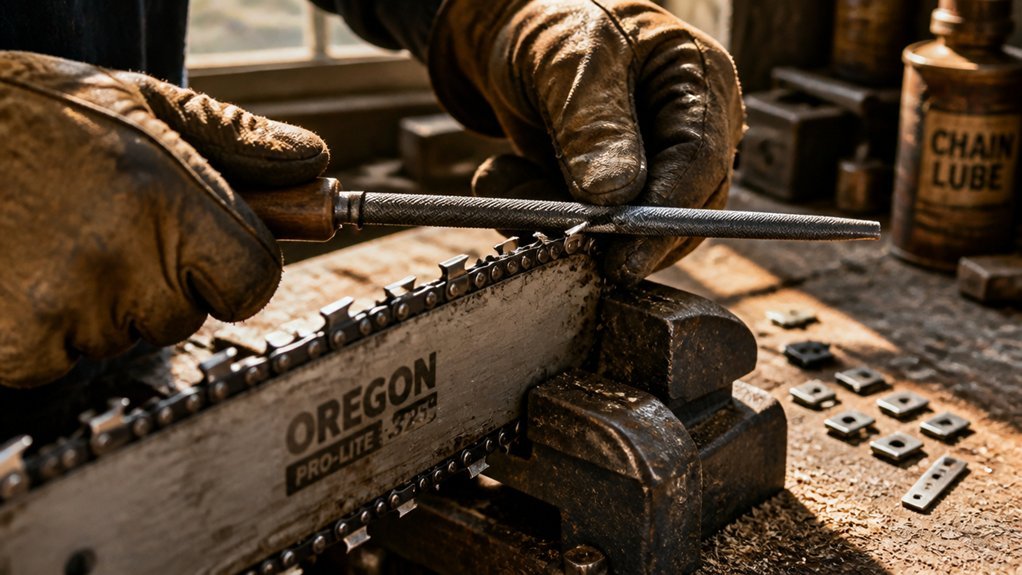
You’ll know you’ve selected correctly when the round file seats precisely within the cutter gullet without rocking. Position it so approximately 20% of the file diameter remains visible above the top of tooth. This clearance ensures you’re following the manufacturer’s filing angle and maintaining proper tooth geometry. Use a filing gauge to verify alignment before you begin each stroke.
How to Position the File at 30 Degrees
Use a filing gauge if you’re unsure—these tools seat against the depth gauge and hold your file at the correct orientation. Maintain light, steady forward strokes, twisting slightly to clear burrs.
Skip the file’s return stroke; you’ll dull the edge you’re creating. Consistency across every tooth prevents uneven cutting.
How Many Strokes per Tooth?
Count your strokes carefully, as you’ll want an identical number on every tooth to preserve uniform tooth length—any deviation creates an uneven cutting edge that’ll pull your saw off track. Mark your master tooth with a permanent marker so you’ve got a clear reference point when you complete the loop.
Apply consistent forward strokes with steady pressure, maintaining your sharpening angle at 25–30 degrees. Position your filing gauge so approximately twenty percent of the file diameter remains visible above the top of tooth—this protects the cutting geometry you’re establishing.
Once you’ve finished one side, execute a chain rotation of 180 degrees and replicate that same number of strokes on each opposite cutter. Verify uniform height across all teeth; if any cutter protrudes, apply additional forward strokes selectively. Check your work visually and by touch before operation.
Match Every Cutter to Your Master Tooth
You’ve established your stroke pattern and brought every tooth to matching symmetry on both sides, so now you’ll shift focus toward individual cutter calibration. Identify the shortest cutter and mark it as your master tooth—this becomes your fixed reference for tooth height. If all cutters appear equal, select any starting point to establish your sharpening sequence.
File your master tooth first, using your filing gauge to verify top depth and maintain proper depth gauge setting. Count your filing stroke precisely; you’ll replicate this exactly across the chain. Rotate to the opposite side and bring that row to identical length. Work systematically through uniform cutters, matching each to the master tooth’s specification. Consistent stroke count and angle preserve uniform height relative to depth gauges, ensuring balanced cutting performance without variation.
How to Set Your Depth Gauges
Why do depth gauges matter? They control how deep each cutting tooth bites into the wood, directly affecting your chainsaw’s efficiency and safety. After you sharpen chainsaw teeth, the depth clearance changes as cutters shorten, so you must adjust the depth gauge height accordingly.
First, consult your owner’s manual for manufacturer specifications. Position a filing gauge over the tooth to measure the depth gauge height. If the rounded depth gauge sits closer than 1/10 inch below the cutter, you must file it down.
Hold a flat mill bastard file horizontally and stroke it smoothly across the top of the depth gauge until you achieve proper clearance. Work through every cutter systematically, checking each depth gauge after sharpening. Recheck frequently, as repeated sharpening alters the relationship between cutters and depth gauges.
How to Tell If Your Chain Is Sharp Enough
Once you’ve set your depth gauges, verify that your sharpening work has actually restored cutting performance. A sharp chain pulls itself into the wood without downward force on the handles. If you’re pushing, your cutting edge remains compromised.
Inspect your file bevel after each tooth. Use your filing gauge to confirm consistent tooth height across the chain. Uneven sharpening produces crooked cuts; a sharp chain tracks straight.
Check your chips. A properly sharpened chain ejects large, uniform chips—not fine dust. Smoke during cutting signals friction from dull edges even with correct depth gauge setting and lubrication. Excessive chatter or bounce indicates you haven’t restored the STIHL recommended cutting geometry.
Match each tooth’s file bevel precisely. Inconsistent angles waste your effort. When you’ve balanced tooth height and depth gauge clearance, the saw feeds smoothly and cuts true.
Three Mistakes That Waste Your File and Your Time
Where exactly does your effort go when sharpening produces worse results than when you started? You’re probably committing one of three critical errors.
First, you’re mismatching your round file to your chain pitch. Check the manufacturer chart—using a file that’s too large or small wastes strokes and destroys tooth geometry.
Second, you’re ignoring your start tooth and filing inconsistent tooth heights. Mark your start tooth and maintain uniform height, or you’ll induce uneven cutting and accelerated hand fatigue. You’re also failing to verify filing angle with a filing gauge; maintain 25–30 degrees with only 20% of file exposed above the cutter.
Third, you’re neglecting depth gauge maintenance. Inconsistent depth gauge clearance increases kickback risk and reduces efficiency. Finally, you haven’t bothered to secure chain properly or clean debris beforehand, allowing movement that ruins your work entirely.
When Should You Replace Instead of Sharpen?
How often do you catch yourself running the same file across burnt steel, hoping for a tooth that’ll never come back? You’ll recognize worn teeth by their shortened length and flattened profiles. You must replace the round file after every five sharpenings to maintain tooth geometry.
Check depth gauges with a gauge tool; file them down with a flat file when they sit too high. Inspect run-down teeth and busted links during each maintenance cycle—you can’t salvage these. Dullness beyond normal sharpening limits signals chain exhaustion. Consult owner’s manual guidance for exact replacement criteria and your specific replacement interval. When you spot irreparable damage, don’t hesitate: replace the chain entirely to preserve cutting efficiency and operator safety.
Conclusion
Sharpening your chainsaw chain by hand demands discipline: secure your bar, match your file to pitch, maintain precise angles, count strokes for uniformity, and verify cutting depth. Master these fundamentals and you’ll restore factory performance without grinding wheels. Neglect them and you’ll accelerate wear, compromise safety, and replace chains prematurely. A sharp chain cuts cleaner, reduces strain on your saw, and keeps you in control. File consistently—your safety depends on it.